Social media
How to add location to instagram post

Instagram, with its visual storytelling capabilities, has become a prominent platform for sharing moments and experiences with friends, family, and followers. One feature that enhances the context of your posts is the ability to add location information. Whether you’re sharing travel adventures, dining experiences, or simply capturing the beauty of your surroundings, adding a location to your Instagram posts adds depth and relevance. In this article, we’ll explore how to seamlessly incorporate location tags into your Instagram posts.
Why Add Location to Your Instagram Posts?
Adding a location to your Instagram posts serves multiple purposes:
1. Contextual Relevance: Location tags provide context to your posts, helping your audience understand where the photo or video was taken.
2. Discoverability: Posts with location tags are discoverable by users exploring content from specific locations. This can increase the visibility of your posts to a broader audience.
3. Personalization: Sharing your location allows you to connect with others who have visited or are familiar with the same places, fostering engagement and conversation.
Steps to Add Location to Your Instagram Post
1. Capture or Select Your Content: Start by capturing a photo or video using the Instagram camera or selecting an existing piece of media from your device’s gallery.

2. Editing Your Post: Proceed to the editing screen by tapping the “+” icon at the bottom of the screen or tapping your profile picture to access your gallery. Choose the photo or video you want to share.
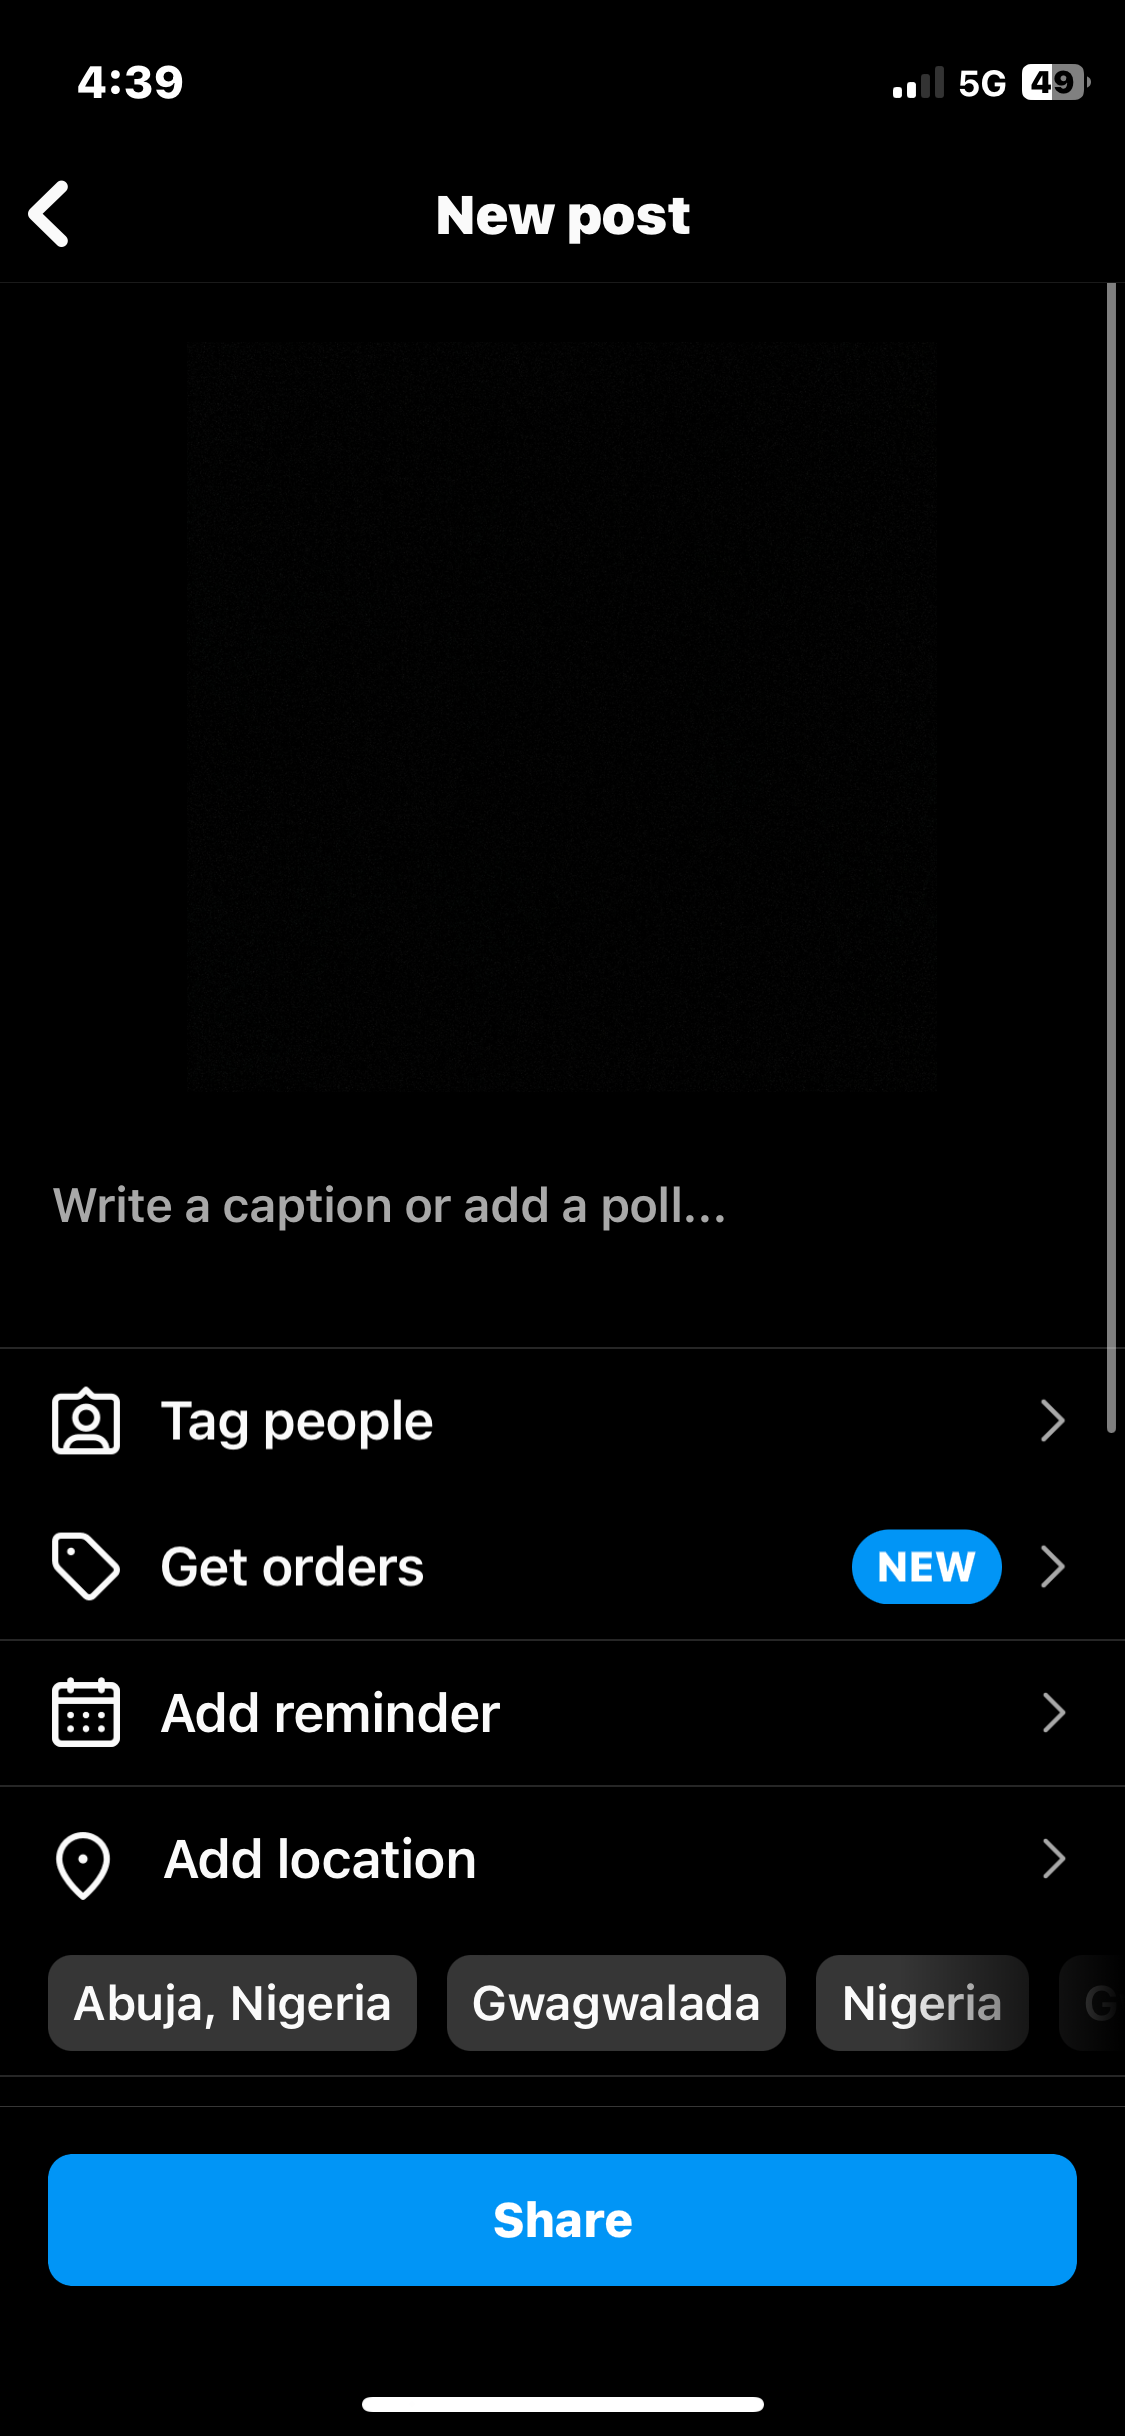
3. Adding Location: After selecting or capturing your content, you’ll be directed to the editing screen. Below the caption field, you’ll see an option labeled “Add Location.” Tap on it.
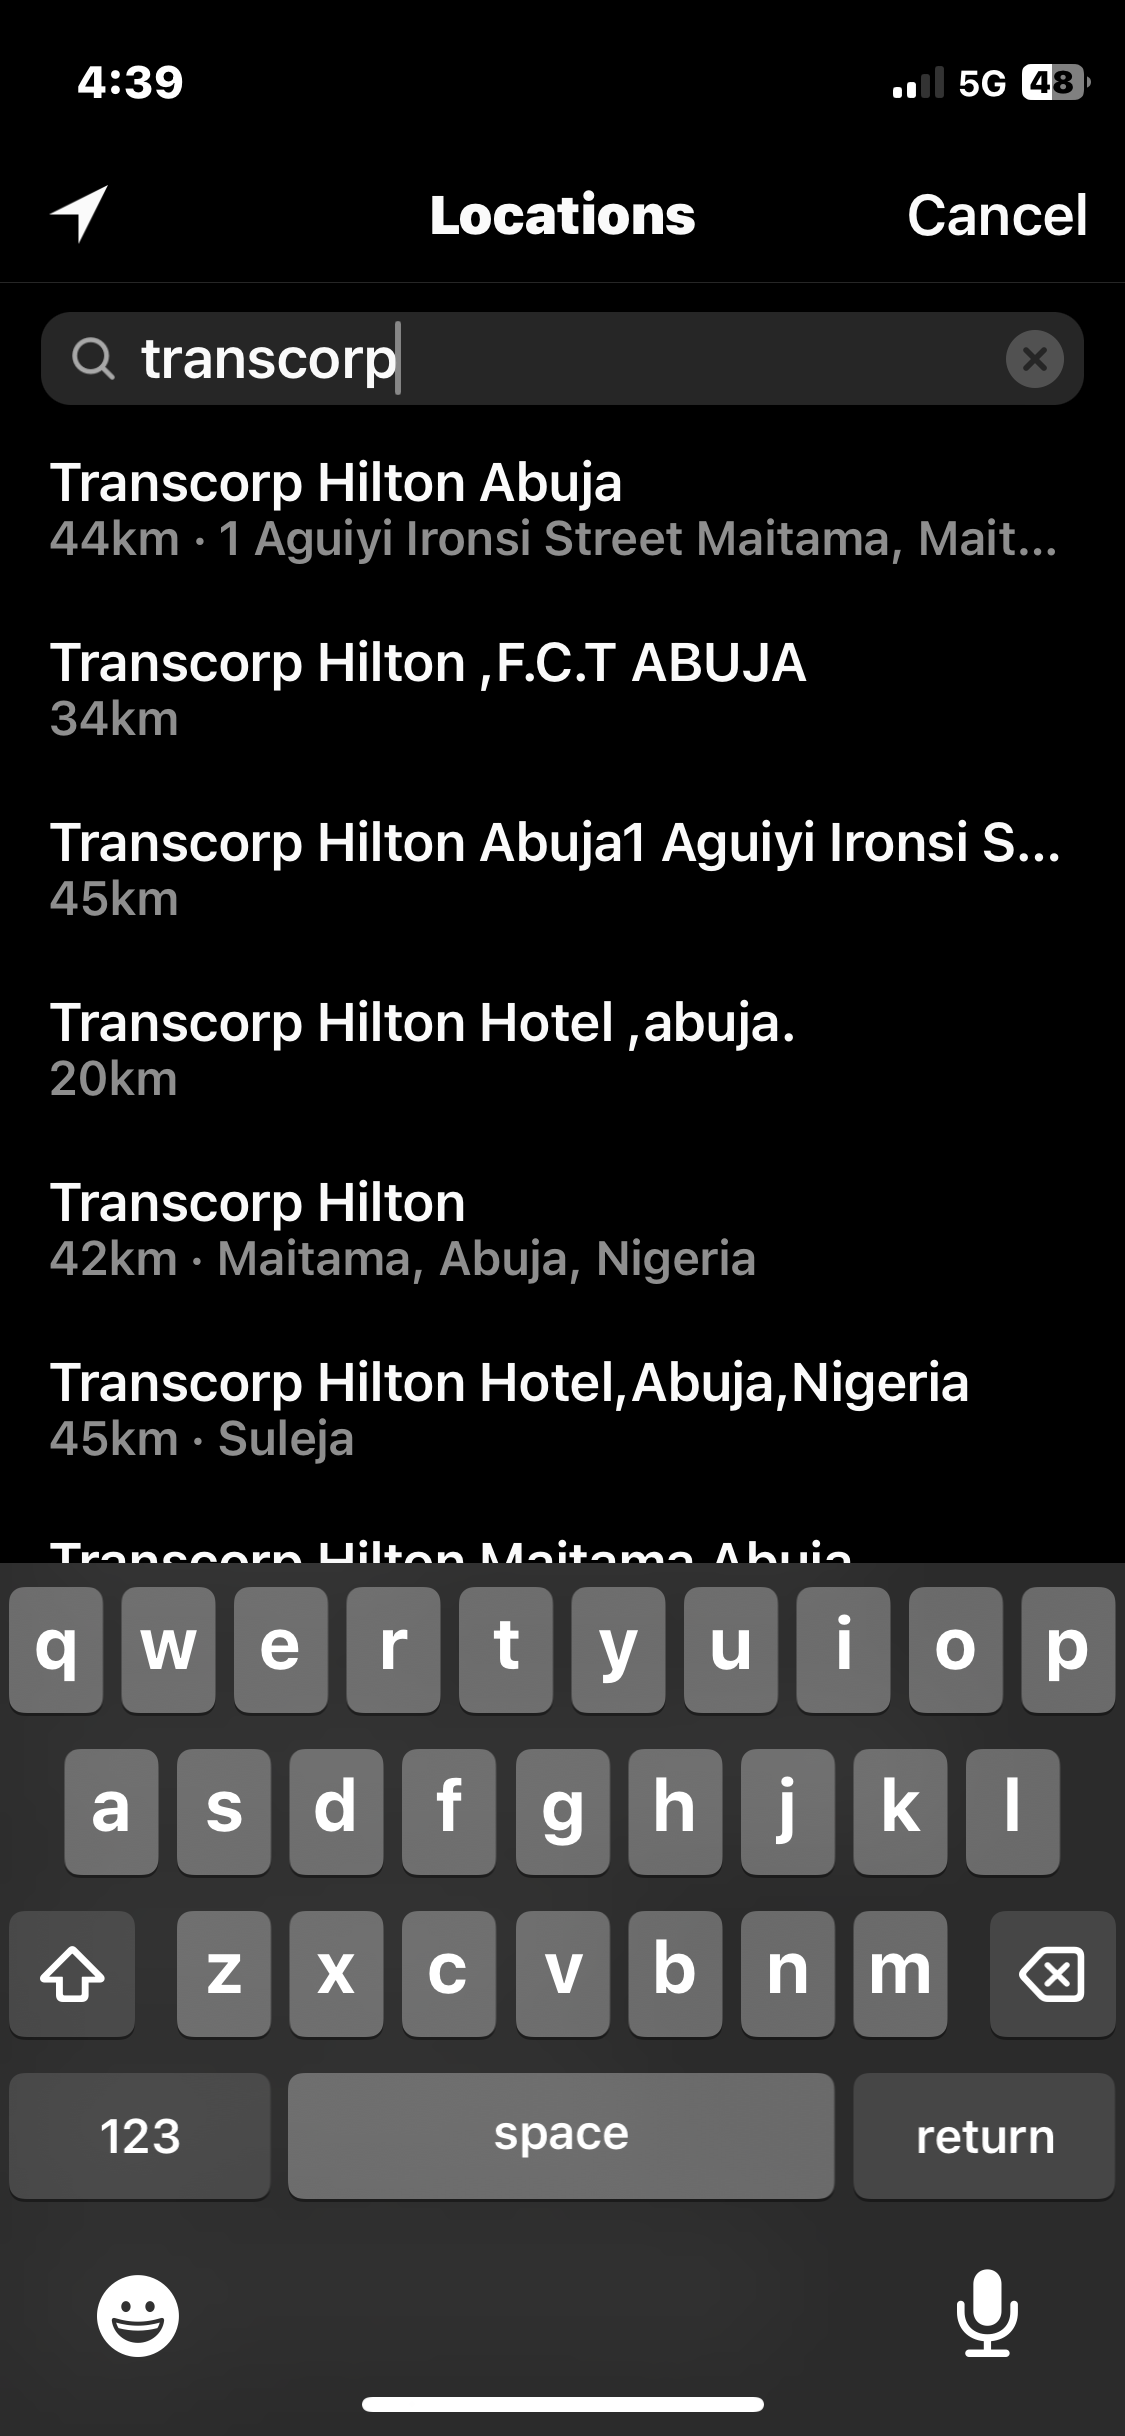
4. Search for Location: Type the name of the location you want to tag in the search bar. Instagram will suggest locations based on your input. Select the correct location from the suggestions.
5. Confirm Location: Once you’ve selected the location, it will be added to your post. You can further customize the location tag by tapping on it to adjust the name or remove it entirely.
6. Completing Your Post: After adding the location, proceed to add a caption, tag users, and choose additional sharing options such as adding to your story or sharing on other platforms.
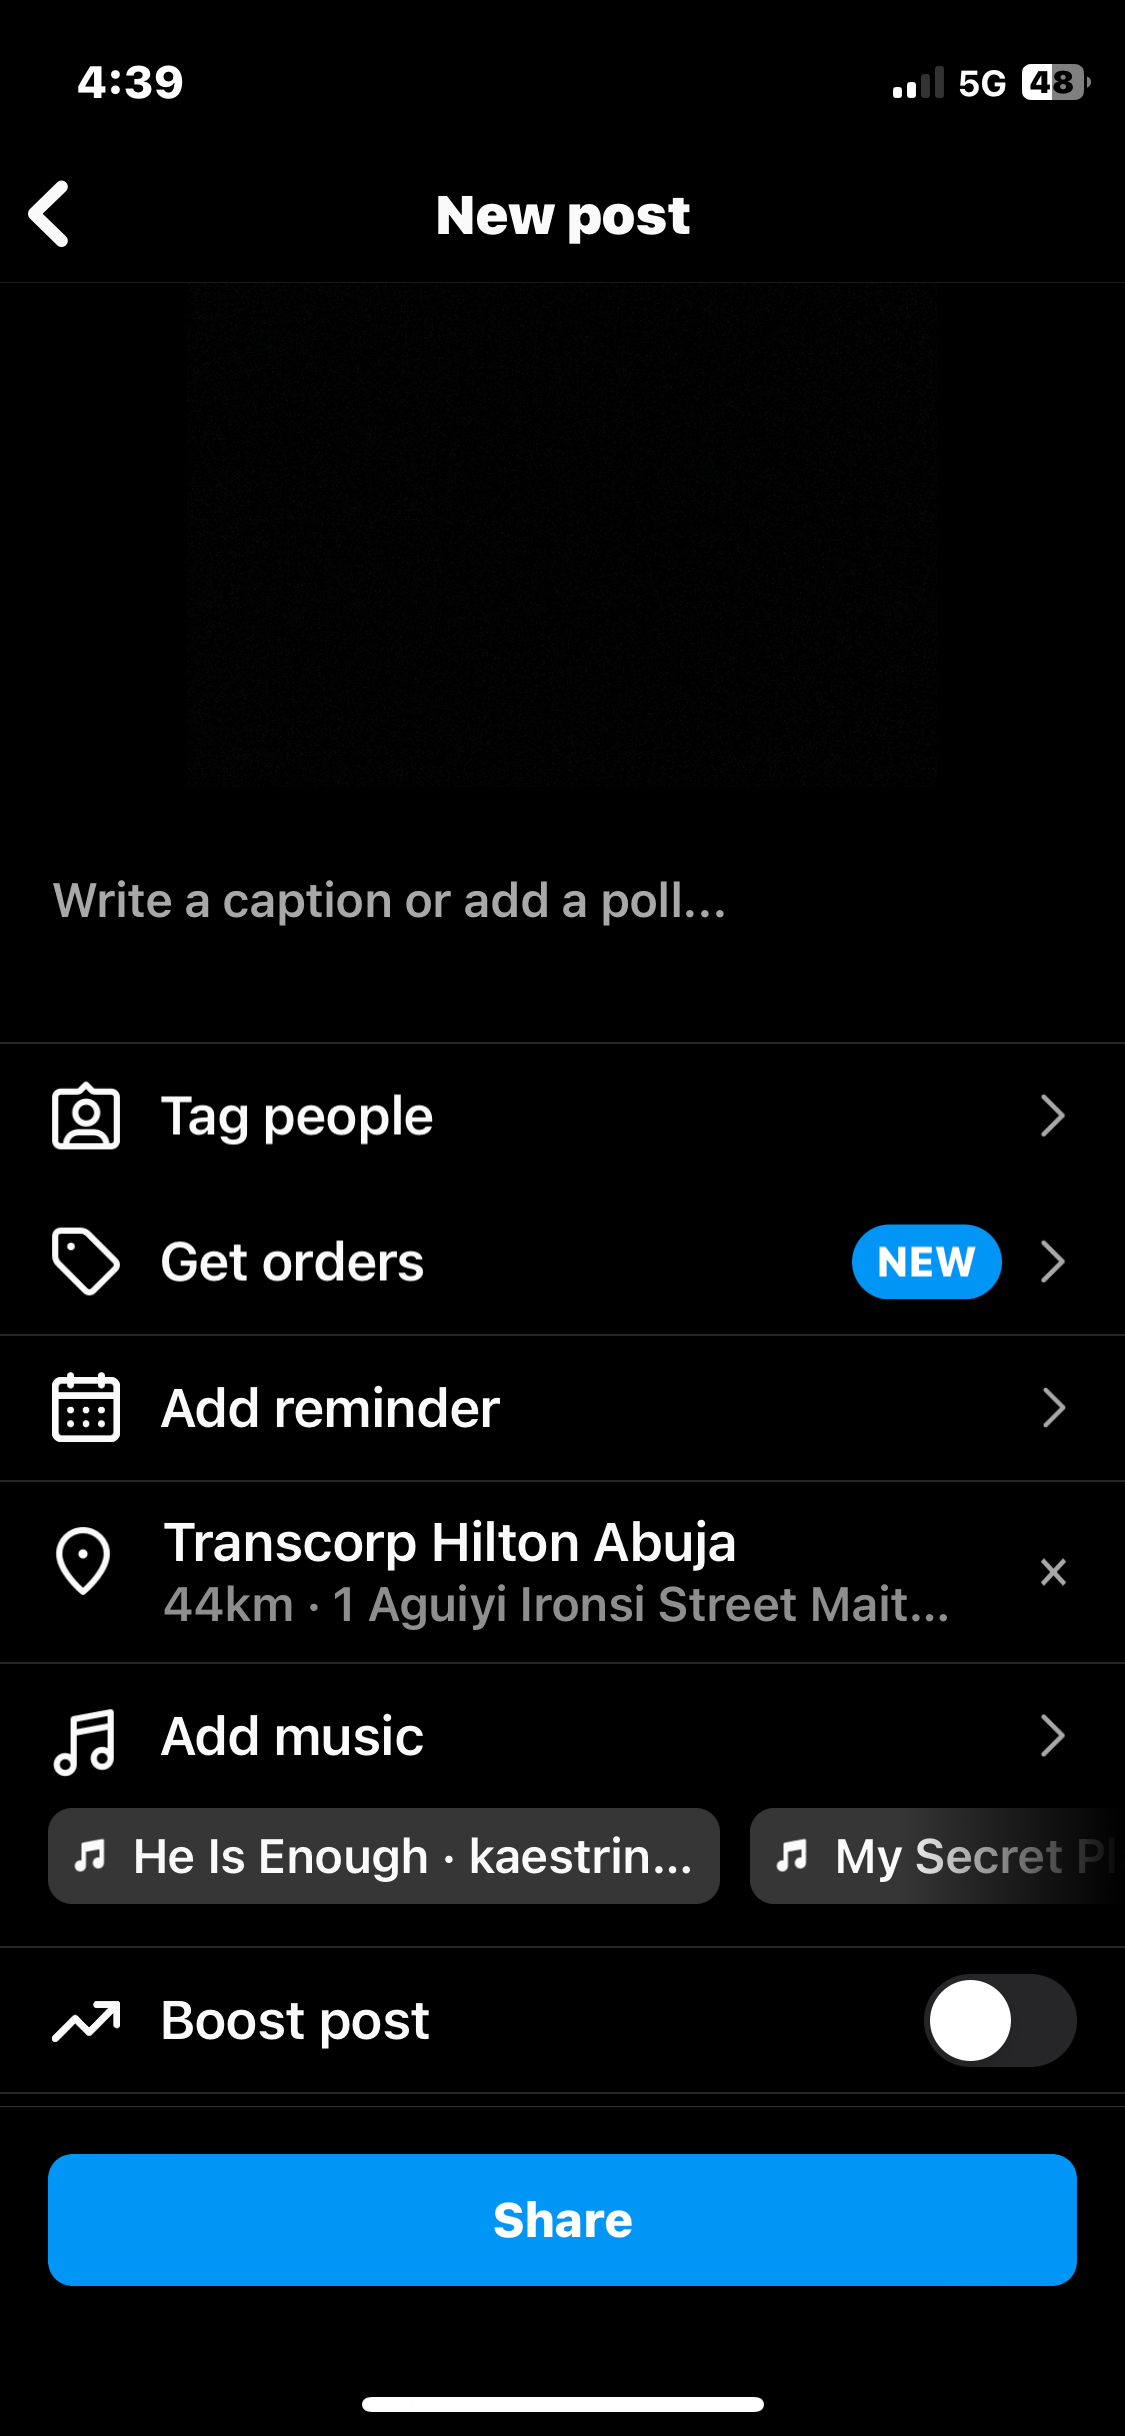
7. Share Your Post: Once you’re satisfied with your post, tap on the “Share” button to publish it to your Instagram feed.
Adding location tags to your Instagram posts enhances the storytelling aspect of your content and increases its discoverability. Whether you’re sharing travel memories, local experiences. Or simply documenting moments in your daily life. Incorporating location information adds depth and relevance to your posts. By following the simple steps outlined in this guide and implementing the tips provided. You can effectively utilize location tags to engage your audience and share your experiences with the world.