Tech
How to Take a Screenshot on iPhone X and Above Models

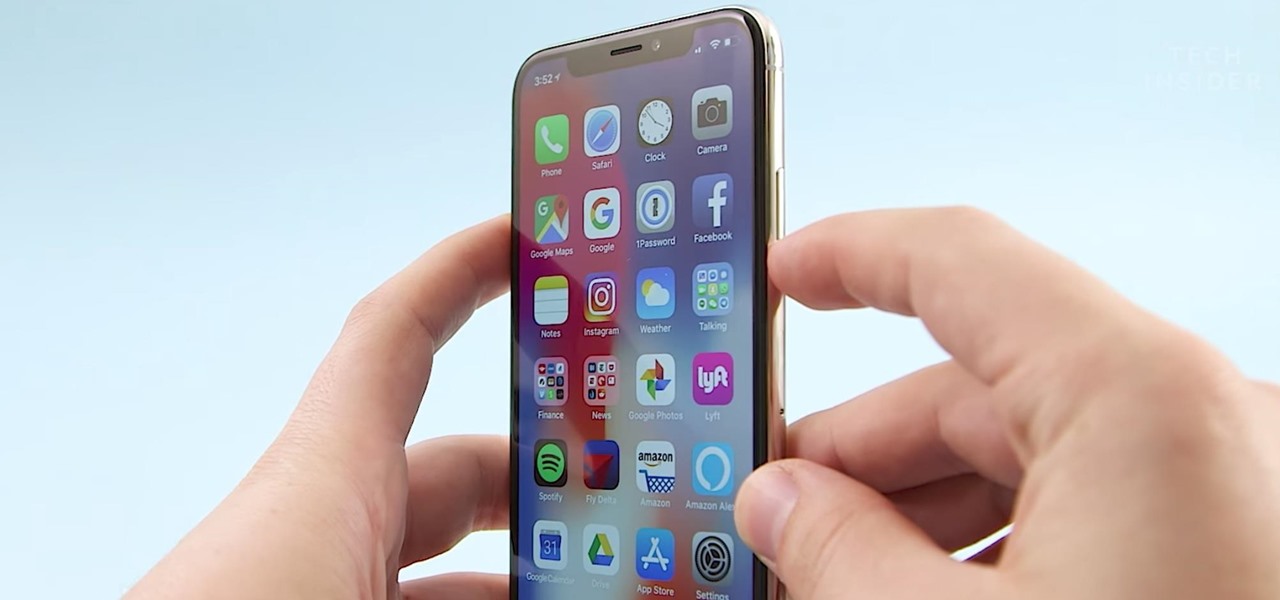
Capturing what’s on your iPhone screen can be incredibly useful for various purposes, whether you want to share a moment from a conversation, save important information, or demonstrate a feature. With the introduction of the iPhone X and subsequent models, the process of taking a screenshot has evolved slightly due to the removal of the Home button. In this guide, we’ll walk you through the steps to effortlessly capture screenshots on iPhone X and above models.
Step 1: Locate the Side Button and Volume Up Button

On iPhone X and newer models, such as iPhone XS, iPhone XR, iPhone 11, iPhone 12, and their variations, the side button takes on additional functions previously handled by the Home button. The side button is located on the right side of the device, while the volume up button is on the left side.

Step 2: Prepare the Screen to Capture
Navigate to the screen or content you want to capture in the screenshot. Ensure that everything you want to include in the screenshot is visible on the screen.
Step 3: To Screenshot Press and Hold Side Button and Volume Up Button Simultaneously

Simultaneously press and hold the side button (located on the right side of the device) and the volume up button (located on the left side) at the same time. Press and hold both buttons for a brief moment, but be careful not to press them for too long, as this may activate other functions like Siri or Emergency SOS.
Step 4: To screenshot, Release the Buttons
After pressing and holding the side button and volume up button simultaneously, quickly release both buttons. You should hear a camera shutter sound (if your device is not in silent mode) and see a brief flash on the screen, indicating that the screenshot has been successfully captured.
Step 5: View and Edit the Screenshot (Optional)
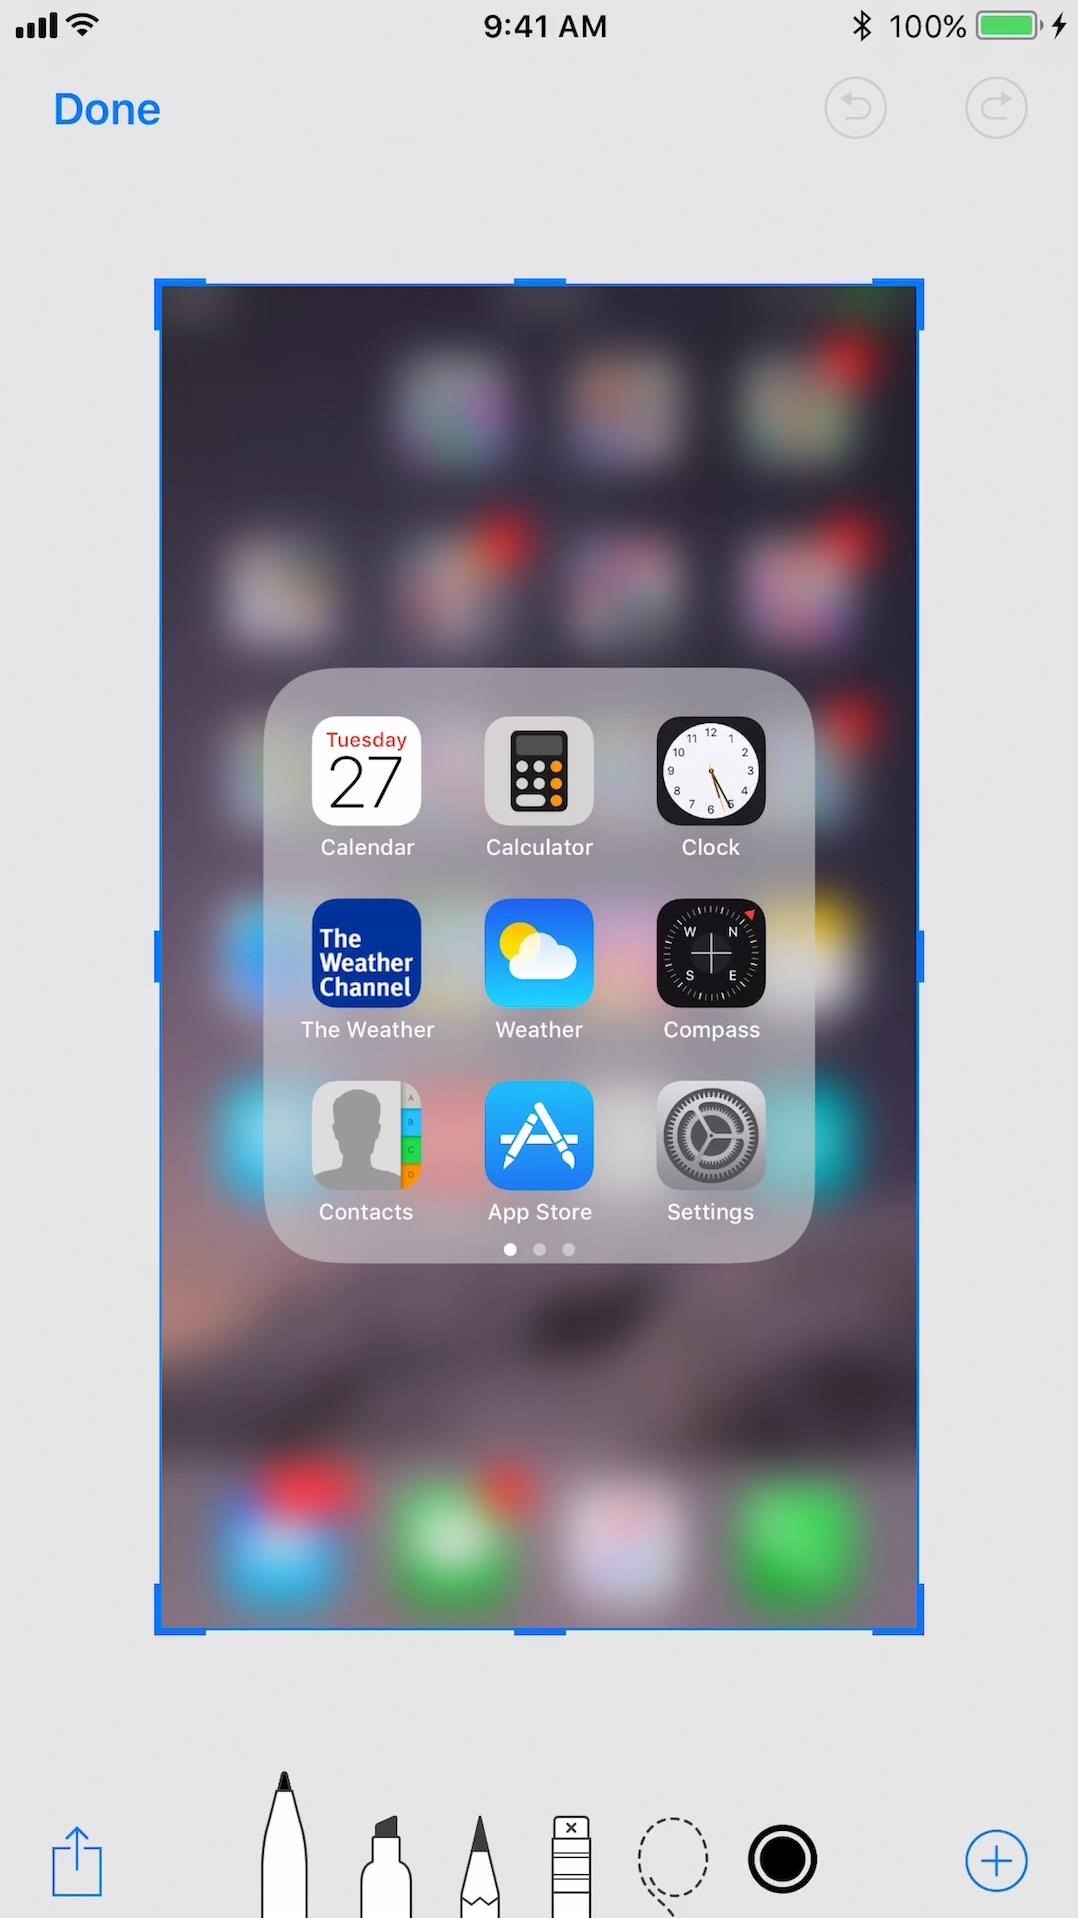
After taking the screenshot, a thumbnail preview of the captured image will appear in the bottom left corner of the screen. You can tap on this thumbnail to immediately edit, annotate, or share the screenshot using the built-in Markup tools. Alternatively, you can let the preview disappear, and the screenshot will be automatically saved to your Photos app.

Taking a screenshot on iPhone X and above models is a simple and straightforward process, thanks to the intuitive button layout and seamless integration with iOS. Whether you’re capturing memorable moments, saving important information, or documenting a conversation, mastering the art of screenshotting on your iPhone can greatly enhance your productivity and communication capabilities. By following the steps outlined in this guide, you can effortlessly capture and share content from your iPhone with ease.
Pingback: The Complete Guide to Restoring Deleted Photos on iPhones - SimplExplainer
Pingback: How to restore deleted videos on Iphones - SimplExplainer