Social media
A Guide to Adding Location Tags On Facebook

Facebook, a cornerstone of social media, offers a myriad of features to enrich your posts and engage with your audience. Among these features, adding location tags stands out as a way to provide context and relevance to your posts. Whether you’re sharing travel adventures, local discoveries, or community events, incorporating location information can enhance the storytelling aspect of your Facebook posts. In this article, we’ll explore how to seamlessly add location tags to your Facebook posts.
The Importance of Adding Location
Integrating location tags into your Facebook posts serves several purposes:
1. Contextual Significance: Location tags provide context to your posts, allowing your audience to understand where the photo, video, or status update was shared.
2. Discoverability: Posts with location tags become discoverable to users exploring content from specific locations. This can expand the reach of your posts to a wider audience interested in that location.
3. Community Connection: Sharing your location enables you to connect with others who have visited or are familiar with the same places, fostering engagement and conversations within your community.
How to Add Location to Your Facebook Post
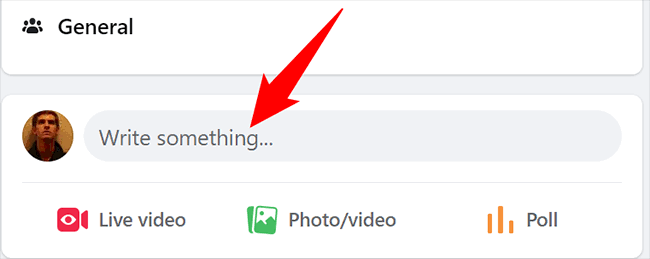

1. Create Your Post: Start by composing your post on Facebook. You can share a photo, video, status update, or any other type of content.
2. Add Location: Below the text box where you’ve composed your post, you’ll see an option labeled “Check In” or “Add Location.” Click on this option.
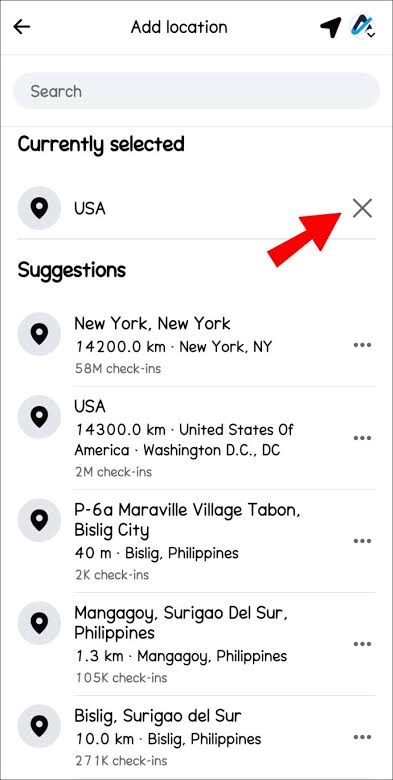

3. Search for Location: A search bar will appear where you can type the name of the location you want to tag. Facebook will suggest locations based on your input. Select the correct location from the suggestions.
4. Confirm Location: Once you’ve selected the location, it will be added to your post. You can further customize the location tag by clicking on it to adjust the name or remove it entirely.
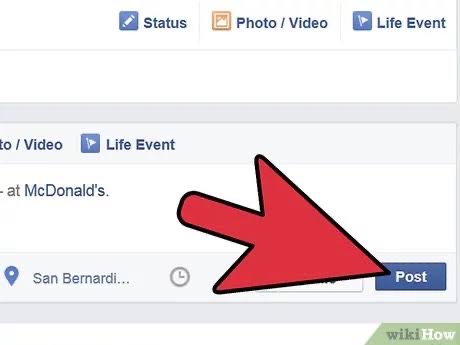
5. Complete Your Post: After adding the location, you can finalize your post by adding any additional text, tagging friends, or including other media elements.
6. Share Your Post: Once you’re satisfied with your post, click on the “Post” button to share it with your Facebook audience.

Adding location tags to your Facebook posts enhances the storytelling aspect of your content and increases its discoverability within your community and beyond. Whether you’re sharing personal experiences, promoting local businesses. Or documenting community events, incorporating location information adds depth and relevance to your posts. By following the simple steps outlined in this guide and implementing the tips provided. You can effectively utilize location tags to engage your audience and share your experiences on Facebook.
Pingback: How to Set Your Post Privacy to Only Friends - SimplExplainer
Pingback: Privacy Setting for Friends - SimplExplainer
Pingback: How to set Privacy Facebook - SimplExplainer