Tech
A Step-by-Step Guide on How to Connect Your TV Guard

In today’s world, protecting your electronic devices, especially expensive ones like televisions, is essential. TV guards are a popular choice for safeguarding your TV against power surges, voltage fluctuations, and other electrical hazards. Connecting a TV guard might seem like a daunting task, but with the right guidance, it’s a straightforward process. In this article, we’ll provide you with a step-by-step guide on how to connect your TV guard safely and effectively.
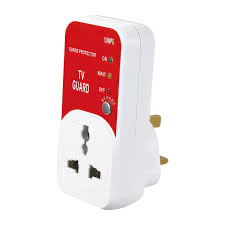
1. Choose the Right TV Guard:
Before you begin, make sure you have the correct TV guard for your television. There are various types of TV guards available, including surge protectors, voltage stabilizers, and voltage regulators. Select one that meets your TV’s power requirements and offers adequate protection.
2. Gather Your Tools:
You’ll need a few tools to connect your TV guard properly. These may include a screwdriver, electrical tape, and possibly a power strip if your TV guard doesn’t have built-in outlets.

3. Turn Off Your TV and Unplug It:
Safety first! Before connecting the TV guard, turn off your television and unplug it from the power outlet. This precaution ensures that you won’t encounter any electrical shocks while working.
4. Locate the Power Outlet:
Identify the power outlet where your TV is currently plugged in. This will be the same outlet where you’ll connect your TV guard.
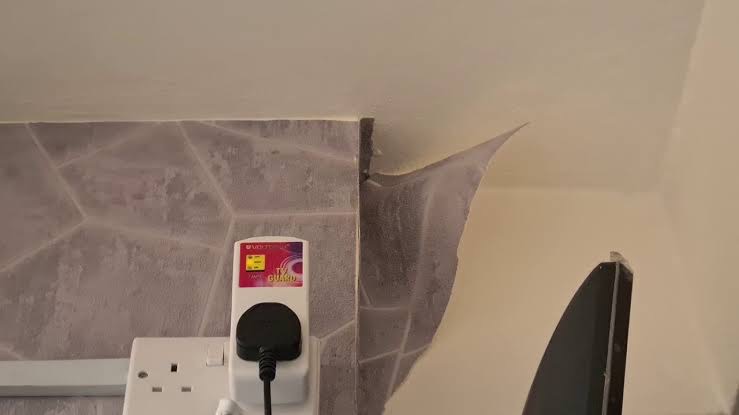
5. Position the TV Guard:
Decide where you want to place your TV guard. It’s best to position it close to the power outlet for easy access. Ensure that there’s enough space around the TV guard for proper ventilation.
6. Connect the TV Guard:
If your TV guard comes with a power cord, plug it into the power outlet. Then, plug your TV’s power cord into the designated outlet on the TV guard. If your TV guard is a surge protector or voltage stabilizer with multiple outlets, you can also plug other electronic devices into it for added protection.

7. Secure the Connections:
Once everything is plugged in, double-check the connections to ensure they are secure. Use electrical tape to fasten any loose connections and prevent them from coming undone.
8. Turn On Your TV:
With the TV guard properly connected, it’s time to turn on your television. Check for any warning lights or indicators on the TV guard to ensure that it’s functioning correctly.
9. Test the TV Guard:
To confirm that your TV guard is providing protection, you can test it by intentionally unplugging and replugging your TV while it’s turned on. The TV guard should prevent any power surges or fluctuations from damaging your television.
10. Regular Maintenance:
Lastly, remember to perform regular maintenance on your TV guard to ensure its continued effectiveness. Check for any signs of wear or damage, and replace the TV guard if necessary.
By following these simple steps, you can connect your TV guard with confidence, knowing that your television is well-protected against electrical hazards. Investing a little time and effort now can save you from costly repairs or replacements in the future.