Personal hygiene
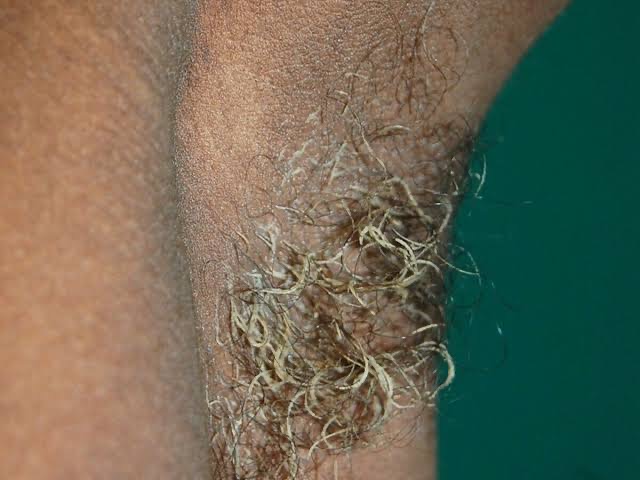
Health importance of Armpit Hair
Shaving underarm hair came about because in ancient Egypt and Greece. Hairless skin was considered a sign of purity. This ideal has persisted over time due to media representations and beauty standards that linked hairlessness to femininity and desirability.
Keeping underarm hair can offer several potential health benefits:
1. Natural Moisture and Lubrication: Armpit hair helps to retain moisture and natural oils, which can prevent the skin from becoming dry and irritated.
2. Reduced Friction: Armpit hair acts as a barrier between the skin. Reducing friction between the arms and torso during movement, which can help prevent chafing and irritation.
3. Protection Against Bacteria: Hair under the arms can serve as a barrier against bacteria and debris. Lowering the likelihood of infections by keeping them away from the skin.
4. Pheromone Retention: Some studies suggest that armpit hair may play a role in retaining pheromones, chemical signals that can communicate information about an individual’s health and reproductive status to others.

5. Regulation of Body Temperature: Armpit hair helps to regulate body temperature by trapping heat close to the skin when it’s cold and allowing for better airflow when it’s warm.

6. Prevention of Ingrown Hairs: Shaving or waxing armpit hair can lead to ingrown hairs, which can be painful and prone to infection. Allowing hair to grow naturally can reduce the likelihood of ingrown hairs.
7. Reduced Risk of Skin Irritation: Shaving or waxing can cause skin irritation, redness, and inflammation, especially in sensitive areas like the armpits. Keeping armpit hair can help to prevent these issues.

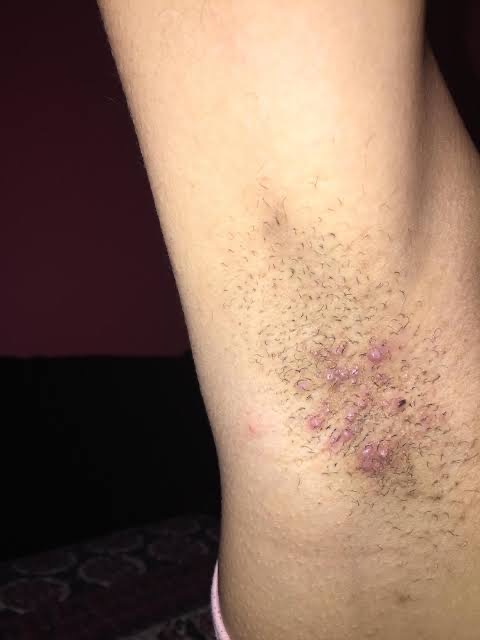
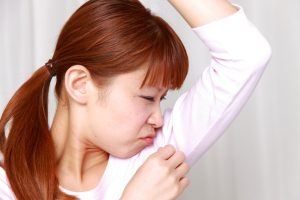
Armpit irritation
8. Enhanced Sensory Perception: Some researchers suggest that body hair, including armpit hair, may play a role in enhancing sensory perception by detecting changes in air currents and temperature, though more research is needed in this area.

Though individual preferences for personal grooming may vary. Some people discover that, keeping their underarm hair contributes to their general wellbeing and healthy skin.
Read on other interesting topics here…


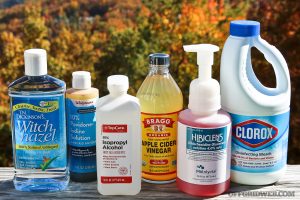
Body odor and natural remedies. This is caused by bacteria breaking down perspiration, although bacteria can be killed by natural therapies including applying baking soda paste, diluted apple cider vinegar/lemon juice, or witch hazel; Natural odor management also involves reducing stress, using breathable materials (cotton, wool, and silk), and keeping clean with antibacterial soap, however individual outcomes may differ.
BODY ODOR AND NATURAL REMEDIES
Body odor is a frequent problem that can be uncomfortable and embarrassing. Despite the widespread use of commercial deodorants and antiperspirants, some people prefer using natural solutions to control body odor. Here are some efficient natural solutions for controlling body odor, whether you want to limit your exposure to chemicals or are looking for alternatives because of sensitive skin.
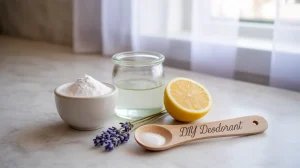
1. Baking Soda;

Baking soda is a popular natural deodorant because of its ability to neutralize odors and absorb moisture. It acts as a natural antibacterial agent, reducing the bacteria that contribute to body odor. To use baking soda:
– Mix a small amount of baking soda with water to form a paste.
– Apply the paste to your underarms or any area prone to odor.
– Let it sit for a few minutes, then rinse off or leave it on as a natural deodorant.
2. Apple Cider Vinegar;

Apple cider vinegar (ACV) is known for its antibacterial properties, making it effective in killing odor-causing bacteria. ACV also helps balance the skin’s pH, which can reduce the production of sweat. To use apple cider vinegar:
– Dilute ACV with equal parts water.
– Apply the mixture to your underarms with a cotton ball or spray bottle.
– Let it dry naturally; there’s no need to rinse it off.
3. Coconut Oil;
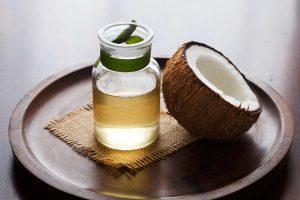
Coconut oil is a versatile natural remedy with antibacterial and antifungal properties. It can help reduce body odor by killing bacteria on the skin and moisturizing it to prevent irritation. Coconut oil also leaves a pleasant, mild scent. To use coconut oil:
– Apply a small amount of virgin coconut oil directly to your underarms after showering.
– Massage it in gently and let it absorb into the skin.
4. Lemon Juice;

Lemon juice is a natural astringent with antibacterial properties that can help reduce body odor. The acidity of lemon juice lowers the skin’s pH, making it less hospitable to odor-causing bacteria. To use lemon juice:
– Cut a fresh lemon in half and rub it gently on your underarms.
– Leave the juice on for 5-10 minutes, then rinse off with water.
– Avoid using lemon juice on freshly shaved skin, as it can cause irritation.
5. Witch Hazel;
BODY ODOR AND NATURAL REMEDIES
Witch hazel is a natural astringent that helps to shrink pores and reduce sweating. It also has antibacterial properties that can help eliminate odor-causing bacteria. To use witch hazel:
– Apply witch hazel to a cotton ball and swipe it over your underarms or other areas prone to odor.
– Reapply as needed throughout the day for a refreshing effect.
Additional Tips for Managing Body Odor Naturally;
BODY ODOR AND NATURAL REMEDIES
– Diet:
Your diet can influence body odor. Eating a diet rich in fresh fruits, vegetables, and whole grains can help reduce odor, while spicy foods, red meat, and processed foods may contribute to stronger body odor.
– Hydration:
BODY ODOR AND NATURAL REMEDIES
Drinking plenty of water helps flush out toxins from your body, which can reduce odor.
– Clothing:
Wear natural fabrics like cotton, linen, or bamboo that allow your skin to breathe and reduce sweating.
– Hygiene: Regular showers and thorough cleaning of odor-prone areas can help keep body odor at bay.
Summary
In addition to being effective, natural body odor cures don’t contain the harsh chemicals that are frequently present in commercial deodorants. You may naturally control body odor and feel confident and fresh throughout the day by implementing these easy fixes into your daily routine.
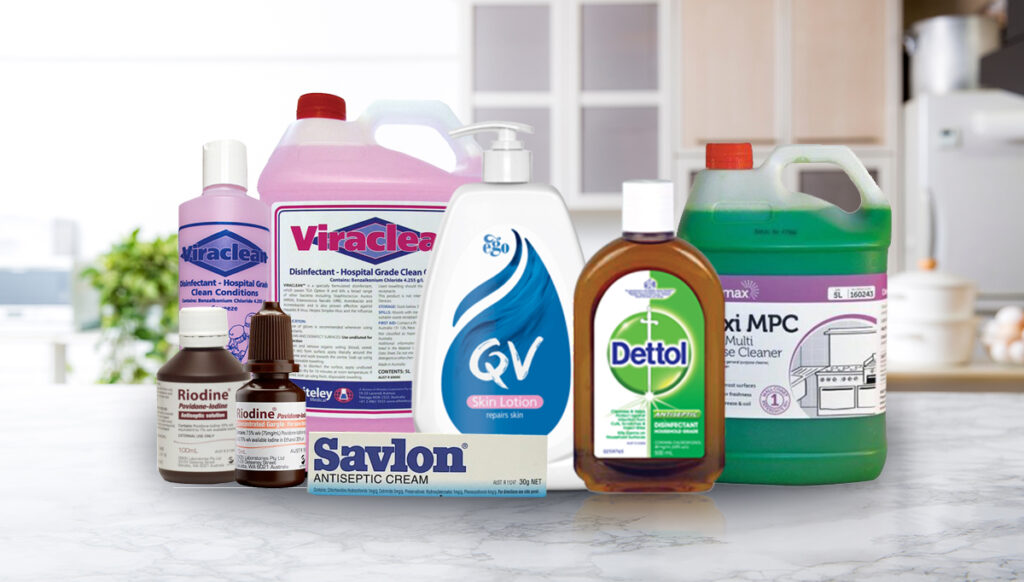
Antiseptics: infections preventer. They are crucial instruments for managing and preventing infections. by being aware of their varieties and proper applications. They can be successfully incorporated into your hygiene regimen to preserve health and stop the spread of infections. Antiseptics are essential for creating a cleaner, safer environment, whether they are used for wound care, hand hygiene, or surgical preparation.
ANTISEPTICS: INFECTIONS PREVENTER
Meanwhile, antiseptics are antimicrobial agents that are applied to living tissue in order to stop or limit the growth of germs and lower the risk of infection. They are applied to the skin and mucous membranes to clean wounds and get the skin ready for treatments. Antiseptics are distinct from antibiotics, which act within the body, and disinfectants, which are applied to inanimate things.
Importance;
Also, antiseptic play a crucial role in healthcare and daily hygiene. They are commonly used to:
– Prevent Infection: By reducing the number of microorganisms on the skin, antiseptics help prevent infections, especially in wounds and surgical sites.
– Promote Healing: Keeping wounds clean with antiseptics aids the natural healing process.
– Reduce the Spread of Pathogens: Regular use of antiseptics can help control the spread of infectious diseases, particularly in healthcare settings.
Types;
1. Alcohol-Based Antiseptics:
– Ethanol and Isopropanol: These are widely used due to their rapid action against bacteria, viruses, and fungi. Commonly found in hand sanitizers and disinfectant wipes, alcohol-based antiseptics are effective for quick skin disinfection.
2. Chlorhexidine:
– Known for its long-lasting antimicrobial effects, chlorhexidine is often used in surgical scrubs, mouthwashes, and wound dressings. It’s effective against a broad range of bacteria and some viruses and fungi.
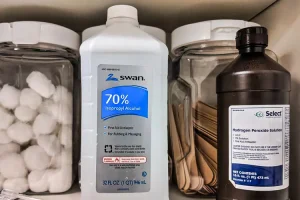
3. Hydrogen Peroxide:
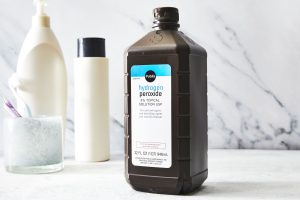
– A mild antiseptic, hydrogen peroxide is used for cleaning wounds and as a mouth rinse. It works by releasing oxygen, which causes foaming that helps remove dead tissue and cleanse the area.
4. Iodine-Based Antiseptic:
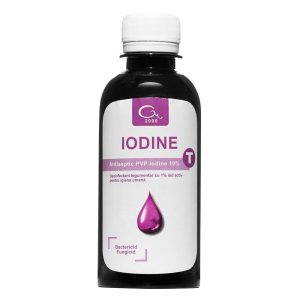
ANTISEPTICS: INFECTIONS PREVENTER
– Povidone-Iodine: This antiseptic is effective against a wide variety of pathogens, including bacteria, viruses, and fungi. It is commonly used for preoperative skin preparation and in the treatment of minor wounds.
5. Phenolic Compounds:
– Phenol and its derivatives, such as hexachlorophene, are used in some surgical scrubs and antiseptic soaps. They have strong bactericidal properties but are generally less common due to potential skin irritation.
Common Uses;
ANTISEPTICS: INFECTIONS PREVENTER
– Wound Care:
– Antiseptics are used to clean cuts, abrasions, and minor burns, helping to prevent infection and promote healing.
– Preoperative Skin Preparation:
– Before surgical procedures, antiseptics are applied to the skin to reduce the risk of infection.
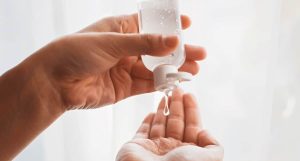
– Hand Hygiene:
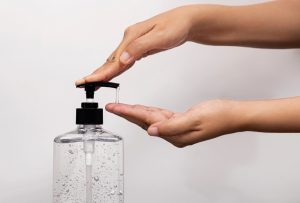
– Hand sanitizers and antiseptic hand washes are essential for maintaining hygiene, especially in healthcare settings and during disease outbreaks.
– Oral Care:
– Antiseptic mouthwashes help reduce oral bacteria, prevent gum disease, and maintain oral hygiene.
Safety and Usage;
ANTISEPTICS: INFECTIONS PREVENTER
While antiseptic is generally safe for topical use, it’s important to follow usage instructions to avoid potential side effects, such as skin irritation or allergic reactions. Here are some tips:
– Follow Directions: Always use antiseptics as directed by the product label or healthcare provider.
– Avoid Overuse: Excessive use can lead to skin irritation or disruption of normal skin flora.
– Consult a Professional: For deep or serious wounds, always seek medical advice.
Summary
Because they stop germs from growing and spreading on living tissues, antiseptics are essential for both preventing and treating infections. Unlike disinfectants, which are intended for non-living surfaces, antiseptics are safe to use on skin and mucous membranes.
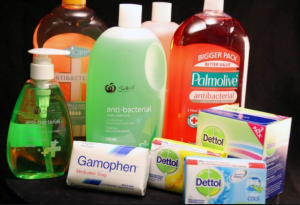
 Best antibacterial agents. They play a vital role in preserving health and hygiene by preventing, inhibiting, or killing microorganisms. In order to prevent the spread of bacterial diseases and maintain a healthy environment, they are essential to both medical procedures and regular cleaning procedures. In order to safeguard health and stop the development of bacterial illnesses, antibacterial agents are crucial. Their many uses, which range from daily cleanliness and food safety to medical treatments, help to keep the environment clean and healthy. To maximize their advantages and reduce any possible hazards, proper use and knowledge are essential.
BEST ANTIBACTERIAL AGENTS
The “best” antibacterial drug varies on the particular infection, but frequent and successful classes include tetracyclines (like doxycycline), macrolides (like azithromycin), fluoroquinolones (like ciprofloxacin), and beta-lactams (like amoxicillin and cephalosporins). Although natural alternatives like essential oils of thyme and oregano show promise, external use is advised and caution should be exercised. Additionally, alcohols work well as broad-spectrum surface disinfectants.
Types of Antibacterial Agents;
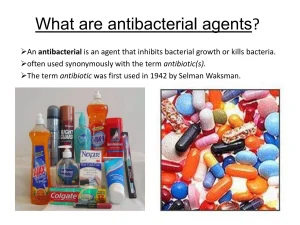
1. Antibiotics:
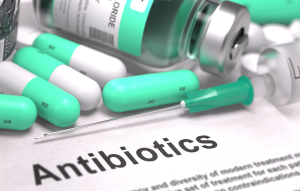
These are drugs specifically designed to target and kill bacteria or inhibit their growth. Antibiotics, such as penicillin and tetracycline. Are used to treat bacterial infections ranging from minor wounds to serious illnesses like pneumonia and tuberculosis. It’s essential to use antibiotics as prescribed to avoid resistance.
2. Antiseptics:
These are substances applied to living tissues to reduce the risk of infection. Common antiseptics include alcohol, iodine, and hydrogen peroxide. They are used for cleaning wounds and sanitizing skin before medical procedures.
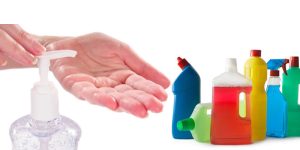
3. Disinfectants:
These agents are used on non-living surfaces to kill bacteria and other pathogens. Commonly found in cleaning products for households, hospitals, and public areas are disinfectants such bleach, phenols, and quaternary ammonium compounds.
4. Essential Oils:
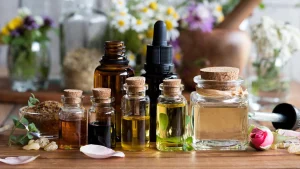
BEST ANTIBACTERIAL AGENTS
Some essential oils, like tea tree oil and eucalyptus oil, have natural antibacterial properties. They are often used in alternative medicine and natural cleaning solutions for their antimicrobial benefits.
Applications and Benefits;
BEST ANTIBACTERIAL AGENTS
1. In Medical Settings:
These are crucial in preventing and treating infections in hospitals and clinics. Proper use of antibiotics and antiseptics helps control the spread of bacterial diseases and supports recovery.
2. Daily Hygiene:
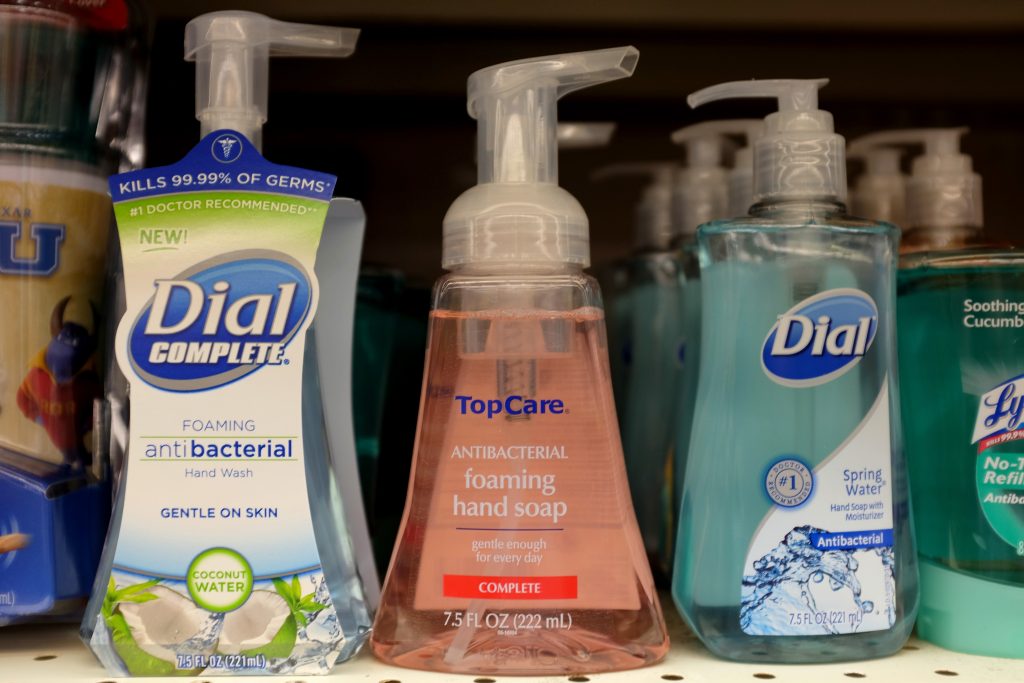
Antibacterial soaps and hand sanitizers help reduce the spread of bacteria and lower the risk of infections. Regular hand washing and cleaning with antibacterial agents contribute to overall public health.
3. In Food Safety:
Antibacterial agents are used to sanitize surfaces and equipment in food preparation areas, helping to prevent foodborne illnesses.
Proper Use and Considerations;

BEST ANTIBACTERIAL AGENTS
– Avoid Overuse:
Excessive use of antibiotics and antibacterial products can lead to antibiotic resistance, making bacteria harder to treat.
– Follow Instructions:
Use antibacterial agents according to guidelines to ensure their effectiveness and reduce the risk of adverse effects.
– Balance with Hygiene:
Regular hand washing and proper hygiene practices complement the use of antibacterial agents in preventing infections.
Summary
Any chemical that destroys or inhibits the growth of bacteria is an antibacterial. Antibiotics, a class of antibacterial drugs, fall within this wide category. Antibacterials are used to treat bacterial illnesses. They function by either directly killing bacteria (bactericidal) or stopping their growth. They can be synthetic, semi-synthetic, or natural.

Holidays and Vacations

Bilingual Education Impacts

Career Tips

A Step-by-Step Guide to Deleting Reels on Instagram

How to Create a WhatsApp Group