Health
Urine Pregnancy Test Strip

A urine pregnancy test strip is a simple, reliable, and quick way to determine if you are pregnant. These tests detect the presence of the hormone human chorionic gonadotropin (hCG) in your urine, which is produced shortly after a fertilized egg attaches to the uterine lining. Here’s a step-by-step guide on how to use a urine pregnancy test strip effectively:
Step 1: Preparation
1. Read Instructions: Carefully read the instructions provided with the pregnancy test kit, as procedures can slightly vary between brands.
2. Check Expiry Date: Ensure the test strip is not expired, as an expired test may give inaccurate results.
3. Gather Supplies: Have a clean, dry container for collecting urine if the test requires it. Some tests are designed to be placed directly in the urine stream.
Step 2: Collecting the Urine Sample


1. Morning Sample: For the most accurate results, use the first urine of the day, as it contains the highest concentration of hCG.
2. Clean Container: If using a container, make sure it is clean and dry to avoid contamination.
3. Collect Urine: Either urinate directly onto the test strip if instructed to do so or collect urine in the container and then dip the strip into it.
Step 3: Using the Test Strip
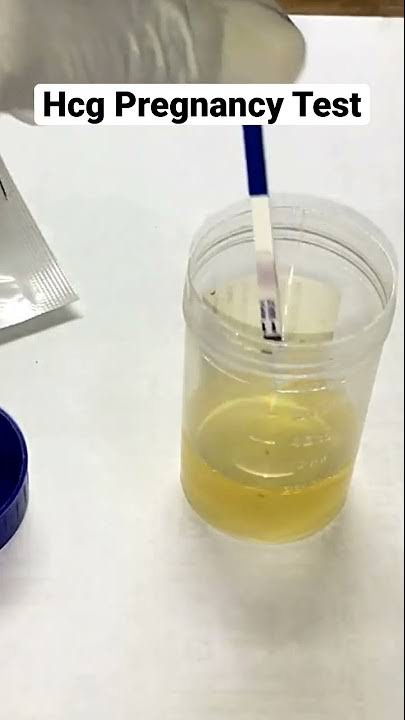

1. Dip the Strip: If you are using a container, dip the test strip into the urine up to the indicated mark. Hold it in the urine for the time specified in the instructions, usually around 5 to 10 seconds.
2. Remove and Lay Flat: Remove the strip from the urine and lay it on a flat, non-absorbent surface. Ensure the strip is not with a title to avoid the urine running into the test area incorrectly.
3. Wait for Results: Wait for the time specified in the instructions, usually around 1 to 5 minutes, without disturbing the strip. Most tests have a control line that indicates the test is working properly.
Step 4: Interpreting the Results
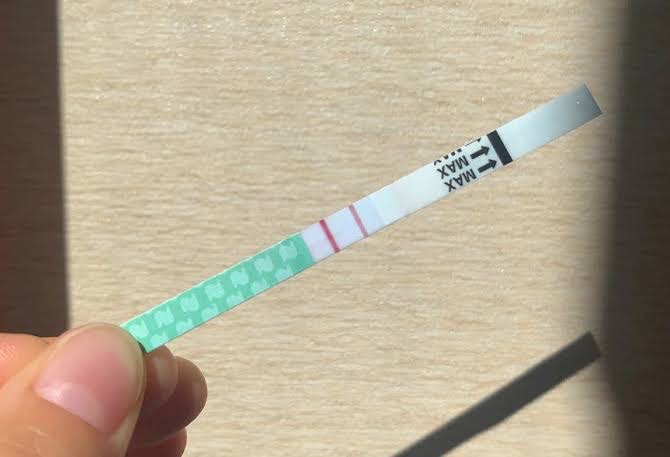
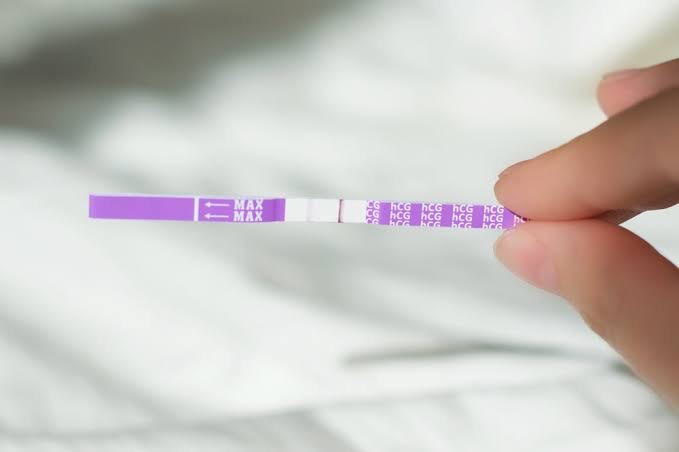
1. Check the Control Line: Make sure a line appears in the control region to confirm the test is valid.
2. Read the Test Line: Look for a second line in the test region. The presence of this line, regardless of how faint, typically indicates pregnancy.
– Positive Result: Two lines (control and test) indicate pregnancy.

– Negative Result: Only one line (control) indicates no pregnancy.

– Invalid Result: If no lines appear or only the test line appears, the test may be invalid, and you should repeat it with a new strip.

Using a urine pregnancy test strip is a straightforward process that can provide quick and reliable results. By following these steps carefully, you can confidently determine your pregnancy status in the privacy of your own home.
Pingback: How to Use a Quick HIV Test Strip - SimplExplainer
Pingback: Chlamydia
Pingback: Trichomoniasis