
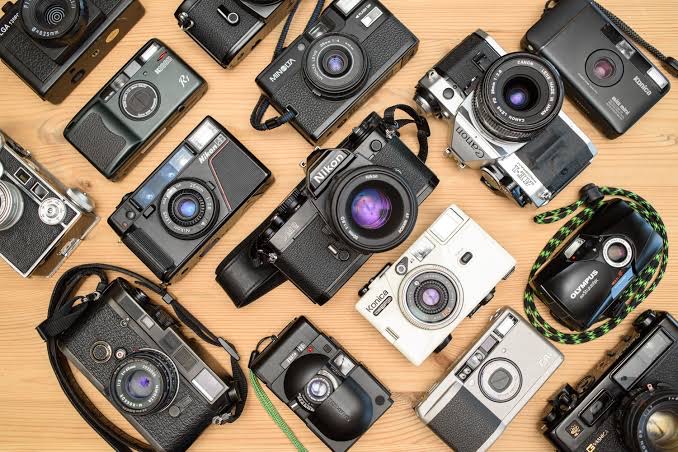
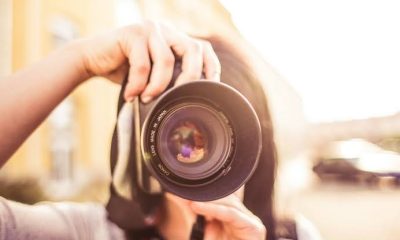
Photography
5 Disadvantages of Using Film Cameras in Photography


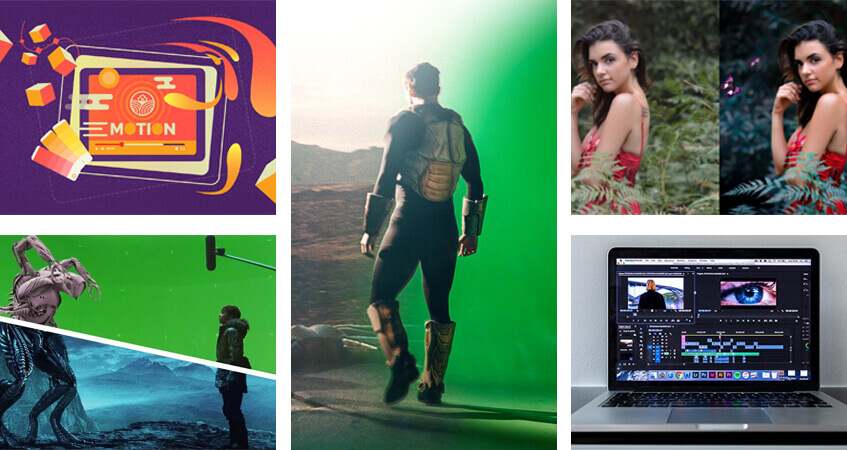
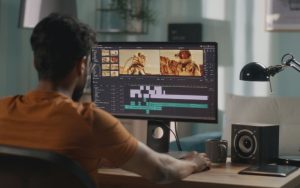
Photography and video editing comparison. Both both have their own special difficulties and benefits. The intricacy and technical demands of video editing may make it more difficult for some people, while the artistic vision and accuracy needed for photography may be difficult for others. In the end, each discipline’s level of difficulty varies depending on a person’s strengths, interests, and experience. Both offer chances for artistic expression and personal development, regardless of whether you’re inclined to the timeless beauty of photography or the dynamic storytelling of video production.
PHOTOGRAPHY AND VIDEO EDITING COMPARISON
While video editing entails organizing several clips to build a narrative, including audio, pace, and color grading, photography concentrates on capturing a single, flawless moment, necessitating, for example, intricate retouching in Lightroom. While videography handles motion continuity, sound, and extensive file management, photography deals with static composition. Comparing the difficulty of video editing and photography is subjective and depends on various factors, including individual skills, experience, and preferences. Both disciplines require creativity, technical knowledge, and attention to detail, but they involve different processes and challenges.
Video Editing:
PHOTOGRAPHY AND VIDEO EDITING COMPARISON
Video editing involves assembling and manipulating video footage to create a cohesive and compelling narrative. It requires proficiency in editing software, understanding of pacing, rhythm, and storytelling techniques, and the ability to synchronize audio and visual elements effectively. Video editing can be complex and time-consuming, especially for projects with multiple scenes, special effects, and intricate timelines. Additionally, video making often involves working with large files and managing storage space, which can pose logistical challenges.
Photography:
PHOTOGRAPHY AND VIDEO EDITING COMPARISON
Photography, on the other hand, involves capturing still images that convey a message, evoke emotions, or tell a story. While photography requires technical knowledge of camera settings, composition, and lighting, it also relies heavily on creativity and artistic vision. Photographers must have a keen eye for detail, patience to wait for the perfect moment, and the ability to work with natural or artificial light to create visually stunning images. Post-processing techniques, such as editing in software like Adobe Lightroom or Photoshop, are also integral to the photography process and require skill and precision.
Summary
Professional photography and video editing, which frequently call for proficiency with programs like Adobe Premiere Pro, DaVinci Resolve, or Lightroom, combine technical know-how with imaginative storytelling to enhance visual content. For video to reach high standards, color correction, beauty retouching, and pace are essential duties. Because clients often require entire graphic packages, providing both services boosts revenue possibilities.
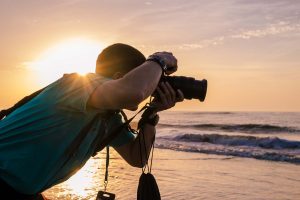
Photography and outdoors. Photography is the art, application, and practice of using light to create images, either chemically using a light-sensitive substance like photographic film or electronically using an image sensor. In addition to its more obvious applications in art, film and video production, leisure, hobbies, and mass communication, it is used in many branches of science, manufacturing (such as photolithography), and commerce. A photographer is a person who uses a camera to take pictures, and a photograph is the end product of the camera.
PHOTOGRAPHY AND OUTDOORS
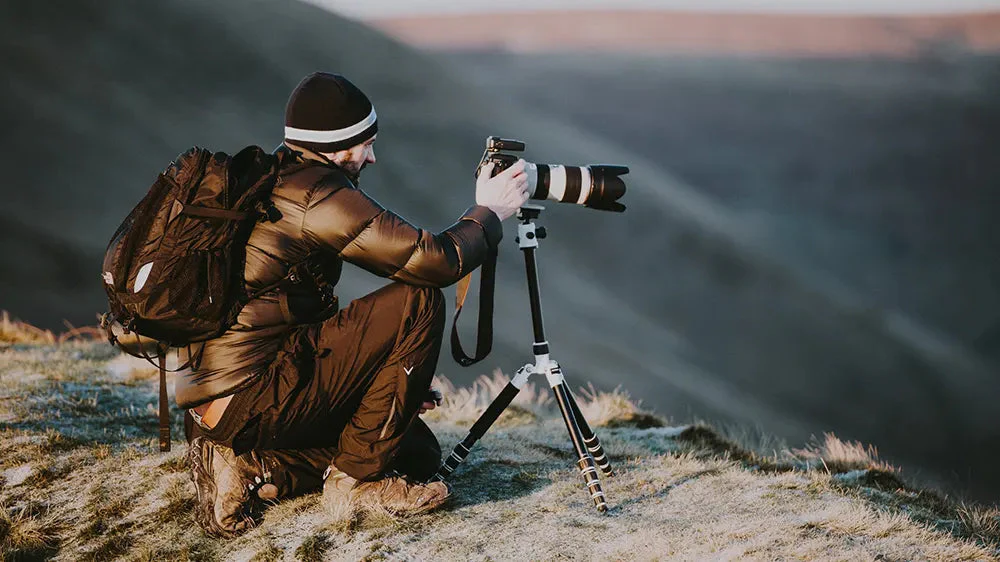
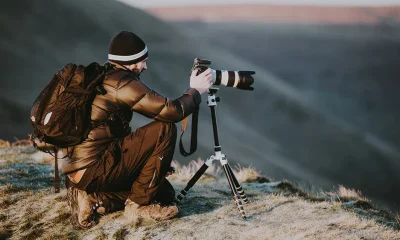
By utilizing natural light and surroundings, outdoor photography captures metropolitan views, nature, and portraits. Use shade or diffusers to prevent harsh daytime shadows or shoot at the golden hour (sunrise/sunset) for soft, warm lighting to get the best effects. Using a tripod, exploring areas, protecting gear with weather sealing, and composing using the rule of thirds are important strategies. Outdoor photography is a great idea, but it requires high-quality equipment. The following are essential outdoor photography equipment:
1. Camera:

Nikon Z 5 II
Choose a camera with manual settings and good low-light performance. Both DSLRs and mirrorless cameras are popular choices.
2. Lenses:
Carry a versatile lens kit, including a wide-angle lens for landscapes and a telephoto lens for wildlife or distant subjects.
3. Tripod:
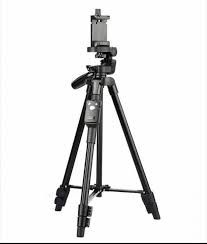
A sturdy tripod is crucial for long-exposure shots, capturing details, and ensuring stability in various outdoor conditions.
4. Camera BagInvest in a durable and weather-resistant camera bag to protect your gear and make it easy to carry during outdoor adventures.
5. Filters:
Consider using filters like polarizers for reducing reflections, ND filters for controlling exposure, and UV filters for lens protection.
6. Lens Cleaning Kit:

Keep your lenses pristine with a cleaning kit to remove dust, smudges, and other contaminants.
7. Weather Protection:
Bring rain covers or weather-resistant gear to protect your camera and equipment in unpredictable outdoor conditions.
8. Remote Shutter Release:
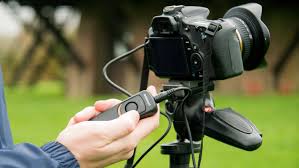
Photography and outdoors
A remote shutter release minimizes camera shake, especially in situations requiring long exposures or capturing wildlife discreetly.
9. Extra Batteries and Memory Cards:
Ensure you have ample power and storage for extended outdoor shooting sessions.
10. Lighting Equipment:
Photography and outdoors
Consider portable lighting options like a speedlight or LED panel for adding fill light in challenging lighting conditions. And it’s of the important outdoor photography gears you every photographers need.
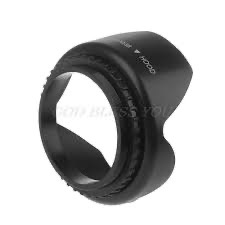
11. Lens Hood:
A lens hood helps prevent lens flare and protects your lens from stray light.
12. Navigation Tools:
Carry a map, compass, or GPS device to navigate outdoor locations safely.
13. Multi-Tool:
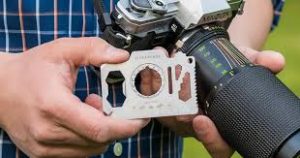
Photography and outdoors
A multi-tool can be handy for various outdoor tasks and minor equipment adjustments, and it’s of the important outdoor photography gears you every photographers need.
Summary
Remember, the specific gear you need may vary based on your photography style, preferences, and the outdoor environment you’re exploring. Adapt your kit to suit the unique challenges and opportunities presented by nature. Read other interesting articles here.
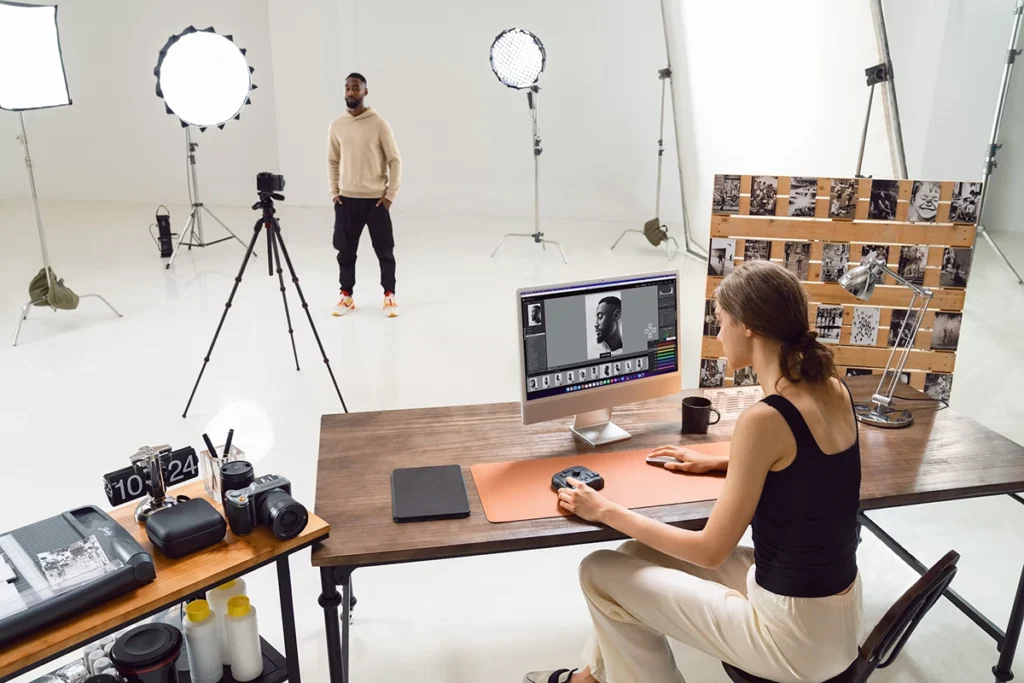
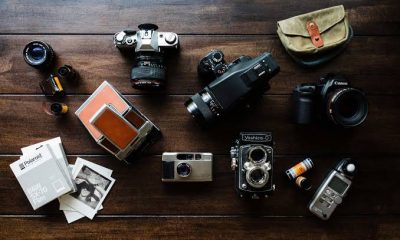
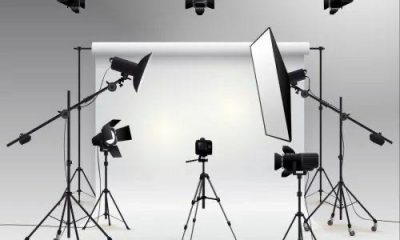
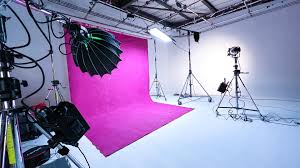
Tools for in-studio portraits. It takes more than just a camera and a willing subject to take beautiful in-studio portraits. Purchasing the appropriate instruments and accessories can significantly improve your photography. Every portrait photographer should take into account these seven favorites:
TOOLS FOR IN-STUDIO PORTRAITS
A DSLR or mirrorless camera with a 50mm+ lens, artificial lighting (strobes or monolights), diffusion softboxes or umbrellas, and a 5-in-1 reflector are essential in-studio portrait gear. A strong tripod, a calibrated monitor, and C-stands or heavy-duty rolling supports are examples of supporting equipment. Important accessories include backdrops,
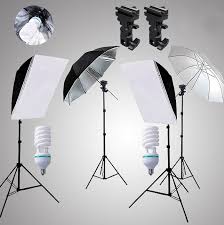
1. Quality Lighting Equipment:

Softboxes and diffusers are indispensable for achieving a flattering and even illumination in your portraits. Invest in reliable lighting equipment to control shadows and highlight your subject’s best features.
2. Sturdy Tripod:
Stability is key for sharp, focused shots. A sturdy tripod is a must-have accessory, providing the foundation for capturing clear and professional-looking In-studio Portraits, especially in low-light conditions.
3. Versatile Backdrops:
Spice up your portraits with a variety of backdrops. Different colors and textures allow you to tailor the setting to your subject’s personality, adding depth and interest to your compositions
4. Reflector:
Enhance your lighting setup with a reflector. This tool helps introduce subtle fill light, reducing harsh shadows and accentuating your subject’s facial features. It’s a simple yet powerful addition to your portrait toolkit
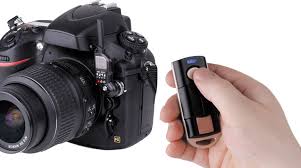
5. Wireless Remote Triggers:
TOOLS FOR IN-STUDIO PORTRAITS
Take control of your camera without being tethered by wires. Wireless remote triggers give you the freedom to move around, interact with your subject, and capture spontaneous moments while maintaining precise control over your camera settings.6. High-Quality Lenses:
Invest in a range of high-quality lenses, with prime lenses featuring wide apertures being particularly valuable. These lenses provide the coveted shallow depth of field, isolating your subject and creating a stunning, professional look.
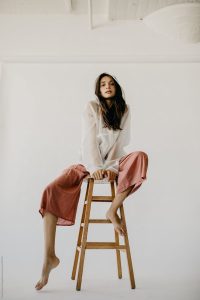
7. Posing Stool:
TOOLS FOR IN-STUDIO PORTRAITS
A comfortable and adjustable posing stool is often overlooked but can be a game-changer. It allows you to experiment with different angles and compositions, giving you more flexibility in creating visually engaging portraits.
Summary
A well-equipped in-studio portrait setup is built on these seven tools and accessories. You’ll be well on your way to taking memorable and classic photographs if you combine them with your abilities and inventiveness. Read other articles here..

Exam success tips for waec

Tips for jamb success

Plastic water bottle hazards

A Step-by-Step Guide to Deleting Reels on Instagram

A Comprehensive Guide to Setting Up a YouTube Premiere

How to Create a WhatsApp Group
-

 Social media2 weeks ago
How to Delete Reels on IG
-

 Social media1 week ago
Tips for likes and Followers on Facebook
-

 Social media1 week ago
Guidelines for Creating a Facebook Page
-
 Photography1 week ago
Photography and Outdoors
-
 Music1 week ago
Lyrics for Iké Nilé
-

 Social media1 week ago
Tips on how to Archive Instagram Post