
BEAUTY
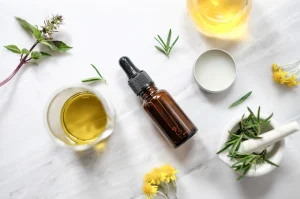
Aloe Vera Gel: Benefits and Uses

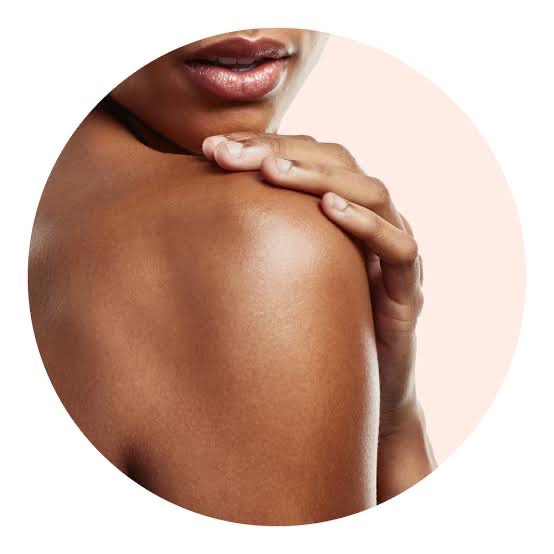
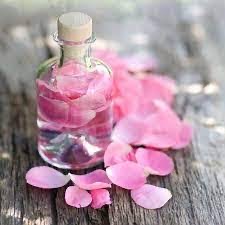
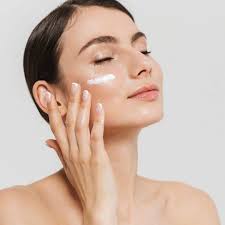
Aloe vera gel is a natural remedy known for its soothing, healing, and hydrating properties. Extracted from the aloe vera plant, it is rich in vitamins, minerals, and antioxidants that benefit the skin, hair, and overall health.
Benefits of Aloe Vera Gel
1. Soothes Skin Irritation
Aloe vera has anti-inflammatory properties that help relieve itching, redness, and irritation from conditions like eczema, psoriasis, and rashes.
2. Heals Burns and Wounds
Its cooling and moisturizing effects make aloe vera effective in treating sunburns, minor burns, and cuts by speeding up healing and reducing scarring.
3. Hydrates and Nourishes Skin
Aloe vera is a natural moisturizer that keeps the skin hydrated without making it greasy, making it ideal for all skin types.
4. Fights Acne and Blemishes
With antibacterial properties, aloe vera helps reduce acne, prevent breakouts, and fade acne scars by soothing inflammation and killing bacteria.
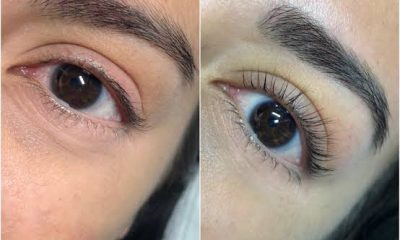
5. Promotes Hair Growth
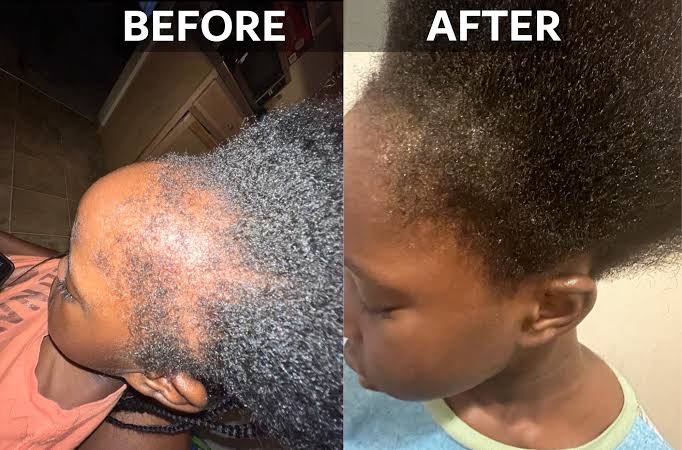
Aloe vera strengthens hair follicles, reduces dandruff, and stimulates hair growth by nourishing the scalp and improving blood circulation.
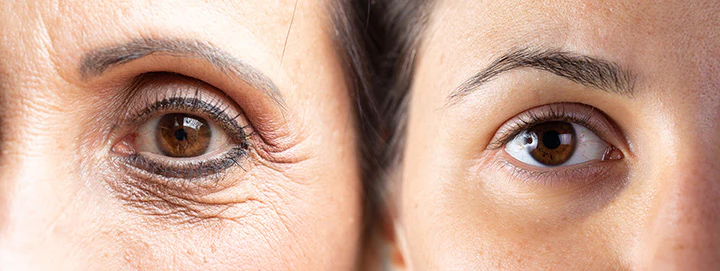
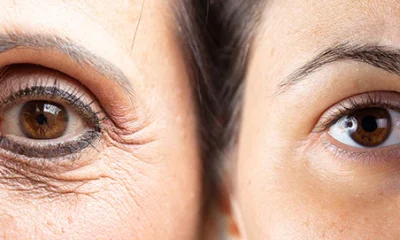
6. Reduces Signs of Aging
Rich in antioxidants and vitamins C and E, aloe vera boosts collagen production, reducing wrinkles, fine lines, and sagging skin.
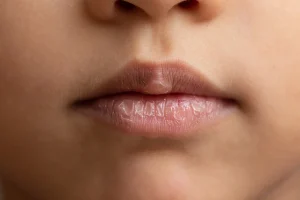
7. Soothes Dry and Chapped Lips

Its hydrating properties help heal dry, cracked lips, leaving them soft and smooth.
How to Use Aloe Vera Gel
– For Skin: Apply a thin layer to the face or affected areas and leave it on for 15-20 minutes before rinsing.
– Hair: Massage onto the scalp and hair, leave for 30 minutes, then wash with shampoo.
– For Sunburns and Burns: Apply directly to the burn for instant cooling and healing.
Precautions
– Always do a patch test before use.
– Avoid using aloe vera on deep wounds or severe burns.
– Store fresh aloe vera gel in the refrigerator for longer shelf life.
Aloe vera gel is a versatile, natural solution for healthier skin, hair, and overall well-being.


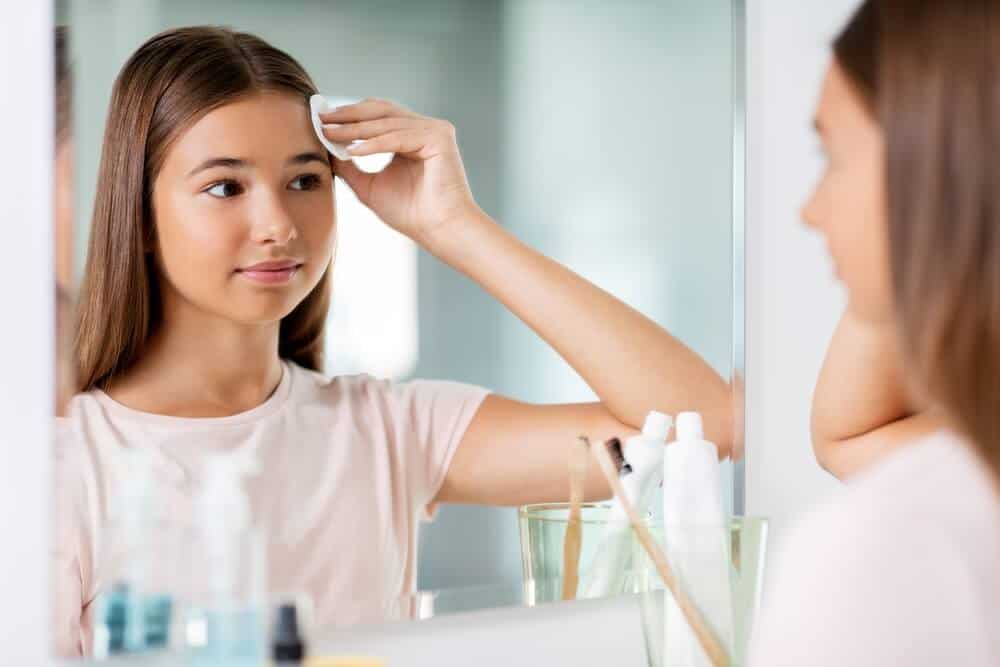
Young girls and skincare routines. Young skin is tough by nature and usually doesn’t need much care. Usually, all that is required is a basic regimen consisting of a light moisturizer, a mild cleanser, and daily sunscreen. Young girls should be encouraged by their parents and guardians to adopt healthy practices that preserve their natural skin barrier rather than using heavy skincare products designed for adults.
YOUNG GIRLS AND SKINCARE ROUTINES
Young girls frequently emulate adult beauty trends and skincare practices that may not be appropriate for their age or skin type. Early adoption of excellent skincare practices is crucial, yet some products and procedures might be more detrimental to younger skin than beneficial. Young ladies should steer clear of the following important skincare practices:
1. Strong Exfoliants and Chemical Peels;
YOUNG GIRLS AND SKINCARE ROUTINES
Although, using potent exfoliants or chemical peels is a popular trend in adult skincare to remove dead skin cells and promote skin renewal. However, these products can be too harsh for young, developing skin, leading to irritation, redness, and even long-term damage. Instead, young girls should stick to gentle exfoliators, like a mild scrub, once a week.
2. Anti-Aging Products;
Anti-aging products often contain ingredients like retinoids and strong peptides that aim to boost collagen production and reduce wrinkles. These products are unnecessary for young girls and can disrupt the natural balance of their skin. A basic routine with gentle cleansers and moisturizers is sufficient at this age.
3. Heavy Serums and Oils;
YOUNG GIRLS AND SKINCARE ROUTINES
Many skincare routines incorporate heavy serums and facial oils for extra hydration or treatment. While these may be beneficial for older, drier skin, they can clog pores and cause breakouts in younger girls who generally have naturally more balanced or oily skin.
4. Frequent Use of Masks;
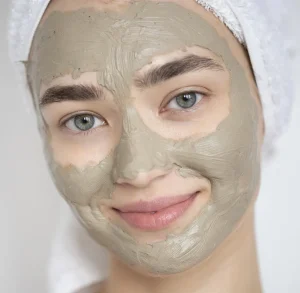
However, face masks, especially those with strong astringents or active ingredients, should be used sparingly. Young skin is typically more sensitive and can become over-dried or irritated with frequent use of clay masks or sheet masks containing alcohol or synthetic fragrances.
5. Multi-Step Routines;
YOUNG GIRLS AND SKINCARE ROUTINES
Meanwhile, complex, multi-step skincare routines that include toners, essences, and multiple treatments can overwhelm young skin. Young girls benefit more from a simplified skincare regimen focused on basic cleansing, light moisturizing, and sun protection.
Summary
Also, to maintain healthy skin while avoiding harsh anti-aging treatments, young girls (tweens/teens) should follow a straightforward, regular skincare routine that emphasizes washing, moisturizing, and sun protection (SPF). To avoid breakouts and safeguard the skin barrier, effective routines include a mild cleanser, a light moisturizer, and SPF 30+ every day.
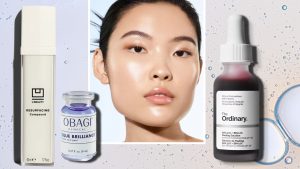
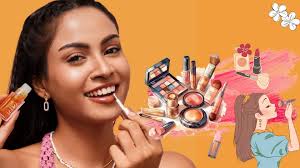
Side effects of makeup products. The adverse effects of makeup products can range from minor skin irritation, acne, and allergic responses to more serious problems including eye infections, early aging, and possible long-term health hazards due to harmful substances. Common factors include heavy substances that block pores, microbial accumulation in outdated products, and toxins including parabens, phthalates, and heavy metals.
SIDE EFFECTS OF MAKEUP PRODUCTS
Face primer, foundation, concealer, setting powder, blush, bronzer, eyeshadow, eyeliner, mascara, brow products, and lip colors are all necessary makeup items. A basic, high-quality kit for novices comes with primer, foundation, mascara, concealer, and a variety of eyeshadows.
1. Blockages in the pores;
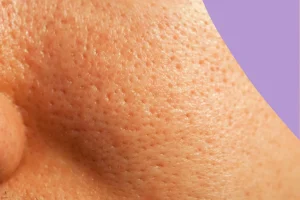
Makeup that is not thoroughly cleaned off or that is applied for an extended period of time might clog your pores. This implies that there is a chance cosmetics cause acne since germs that cause acne can grow in closed pores.
2. Itchy skin;
Selecting skincare items that are appropriate for your skin type is crucial, as it is for all other goods. Failure to do so may result in rashes, skin irritations, and even severe allergies. Only when regular makeup doesn’t employ natural or gentle formulations is it harmful to your skin.
3. Hypoxia and dehydration;
Some goods boast qualities that dry quickly or have a certain feel. However, the most noticeable adverse impact of cosmetics like this is that it contains alcohol, which can cause your skin to become dehydrated.
4. Aging at an early age;
When it comes to premature aging, is makeup harmful to your skin? The kind of products you use and your pre- and post-makeup routine are more important than just cosmetics.
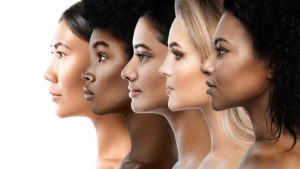
5. Varying skin tones;
SIDE EFFECTS OF MAKEUP PRODUCTS
Makeup adverse effects that are less well-known include discoloration, pigmentation, redness, dark patches, and other indicators of uneven skin tone.
6. Eye pain;
Due to the extremely sensitive skin in this area, even the smallest irritations from harsh makeup or bacteria and germs from old, toxic makeup can result in redness, inflammation, eye discharge, swollen eyes, and in extreme situations, vision problems.
7. Lip dryness;
SIDE EFFECTS OF MAKEUP PRODUCTS
Your products’ dyes, scents, menthol, zesty aromas, and preservatives can have a negative makeup effect on the skin surrounding your lips as well as the lips themselves, making them dry and chapped.
8. A rise in cutaneous sensitivity;
When evaluating whether makeup is harmful to your skin, bear in mind that any of the above-mentioned short-term or long-term makeup side effects can exacerbate skin sensitivity and increase the likelihood of acne, eczema, and other problems.
Summary
Wearing makeup every day has less of an effect on your skin than developing bad cosmetic habits. If you choose products with potent components, frequent use may cause damage to your skin.
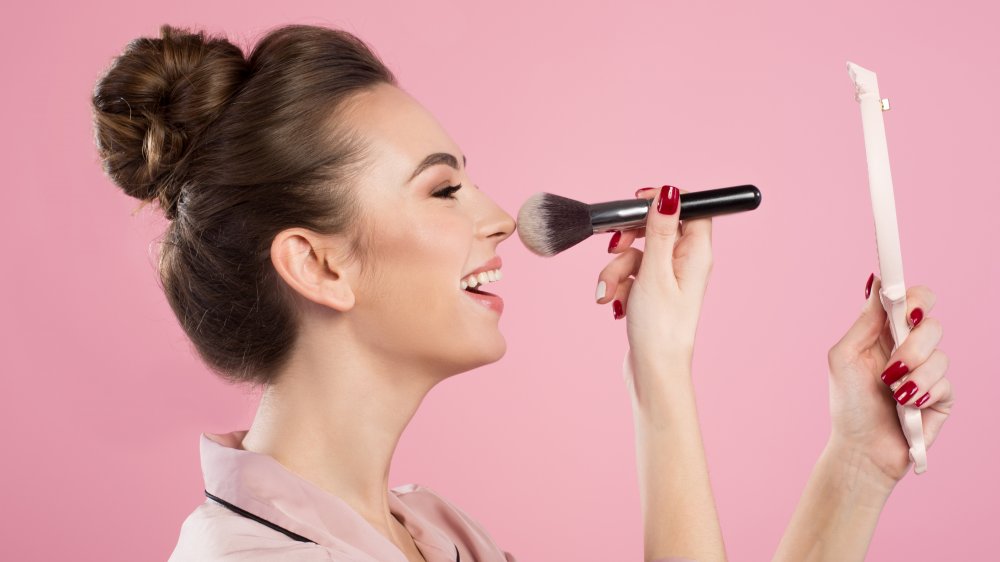
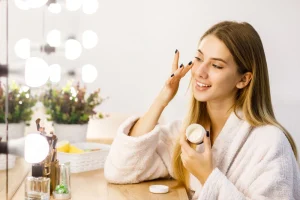
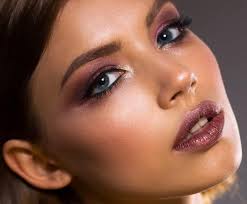
Wearing makeup advantages. Skin should be cleansed and moisturized before applying sunscreen and a primer to provide a smooth background for makeup. Apply BB cream or foundation first, then blush, concealer, then, if desired, bronzer or highlighter. To guarantee longevity, finish with mascara, eyeliner, eyeshadow, and a setting spray or powder.
WEARING MAKEUP ADVANTAGES
With its many benefits, makeup has become indispensable in our daily lives. Applying makeup can make us seem better. Many additional aspects and benefits of cosmetics are also worth discussing.
Benefits;
1. Using makeup boosts your self-confidence;
Wearing makeup boosts your confidence, which is the main reason to do it. cosmetics will boost your self-esteem; for example, girls wearing cosmetics will feel more assured to face the day.
2. Will protect your skin;
Makeup aids in shielding your skin from damaging elements like smog and pollution. Your skin is protected from dust exposure by the thin layer of barrier that makeup forms around it.
More Benefits of Wearing Makeup;
3. Cosmetics can improve your appearance;

WEARING MAKEUP ADVANTAGES
Every woman wants to appear her best, but it can be difficult at times. This is where makeup can help. A woman can look amazing and welcoming with makeup.
4. Wearing cosmetics will enhance your enjoyment of the day
It’s all about adding a little extra joy to your life with makeup. With all the labor you do every day, you don’t want to lose your mind.
5. Using makeup enhances your appearance in pictures;
WEARING MAKEUP ADVANTAGES
To look your best in pictures, apply makeup. Occasionally, your face’s inherent features won’t be particularly apparent. However, you may use cosmetics to make your face appear more radiant and create a lovely style that makes you look your best for the camera and adds a nice touch overall.
6. Applying cosmetics can improve your complexion;
The tone of your skin may appear overly pale or sallow. This is particularly evident in the facial region where you may struggle to keep a beautiful appearance. However, you can make your skin tone appear a bit more appealing or brighter by applying makeup.
7. You always look younger when you wear makeup;

WEARING MAKEUP ADVANTAGES
Women frequently reach the point when they have to fabricate their ages, which is one of makeup’s most beneficial effects. However, you can use makeup to help you deal with that straightforward untruth.
Summary
There are several psychological, social, and physical advantages of wearing cosmetics. Beyond only being aesthetically pleasing, these benefits frequently enhance a person’s general wellbeing.

Airline Travellers and Baggage Allowances

First Time Travellers and Airline Policies

Plane Tickets Relevance

A Step-by-Step Guide to Deleting Reels on Instagram

How to Create a WhatsApp Group


Pingback: Natural Mouthwash: Benefits, Ingredients, and DIY Recipes - SimplExplainer