Social media
A Guide to Using Calendly Effectively

In today’s fast-paced world, managing schedules efficiently is crucial. Whether you’re scheduling client meetings, team catch-ups, or personal appointments, the process can be time-consuming and prone to errors. Enter Calendly, a powerful scheduling tool designed to simplify the process and save you time. In this guide, we’ll explore how to use Calendly effectively to streamline your schedule and boost your productivity.
Getting Started with Calendly
1. Sign Up and Set Up
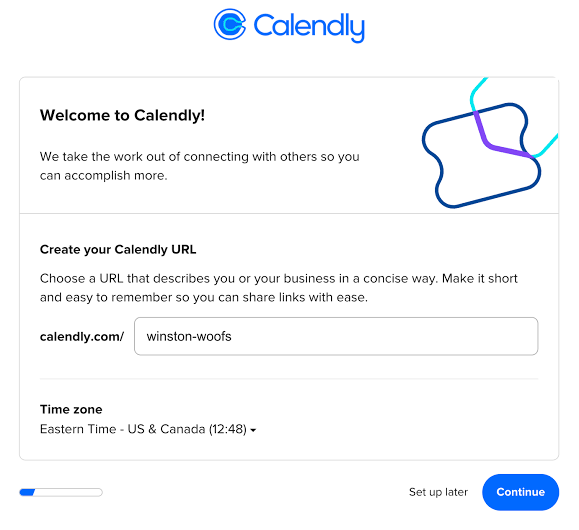
Begin by signing up for a Calendly account. Once you’re logged in, you’ll need to set up your availability preferences. This includes specifying your working hours, preferred meeting durations, and any buffer times you need between appointments.

2. Customize Your Calendly Page
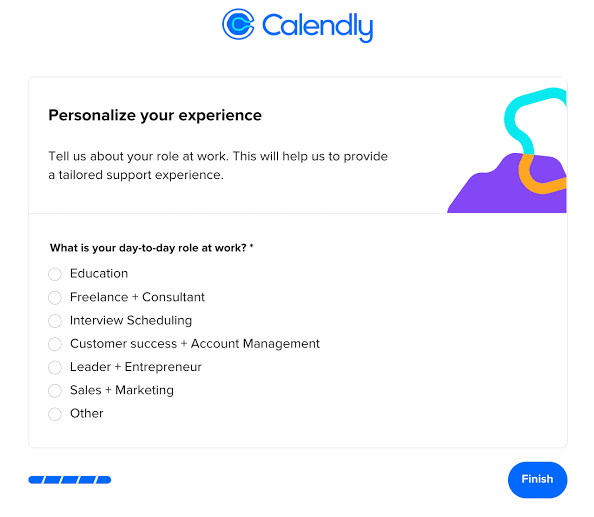
Personalize your Calendly page to reflect your brand and personality. You can customize the colors, add your logo, and write a brief bio or description to give visitors an overview of what you offer.

Scheduling Meetings with Calendly
1. Share Your Calendly Link
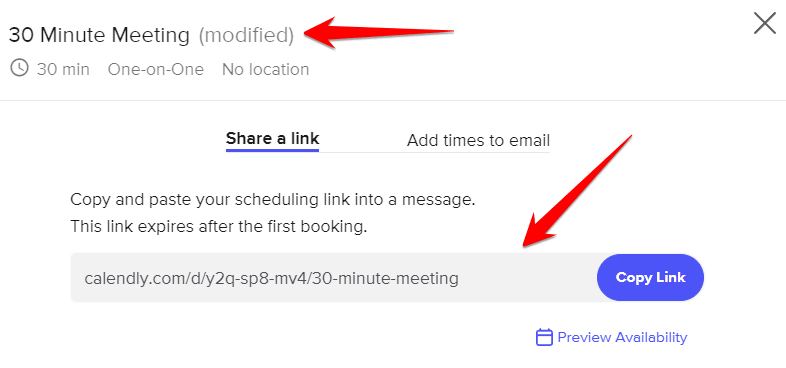

Once your Calendly page is set up, share the link with clients, colleagues, or anyone you need to schedule meetings with. You can include the link in your email signature, social media profiles, or directly in emails.
2. Set Meeting Types
Create different meeting types based on your needs, such as initial consultations, follow-up calls, or brainstorming sessions. For each meeting type, specify the duration, location (in-person or virtual), and any required information or forms attendees need to provide.
3. Automated Scheduling
With Calendly, you can say goodbye to the back-and-forth emails trying to find a suitable time for a meeting. Simply share your availability, and attendees can book a time that works for them from your calendar.
Managing Your Schedule


1. Sync with Your Calendar
Calendly seamlessly integrates with popular calendar apps like Google Calendar, Outlook, and iCloud. This ensures that your schedule is always up-to-date, and avoids double bookings.
2. Set Limits
Prevent scheduling conflicts and burnout by setting limits on the number of meetings you’ll take per day or week. Calendly allows you to specify your availability and avoid overbooking yourself.
Enhancing the User Experience
1. Personalized Invitations
Customize the email invitations sent to attendees to provide a warm and personalized touch. Include relevant details about the meeting and any additional instructions they may need.
2. Follow-Up Actions
After a meeting is scheduled, set up automated follow-up actions such as reminder emails or sending meeting agendas. This helps keep everyone on track and ensures a productive meeting.
Analyzing Your Performance
1. Analytics and Insights
Calendly provides analytics and insights into your scheduling habits. You can track metrics like meeting volume, conversion rates, and popular meeting times to optimize your schedule and improve efficiency.
2. Feedback and Reviews
Collect feedback from attendees to gauge their experience with scheduling and attending meetings via Calendly. Use this feedback to make adjustments and enhance the user experience further.
Calendly is a valuable tool for streamlining your schedule and maximizing your productivity. By automating the scheduling process, managing your availability, and analyzing your performance, you can save time and focus on what matters most. Whether you’re a busy professional, entrepreneur, or freelancer, It can help you take control of your schedule and achieve your goals with ease.
Pingback: How to create calendly