Educational
How to unsubscribe from unnecessary emails

Receiving mails from unnecessary sources is quiet crazy, here are the steps to unsubscribe from a mailing list:
1. Open Email: Find the email from the mailing list you want to unsubscribe from.
2. Scroll to Bottom: Scroll down to the bottom of the email. Many mailing lists include an unsubscribe link or button here.
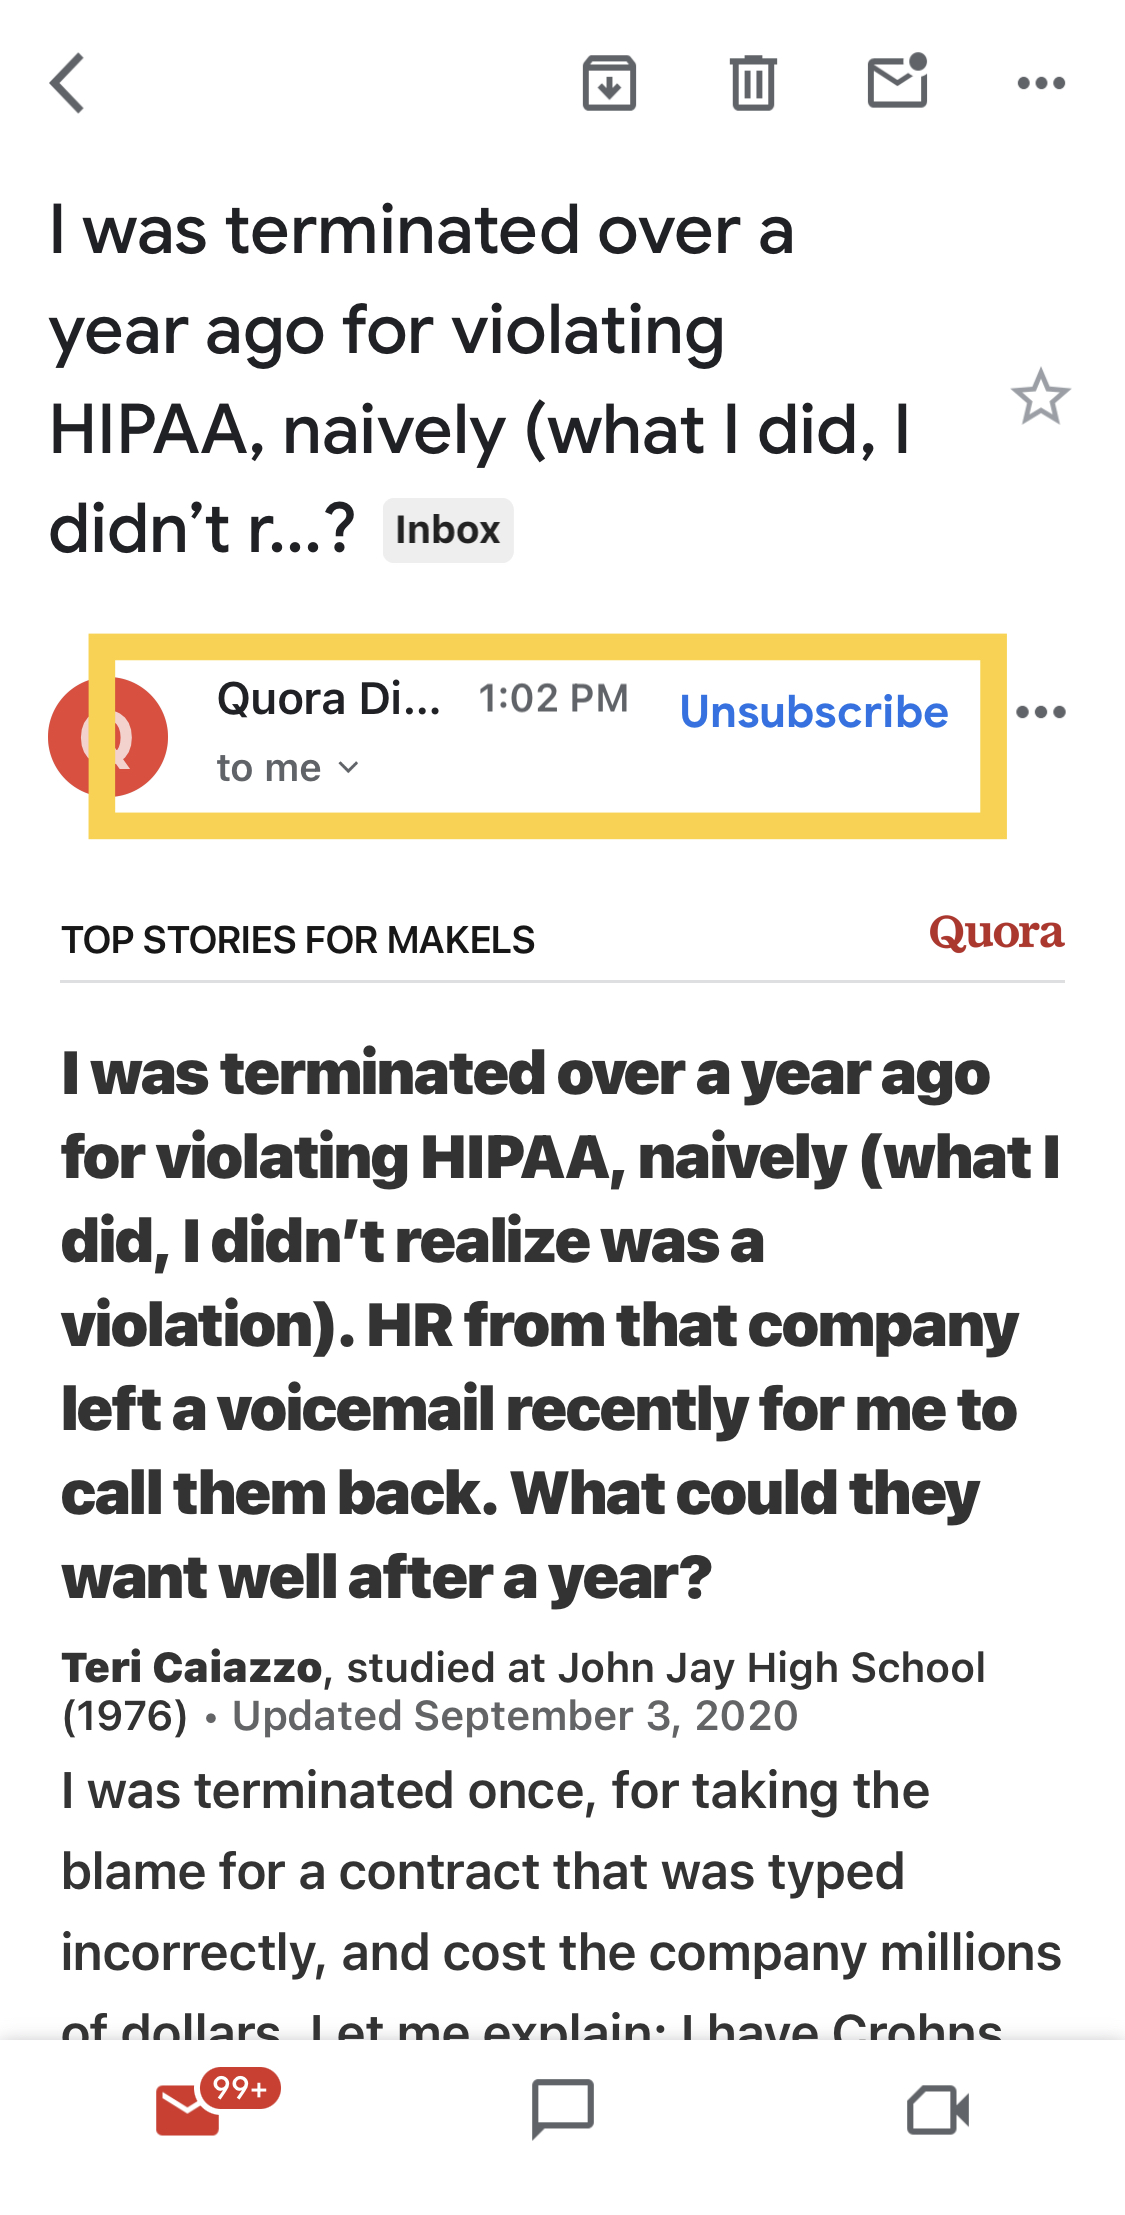

3. Click Unsubscribe Link: Click on the unsubscribe link/button. It’s usually labeled clearly, such as “Unsubscribe” or “Manage Preferences.”


4. Confirm Unsubscription: You may be directed to a confirmation page where you’ll need to confirm that you want to unsubscribe. Click “Unsubscribe” or a similar option to confirm.
5. Check for Confirmation Email: Some mailing lists send a confirmation email to ensure that you indeed want to unsubscribe. Check your inbox for this email and follow any instructions to confirm.
6. Review Subscription Settings: Some mailing lists offer options to adjust your subscription settings instead of fully unsubscribing. If you still want to receive emails but less frequently or on different topics, you might find this option useful.
7. Mark as Spam (if necessary): If you can’t find an unsubscribe link or if your attempts to unsubscribe are unsuccessful, you can mark the emails as spam. Most email providers will automatically block future emails from that sender. However, this should be a last resort.
8. Update Email Filters (optional): If you’re still receiving emails after unsubscribing, you can create filters in your email client to automatically delete or move emails from that sender to your spam folder.
By following these steps, you should be able to successfully unsubscribe from the mailing list you no longer wish to receive emails from.
Pingback: A Guide to Using Calendly Effectively - SimplExplainer