Health
How to Use a Quick HIV Test Strip

Quick HIV test strips provide a fast and convenient way to screen for HIV (Human Immunodeficiency Virus) in various settings, including at home. These tests typically detect antibodies to HIV in your blood or saliva. Here’s a step-by-step guide on how to use a quick HIV test strip:
Step 1: Preparation
1. Read Instructions: Thoroughly read the instructions provided with the test kit to understand the specific procedures and any variations between brands.
2. Check Expiry Date: Ensure the test strip is not expired, as using an expired test may yield inaccurate results.
3. Gather Supplies: Have the test kit ready, which typically includes the test strip, a lancet or swab (depending on whether it’s a blood or saliva test), a dropper, a buffer solution, and a timer.
Step 2: Sample Collection
For a Blood Test:
1. Wash Hands: Clean your hands thoroughly with soap and water to maintain hygiene.
2. Prepare Lancet: Open the lancet provided in the kit.
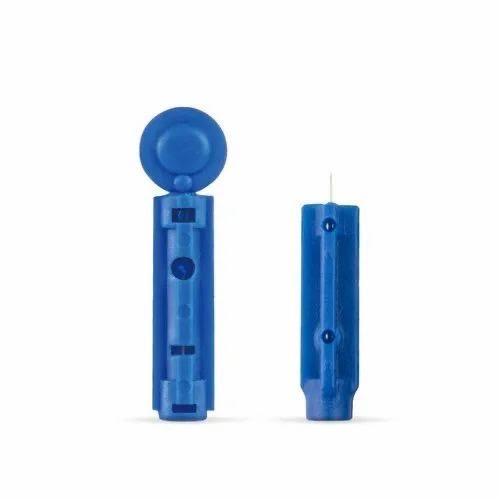

3. Puncture Finger: Use the lancet to prick the side of your fingertip to get a small blood sample. 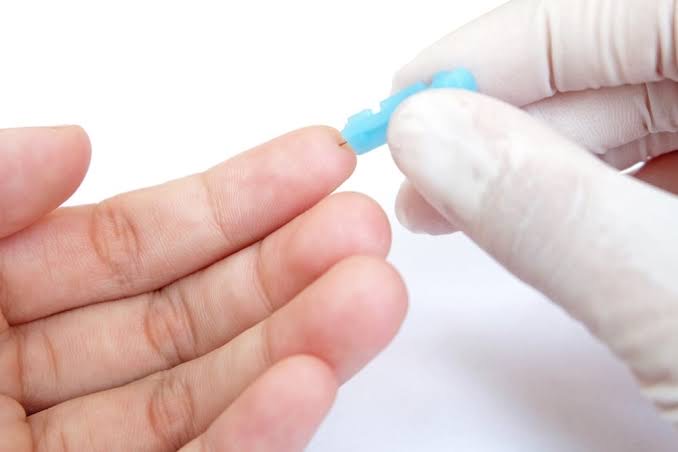

4. Collect Blood: Use the dropper provided to collect the blood sample. 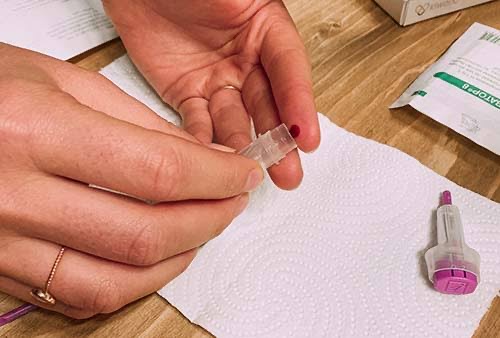

For a Saliva Test:
1. Avoid Eating or Drinking: Do not eat, drink, or use oral care products at least 30 minutes before the test.
2. Swab Gums: Use the provided swab to gently rub along your upper and lower gums to collect a saliva sample. 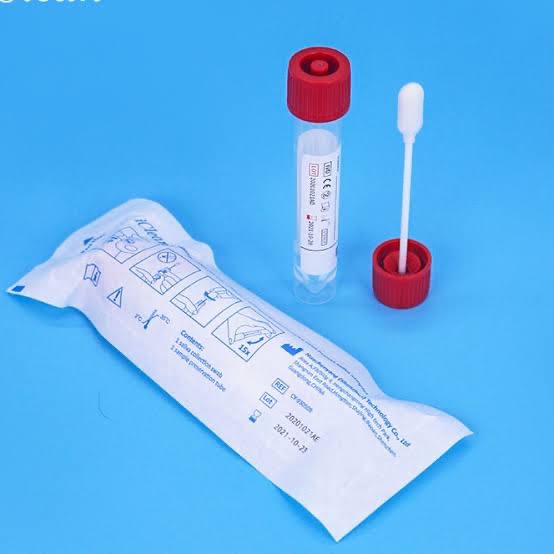

Step 3: Applying the Sample
1. Prepare Test Strip: Place the test strip on a flat surface.
2. Add Sample to Test Strip:
• Blood Sample: Add the collected blood to the designated area on the test strip, usually with a dropper. Follow up with the buffer solution as instructed.
• Saliva Sample: Insert the swab into the test device as directed.
Step 4: Waiting for Results
1. Set Timer: Start the timer as indicated in the instructions, typically for about 15 to 20 minutes.
2. Wait: Allow the test to develop without moving or disturbing it during the waiting period.
Step 5: Interpreting the Results


1. Control Line: Ensure a control line appears on the test strip to confirm the test is valid.
2. Test Line: Check for a second line in the test area:
– Positive Result: Two lines (control and test) indicate a positive result, suggesting HIV antibodies are present.
– Negative Result: Only one line (control) indicates a negative result, suggesting no HIV antibodies were detected.
– Invalid Result: If no lines appear or only the test line appears, the test may be invalid, and you should repeat it with a new kit.
Step 6: Post-Test Procedures
1. Record Results: Write down the date and results for your records.
2. Dispose of Materials: Safely dispose of the test kit components as instructed.
3. Follow Up: If the result is positive, contact a healthcare provider for confirmatory testing and further guidance. If the result is negative but you believe you may have been exposed to HIV recently, consult a healthcare provider about retesting or other steps.
Using a quick HIV test strip is a straightforward process that can provide rapid results in the privacy of your home. Following these steps carefully will help ensure accurate results and appropriate follow-up actions.