
BEAUTY
Skincare for Skin Types

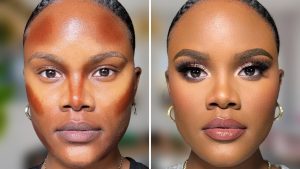
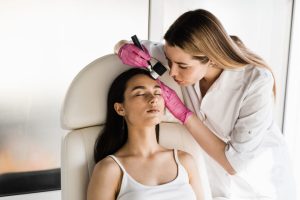
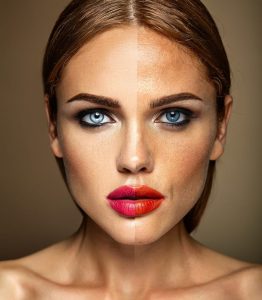
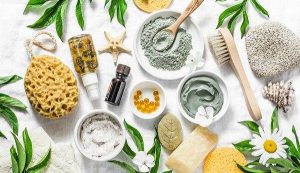
Skincare for skin types. Proper skincare routine is reflected in beautiful and healthy skin, so it’s critical to select products that are appropriate for your skin type. The quest for flawless and glowing skin can be daunting given the abundance of skincare products on the market. This thorough guide will take you through all the necessary steps to chooseskincare products that suit your particular skin type and skin concerns.
SKINCARE FOR SKIN TYPES
We’ll assist you in making decisions that will revolutionize your skincare regimen, from determining your skin type to comprehending product labels and ingredients. The secret to a healthy, glowing complexion is knowing how to take care of your skin, which is as individual as you are. This comprehensive guide to skincare for various skin types offers you personalized recommendations based on the unique requirements of your skin. Knowing your skin type is essential before beginning a skincare regimen. The most typical classifications are:
1. Dry Skin

This type of skin is tight, flaky, and appears lifeless. Rich, hydrating products that help seal in moisture are beneficial for dry skin.
Cleaner
Make use of a mild, moisturizing cleanser.
Toner
Choose hydrating, calming toners without alcohol.
Moisturizer
Although, select an emollient, rich moisturizer.
Serum
Also, include serums that contain glycerin or hyaluronic acid.
Exfoliation
Once a week, use a mild exfoliator.
2. Oily Skin

However, prone to breakouts and frequently shiny with visible pores. Products that regulate sebum production and maintain clear pores are necessary for oily skin.
Cleaner
To get rid of extra oil, use a foaming or gel cleanser.
Toner
Also, to manage oil, pick a toner that contains salicylic acid.
Moisturizer
Choose a moisturizer that is oil-free and lightweight.
Serum
To lower oil production, use serums.
Exfoliation
Once a week, use a mild exfoliator.
3. Blending Skin
Although, usually dry on the cheeks and oily in the T-zone, this skin type has both dry and oily patches. Products that balance both issues are advantageous for this kind. •
Cleanser
Although, make use of a mild cleanser that helps to maintain skin equilibrium.
Toning
Use a balancing toner on the T-zone and a hydrating toner on the dry areas.
Moisturizer
However, apply a richer moisturizer to the cheeks and a lighter one to the T-zone.
Serum
Meanwhile, include serums that target particular issues for every region.
Exfoliation
Exfoliate the dry areas less frequently and the T-zone more frequently.
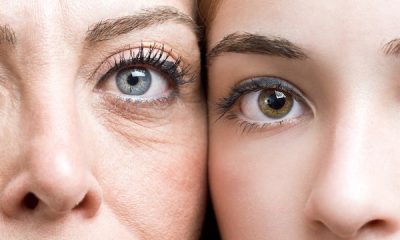
4. Sensitive Skin

Also, easily irritated by environmental elements and products. Gentle, hypoallergenic products that calm and protect sensitive skin are essential.
Cleaner
Also, make use of a mild, odorless cleanser.
Tone
Meanwhile, choose calming, alcohol-free tones.
Moisturizer
However, opt for fragrance-free, hypoallergenic moisturizers.
Serum
Apply relaxing serums containing aloe vera or chamomile. • Exfoliation: Do this sparingly and very gently.
OTHER TIPS
1. Sunscreen

Although, using a broad-spectrum sunscreen every day is crucial, regardless of skin type.
2. Hydration

However, to keep your skin hydrated from the inside out, drink a lot of water.
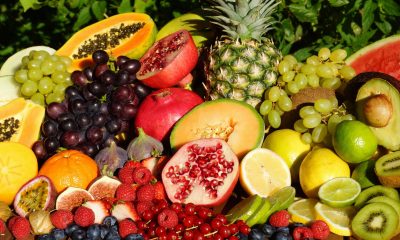
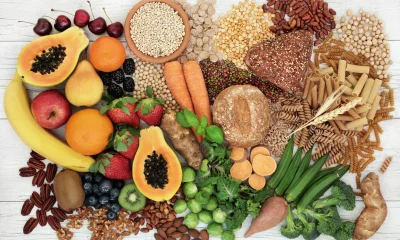
3. Nutrition

Meanwhile, healthy skin is supported by a well-balanced diet high in vitamins and antioxidants.
4. Sleep

Also, to aid in the renewal and repair of your skin, make sure you get enough sleep.
Summary
Hence, maintaining a skincare regimen involves more than just washing your face; it also involves hydrating your skin, treating any skin issues, and shielding it from the weather. A cleanser, moisturizer, and sunscreen should be the staples of any skincare regimen.


Styling and beauty guidelines. This play a major role in improving our appearance and boosting our confidence. With a few simple strategies and techniques, everyone may showcase their inner beauty and create a unique look. To help you feel and look your best, this post provides helpful fashion and beauty advice on anything from skincare routines and grooming procedures to clothing selection. may use a few simple strategies and techniques to showcase their inner beauty and create a unique style. To help you feel and look your best, this post provides helpful fashion and beauty advice on anything from skincare routines and grooming procedures to clothing selection.
STYLING AND BEAUTY TIPS
As a group of self-described beauty aficionados, we are always searching for new methods to expand our knowledge of beauty and experiment with different skincare and makeup trends. We can confidently state that, after much trial and error, we have compiled a few winning methods that make up our list of the top 10 beauty suggestions. These timeless advice pieces have demonstrated their efficacy over time and have fundamentally changed the way we take care of our skin.
Ways to improve your style and beauty;
1. Dressing for Your Body Type:

Choosing clothing that accentuates your form requires an understanding of your body type. Determine your body type (pear, hourglass, apple, or rectangle, then pick looks for your clothes that draw attention to the best parts of your body.
2. Creating a Signature Style:
Identifying your own style can be an enjoyable and empowering process. Try on several looks, play around with fashion trends, and focus on what makes you feel good about yourself.
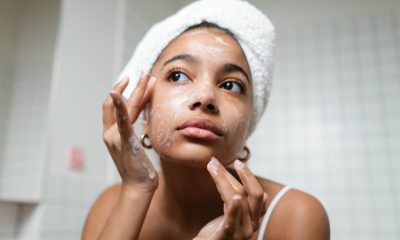
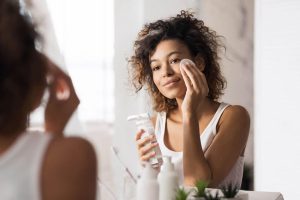
3. Skincare Routine:
Styling and beauty guidelines
For healthy, glowing skin, a regular skincare regimen is necessary. Wash your face twice a day to get rid of debris and pollutants. Then, tone and moisturize your skin to keep it nourished.
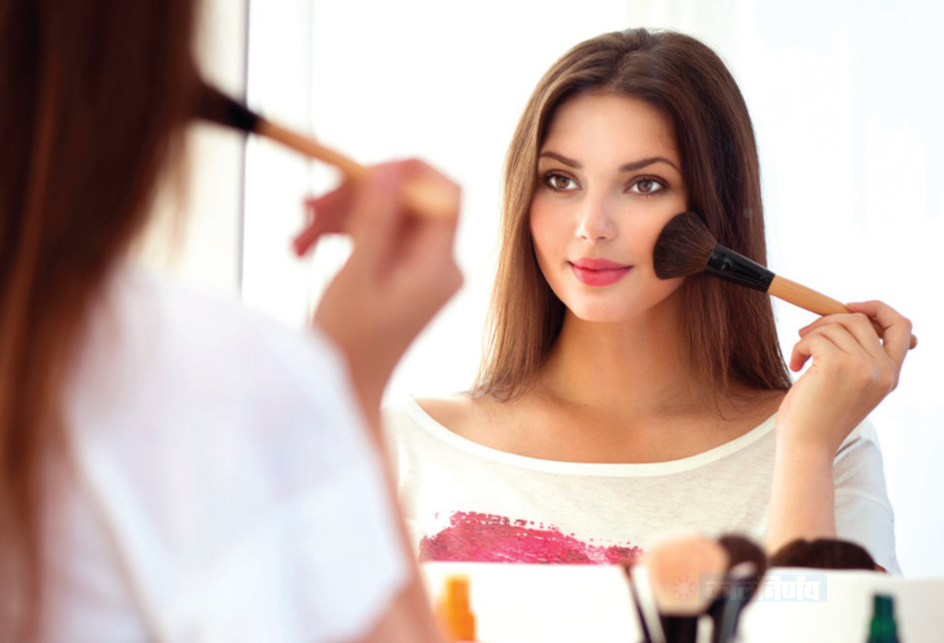
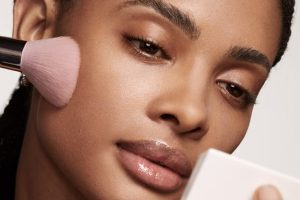
4. Enhancing Natural Beauty:
Accept your inherent beauty and use delicate cosmetics to accentuate it. To make your lips or eyes the center of attention, concentrate on accentuating them.
5. Hair Care:

Styling and beauty guidelines
Maintaining healthy, well-groomed hair can greatly improve your appearance. To keep your hair healthy, identify your hair type and get the appropriate equipment and products. Use style products that are appropriate for your hair type and desired look, then wash and condition your hair on a regular basis.
6. Grooming Techniques:
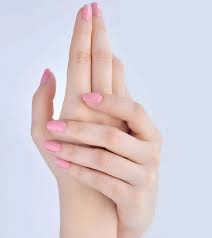
Taking care of the little things in your appearance can make a big difference. Maintain neat, well-groomed nails and moisturize your hands frequently. #Tip 1: Never give sunscreen a miss
Summary
Focus on a solid skincare foundation (cleanse, moisturize, SPF), use natural makeup to accentuate features (bronzer, defined brows, lip liner for longevity), and strategically maintain hair with overnight braids or dry shampoo before bed. Always invest in well-fitting basics and grooming for an effortlessly polished look.
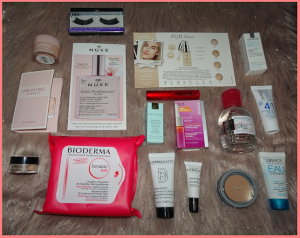
Beauty products reviews. writing evaluations of cosmetics. In the meanwhile, a thorough assessment should cover the product’s texture, odor, and application technique. Most importantly, pay close attention to the reviewer’s experience after frequent use. The majority of skin and hair care product marketing make lofty claims. By looking for these details, you may simplify your challenging duty as a beauty shopper, avoid products that might not be a good fit for you, and save money!
BEAUTY PRODUCTS REVIEWS
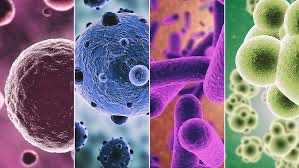
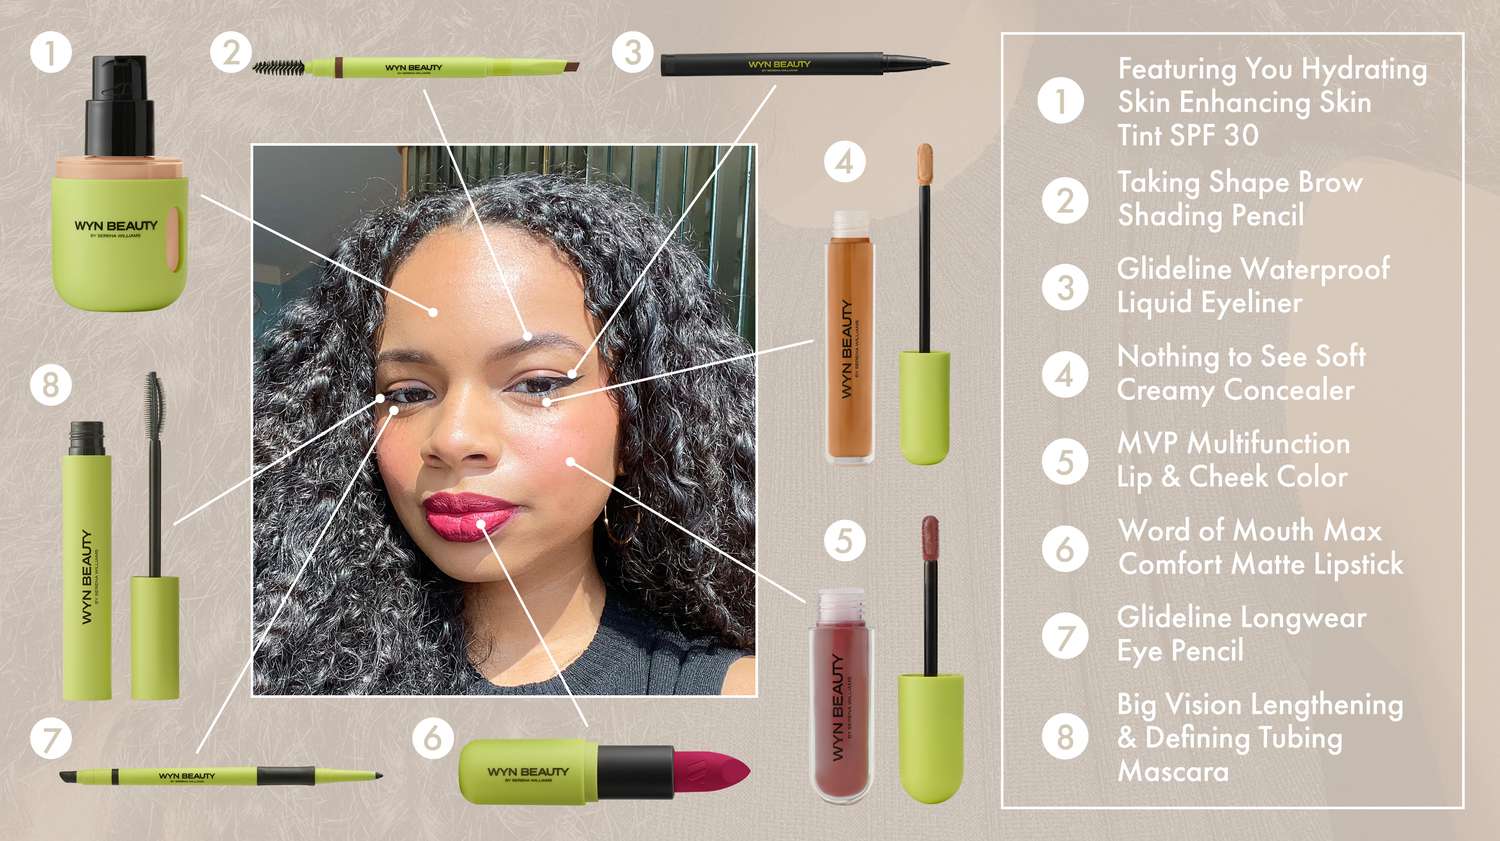
Beauty product reviews, which can be found on retailer websites, beauty blogs (like Byrdie, The Spruce), and social media (influencers like Zack Nelson), provide users’ and experts’ perspectives on the efficacy, texture, and outcomes of skincare (like CeraVe cleansers, Byoma serums) and makeup products. They highlight product performance, ingredients (like niacinamide), and how they address particular issues (like brightening, hydration).
Steps:
Beauty products reviews
1.To begin, take images of the merchandise. Editing pictures is permitted, but be careful not to overpower the swatches and outcomes. Don’t smooth out the texture or alter the color of your makeup. It’s best yet to record a quick video where you may showcase the products from various lighting and angle perspectives for your blog or social media.
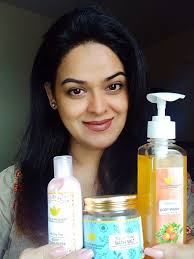
2.Compose a brief statement about the brand. There is a plethora of different items available in the industry! Everything from indie and handcrafted goods to well-known drugstore brands and old items introductions Giving readers some information on the brand aids in understanding of the product’s philosophy.
3. Discuss your opinions with the product’s packing. Now let’s speak about convenience and beauty! I talk about the sturdy construction, design, and usability. Is it conducive to travel?
More Review Tips;
Beauty products reviews
Does it have an opulent or cheap feel? What further implements/tools are included? For those who are having trouble making a decision.
4.Explain the texture, color, and fragrance of the product I can now at last get into the product itself. I give an explanation of the texture, and any smells that could be there. If the unique and inventive recipe of the skincare or beauty product caught me off guard. “what makes you leave a review on a product” and “what research do you do before purchasing”
Summary
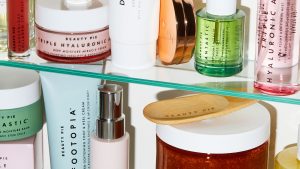
Beauty products are substances that are applied to the body to cleanse, beautify, or change appearance. They fall into categories such as makeup, skincare, haircare, and fragrances. They range from moisturizers and essential cleansers to specific serums and tools that are used to enhance natural features or create new looks for self-expression and confidence. Common ingredients include hyaluronic acid and niacinamide.
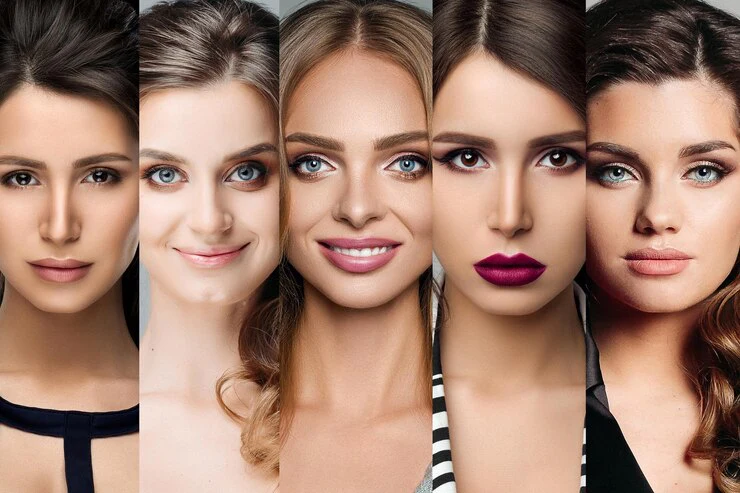
Types of makeup trends. The term “makeup” refers to cosmetics (such as lipstick, foundation, and mascara) that are applied to the face and body to improve attractiveness, change appearance, or cleanse/beautify. It can also refer to the creation of stories or the composition of something. It’s a huge market with everything from luxury goods to reasonably priced drugstore brands, used by makeup artists for expert looks, and a popular subject for videos.
TYPES OF MAKEUP TRENDS
In addition to traditional looks like nude and editorial looks, makeup trends for 2026–2027 feature “cloud skin” (semi-matte with subtle dewiness), frosted finishes on eyes and lips (pinks, pastels), colorful liner/mascara, and techniques like blush touring for dimension. Easy-to-apply, multipurpose products are highlighted for enhanced features.
Trends:
1.Bare Cosmetics:
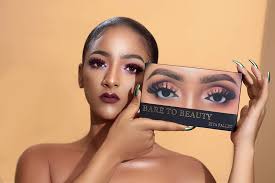
Enhancing natural attractiveness without coming across as too made-up is the goal of naked cosmetics. Its goal is to achieve a flawless complexion with a subtle overall look.
2.Matte Cosmetics;
This highlights a radiant, healthy glow. It includes items that give the skin a dazzling gloss and a fresh, hydrated appearance.
3.Makeup using Airbrushing;
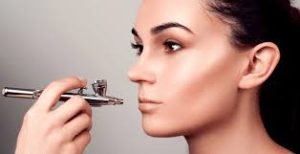
A perfect finish and a lightweight texture are offered by airbrush makeup. Hence, this entails applying a thin layer of cosmetics to the skin using an airbrush machine.
4.Cosmetics for the eyes;
Eye makeup encompasses several techniques to accentuate the eyes, such as applying mascara, fake lashes, eye shadow, and eyeliner.
5.Using Matte Cosmetics;
TYPES OF MAKEUP TRENDS
The goal of matte makeup is to eliminate shine. It is renowned for its velvety appearance and long-lasting qualities.
6.Pale Cosmetics Soft;
muted colors are used in pastel makeup to provide a dreamy, whimsical effect. However, Use with blushes, lip colors, and pastel eye shadows. Smoothly combine colors for a modest but powerful effect.
7.Organic Cosmetics;
TYPES OF MAKEUP TRENDS
The goal of natural makeup is to accentuate traits without drawing attention to itself. Meanwhile, It’s ideal for a laid-back, daily look. Apply very little foundation, emphasize the brows and eyes, and go with pale lip tints.
8.High-definition cosmetics;

TYPES OF MAKEUP TRENDS
HD makeup gives a smooth and glossy image and is made to look perfect on high-definition cameras. Although, For a smooth finish, use products with pigments that have been finely powdered. Take great care to blend so that no lines are evident. trending beauty-related searches
Summary
Also, kinds of trends in cosmetics. Cosmetic trends have taken a bold turn, offering a vast array of styles to suit every taste.The beauty of naked makeup’s subtle appeal. But we’ll focus on important products.

AI and the Future

Essence of Time Management

Personal Finances

A Step-by-Step Guide to Deleting Reels on Instagram

How to Create a WhatsApp Group


Pingback: Rose Water: Benefits and Uses for Skin, Hair, and Health - SimplExplainer