
Agriculture
Advantages of Crop Rotation


Advantages of crop rotation. Crop rotation is a sustainable agriculture technique that involves rotating different crops in the same land in a planned and methodical manner. This age old technique has long been a mainstay of contemporary sustainable farming methods, helping to boost soil fertility, lower insect and disease populations, and raise total crop yields.
ADVANTAGES OF CROP ROTATION
Crop rotation is a crucial strategy for fostering long-term agricultural sustainability and resilience since it provides a number of advantages. We shall examine the significance of crop rotation and its many benefits in promoting sustainable agriculture in this blog article.
1. Soil Health

Crop rotation gradually alters the types of crops grown in a region, thereby enhancing soil health. Because different crops have diverse root systems and nutrient requirements, this promotes nutrient cycling and reduces nutrient depletion. It also improves soil structure and microbial activity, reduces soil erosion, boosts soil organic matter, and lessens the accumulation of pests and diseases associated with specific crops. These elements all help create soils that are healthier and more fruitful.
2. Pest Control

One effective method for controlling pests and illnesses in agricultural environments is crop rotation. By disrupting their life cycles, crop rotation makes it more difficult for pests and diseases to establish and spread. The number of disease and pest reservoirs in the soil and crop residue is also reduced as a result of its disruption of their persistence. Additionally, crop rotation prevents weeds from competing with crops for nutrients and provides habitat for beneficial insects and predators that naturally control pests. Crop rotation also fortifies crops by regulating nutrient levels and avoiding nutritional shortages, which increases their resistance to pest and disease attacks.
3. production Improvement
By maximizing soil health, nutrient availability, and insect management, crop rotation raises crop production. It improves soil fertility, structure, and microbial activity while preventing nutrient depletion and lowering the burden of pests and diseases. All of these elements work together to boost agricultural yields and productivity. The introduction of novel crops and their cultivation in different types of soil can present both exciting opportunities and challenging challenges for agriculture. By trying out new crops and adjusting to various soil types, farmers can broaden their perspectives, enhance biodiversity, and even discover more effective and lucrative farming techniques.
4. Cost Savings

Crop rotation can help farmers save money in a number of ways. Reliance on synthetic fertilizers is reduced by increasing nitrogen-fixing legumes and improving nutrient cycle. Because it disrupts disease and pest cycles, it lessens the need for chemical pesticides. Additionally, crop rotation inhibits the growth of weeds, reducing the need for herbicides.
5. Environmental Benefits
Because crop rotation promotes biodiversity, reduces the use of pesticides and fertilizers, stops soil erosion, enhances soil health, and mitigates the effects of climate change, it is beneficial for the environment. It helps preserve soil, water, and wildlife habitats, supports environmentally friendly farming practices, and safeguards natural ecosystems.
6. decrease in the deterioration of soil

Through a variety of root systems and canopy structures, crop rotation minimizes nutrient depletion and imbalances, controls erosion, promotes the buildup of organic matter, lowers the need for pesticides, and enhances soil health.
Summary
Crop rotation is an essential technique with several advantages for sustainable farming. By using rotation systems and crop diversification, we may improve nutrient management, reduce pest and disease burdens, improve soil health, and promote overall farm resilience.
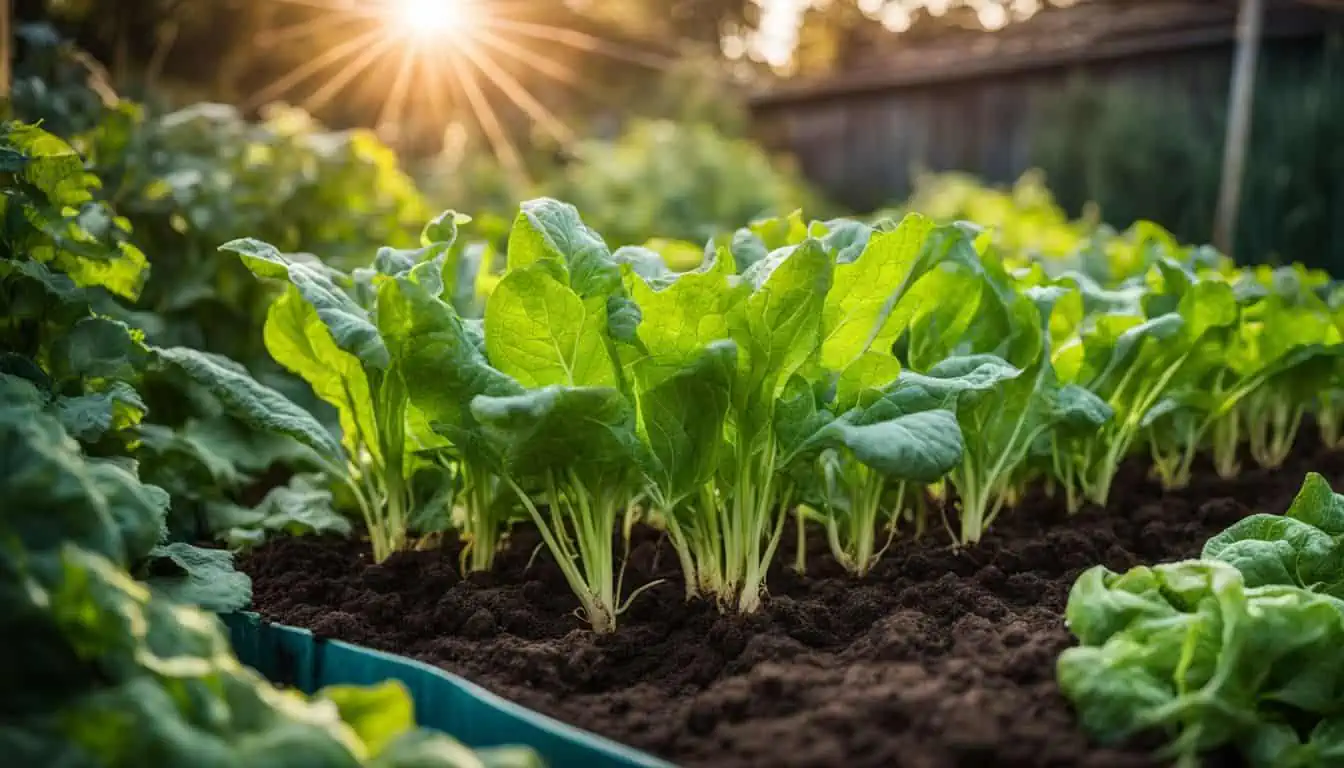
Planting Soils. Frequently, people visit the store and select their preferred plant. When this occurs, they typically only wish for the plant’s life. Although it’s usual practice to use the clay and soil that come with your garden, this may make it more difficult to grow the plants you want. This is due to the fact that plant soil is not universally applicable.
PLANTING SOILS
Loamy soil, which is a perfect, balanced mixture of sand, silt, and clay that keeps moisture and nutrients while draining efficiently, is the greatest natural soil for general plant growth. But whether you are growing in containers, raised beds, or the ground will determine which option is best.
1. Chalky Soil;
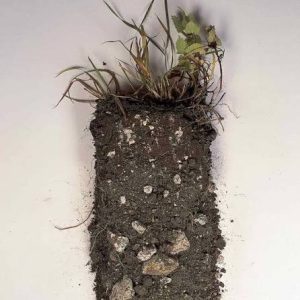
You can amend it, just like any other soil type, to improve its nutrient, drainage properties, and structure, allowing your plants to thrive. However, calcareous soil is one of the most difficult to work with. To balance the alkalinity, apply organic fertilizers. Mixing with humus increases structure while decreasing drainage.
2. Clay Soil;
When dry, clay soil is rock hard, but when wet, it becomes dense. Both of these cause poor drainage, which can lead to infections such as root rot. However, clay soil is rich in nutrients that are beneficial to plants! If you can combine clay soil with additional water-draining ingredients such as gravel or potting grit.
3. Loamy Soil;

Planting Soils
This is among the best forms of soil for plants. Clay, sand, silt, and humus are often mixed in a balance. Because of the variety of soil types inside loam, it has a balanced pH with a small acidic lean. Loamy soil is ideal for planting shrubs, lawns, and gardens.
4. Peat soil;
If you’ve ever purchased peat moss for your garden, you’ll know what peat soil is like. It feels spongy and damp. Peat soil occurs naturally in marshy places.
5. Sandy soil;
Planting Soils
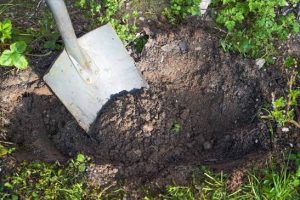
The next item on the list is sandy soil. This sort of soil is excellent for use in soil mixtures. While it does not always keep its shape, which can be problematic for numerous plants in the farm.
Summary
Depending on the type of location, several types of planting soil are needed, such as garden soil for in-ground beds, potting mix for containers, or customized blends for particular plant requirements.

How to Save Plants in Winter Season. Winter weather that is cold, damp, and windy can harm trees, shrubs, and garden features like trellises. This type of damage can be avoided by improving shelter, anchoring plants, mulching, wrapping pots, and carefully matching plants to locations.
HOW TO SAVE PLANTS IN WINTER SEASON
Winter weather is erratic. Particularly in the South, unforeseen cold spells and regular temperature fluctuations can harm landscaping plants. Plants can be preserved and damage reduced with a few easy tasks.
Guidelines;

1. Spread a layer of mulch. Mulch is a garden miracle worker at any time of year and an essential component of winter care. Consider mulch to be a blanket that protects the garden from the elements during the winter. A typical winter problem is a soil heaving or uplift produced by freeze-thaw cycles. Soil heaving can physically lift shallow-rooted plants, such as heuchera and gaillardia, out of the earth, exposing their vulnerable crowns and roots to frigid temperatures. Mulch helps to keep soils consistently cool, reducing disruptive freeze-thaw cycles.
2. Watering during the winter It may seem senseless to water gardens when many plants are dormant, but there are several solid reasons to do so.
Evergreen trees and bushes lose much water during cold, dry weather, especially on windy days. If rainfall is insufficient, these plants require additional irrigation at least once per month during the winter to keep soils moist.
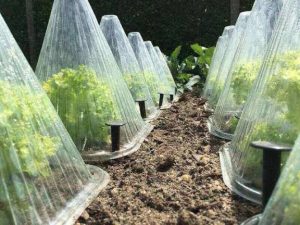
How to Save Plants in Winter Season
3. Guard Sensitive Trees Trees with thin or smooth bark may benefit from a trunk wrap in late fall to protect against a condition known as southwest damage or sunburn. This sort of damage is produced by the freezing and thawing of water in the trunk and appears on the southwest section of the trunk that is exposed to the warm afternoon light.
4. Container Plants in Winter Some plants may survive winter in pots, but others need protection. We use USDA winter hardiness ratings to identify plants that can withstand our winter temperatures when planting in the garden.
Gardening in a changing climate
Summary
Use techniques like Yard and Garden’s Winter Gardening Tips and Guides, which emphasize mulching, using frost covers, and bringing delicate pots inside, to save plants during the winter.
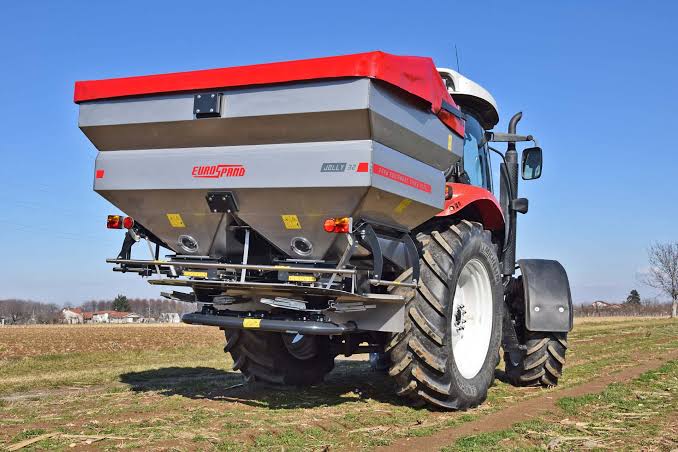
Guidelines for Fertilizer Spreaders. Any natural or artificial substance added to soil or plant tissues to provide vital nutrients for plant growth is referred to as fertilizer. It serves as plant food, mainly supplying essential macronutrients including potassium (K), phosphorus (P), and nitrogen (N) to increase crop yields and replenish depleted soil minerals.
GUIDELINES FOR FERTILIZERS SPREADERS
When loading the spreader, make sure the hopper is always clean and dry; After filling, always cover the spreader with a tarpaulin. This keeps mud, stones, and dirt from polluting the fertilizer or harming the spreader; A full spreader should not be driven extended distances since this will compress the fertilizer.
Meaning;
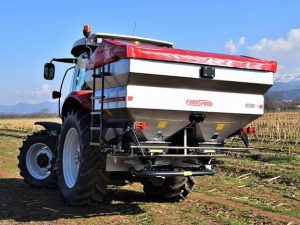
Fertilizer spreaders are crucial tools for any do-it-yourself homeowner looking to keep their yard healthy. It evenly distributes fertilizers over lawns and gardens, ensuring that your grass and plants receive the nutrients they require to remain healthy.
Types of Spreaders;
There are two types: rotary spreaders and drop spreaders.
1. Rotary spreaders: These measure the granules and spread them out in a broad swath that is general.
2. Drop spreaders: measure out fertilizer and then drop it into a space as wide as.
3. Liquid spreaders: Liquid fertilizer spreaders use a pump or pressurized tank, resulting in a fine mist across your lawn.
How to Setup;
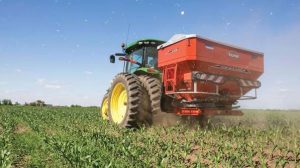
Guidelines for Fertilizer Spreaders
If your spreader’s label contains guidelines for setting;
follow the steps below:
1. Switch the spreader to OFF.
2. Arrange the setting as advised by the manufacturer. turn off the spreader to confirm that the fertilizer gate closes and opens properly.
3. Fill the spreader. Do this on a driveway or sidewalk, not your yard.
4. Determine the amount of fertilizer required for 1,000 square feet of lawn to attain the necessary nitrogen levels.
More Steps Include;
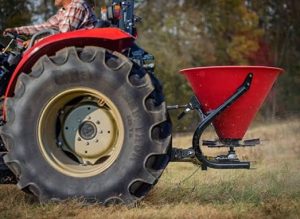
Guidelines for Fertilizer Spreaders
Divide this number by two. For example, if you want to apply 5 pounds of fertilizer to 1,000 square feet of lawn, put 2.5 pounds in the hopper.
1. Halve the spreader’s bottom opening.
2. Add fertilizer to the hopper. commence by using coverage recommendations
3. Fertilize your grass according to the coverage guidelines below.
4. Determine the size of the lawn you covered. If this area (width x length) is near 500 square feet, you’ve done it right. Continue to fertilize. Begin spreading by snaking up and down your lawn, paddock,
Summary
A machine or tool called a fertilizer spreader is used to evenly apply fertilizer to fields, gardens, and lawns. Tractor-mounted units, drop spreaders, and broadcast spreaders are important varieties.

The Causes of Political Apathy

Child Neglect and Causes

Environment Care Tips

A Step-by-Step Guide to Deleting Reels on Instagram

A Comprehensive Guide to Setting Up a YouTube Premiere

How to Create a WhatsApp Group
-

 Business3 weeks ago
How to Promote your Business
-

 Fashion3 weeks ago
Fashion Guide for Beginners
-

 Business3 weeks ago
Tips for Running Online Business
-

 Business2 weeks ago
Business Name Selection Tips
-

 TECHNOLOGY3 weeks ago
Artificial Intelligence and the Future
-

 Business1 week ago
Customers Satisfaction