oil
Advantages of Using Canola Oil
ADVANTAGES OF USING CANOLA OIL
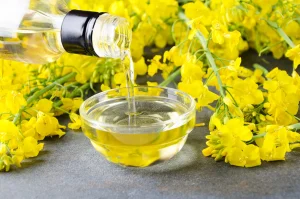
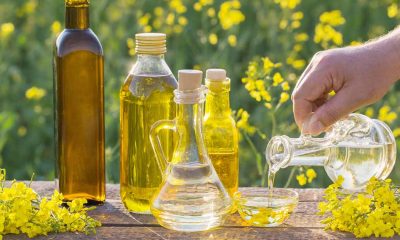
Advantages of using Canola oil. Numerous foods use canola oil, a vegetable-based oil. Because of worries about its effects on health and how it is produced, many individuals have eliminated canola oil from their diet. Rapeseed plant crossbreeding produced the oilseed crop known as canola in Canada. The words “Canada” and “ola,” which indicate oil, are the origins of the name “canola.”
ADVANTAGES OF USING CANOLA OIL
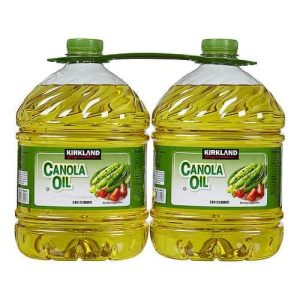
Since the invention of the canola plant, numerous variations have been produced by plant breeders, which have enhanced seed quality and fueled an explosion in the production of canola oil. The majority of canola crops have undergone genetic modification to enhance oil quality and boost herbicide resistance. Canola oil and canola meal, which are frequently used as animal feed, are produced from canola crops.
1. Could Increase Consumption of Vitamin E
Canola oil is a good source of vitamin E, just as many other plant oils. Vitamin E is essential for many aspects of health. As a potent antioxidant, it protects cells from oxidative damage that could otherwise result in disease by neutralizing reactive substances known as free radicals.
2. Lowering Adverse Cholesterol
Healthy monounsaturated fatty acids like oleic acid and polyunsaturated fatty acids like linoleic acid are found in canola oil. This combination lowers blood levels of LDL cholesterol, or bad cholesterol. Canola oil can help lower the risk of heart disease, which is increased by high LDL cholesterol.
3. Keep your blood sugar stable
Canola oil’s monounsaturated fatty acids may aid in preserving steady blood sugar levels. Those who already have diabetes or are at risk of getting it would particularly benefit from this. Additionally, because canola oil has a low glycemic index, it won’t result in a sudden jump in blood sugar levels after ingestion.
4. Cuts Down on inflammation
Canola oil contains polyunsaturated fatty acids, particularly linoleic acid, which has anti-inflammatory qualities. This can aid in lowering the body’s level of inflammation, which contributes to a number of chronic illnesses, including diabetes, arthritis, and heart disease.
5. Avoid Cell Damage
Vitamin E is found in canola oil and has antioxidant properties. Antioxidants shield bodily cells from free radical-induced oxidative damage. This can lower the risk of degenerative disorders and preserve the health of bodily cells.
6. heart-Healthy

Because of its anti-inflammatory qualities and ability to lower blood levels of harmful cholesterol, canola oil is generally heart-healthy. Frequent use of canola oil can enhance blood vessel function, lower the risk of coronary heart disease, and help maintain normal blood pressure.
Summary
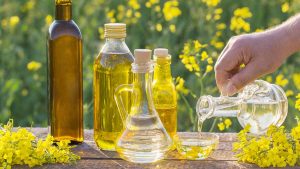
A healthy, high-quality diet requires dietary fats. Oils provide beneficial fatty acids. The various oils we discuss in this article have different fatty acid profiles. Healthy oils are an important part of every diet. There are many types of oil to choose from, from olive oil in dressings to canola oil and vegetable oil for frying. The nutritional values and health benefits can vary for each type of oil.
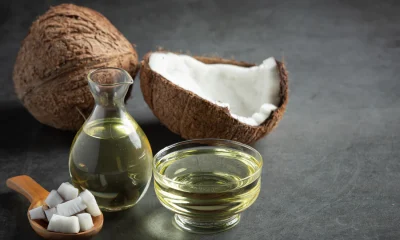


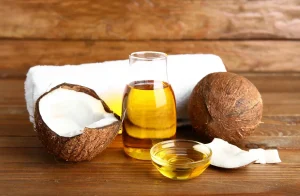
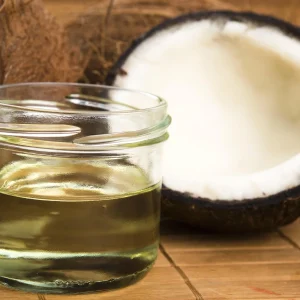
Nutritional impacts of coconut oil. Rich in medium-chain fatty acids like lauric acid, coconut oil is an edible oil derived from the meat of fully grown coconuts. It is frequently used for cooking (high smoke point), hair care, and skin moisturizing. It is solid at room temperature and liquid when heated. Although some claim it has health benefits, it should only be eaten in moderation due to its high saturated fat content
NUTRITIONAL IMPACTS OF COCONUT OIL
When utilized properly, coconut oil’s nutrient profile and adaptability make it a great supplement to your lifestyle. The meat of mature coconuts is used to make coconut oil, which is well-liked for its many uses and health advantages. It is an essential in many homes worldwide and is used in hair care, skincare, and cookery.
Health Benefits;
1. Rich in Healthy Fats: Coconut oil contains medium-chain triglycerides (MCTs), which may boost energy and support brain function.
2. Heart Health: While it’s high in saturated fats, moderate consumption can increase good HDL cholesterol levels.
3. Antimicrobial Properties: Lauric acid in coconuts oil helps fight bacteria and viruses, promoting overall health.
Uses of Coconut oil in Cooking;

Nutritional impacts of coconut oil
– High-Heat Cooking: Its high smoke point makes it ideal for frying and baking.
– Flavor Enhancer: Adds a subtle coconut flavor to dishes and desserts.
– Butter Substitute: Used as a plant-based alternative in recipes.
Benefits for Skin and Hair;

Nutritional impacts of coconut oil
– Moisturizer: Hydrates and softens skin, making it a great remedy for dryness.
– Hair Conditioner: Reduces frizz, adds shine, and strengthens hair.
– Makeup Remover: Gently removes makeup without irritating the skin.
Moderation is Key;
Nutritional impacts of coconut oil
Though coconuts oil offers many benefits, it is calorie-dense and high in saturated fat. Consuming it in excess may increase the risk of health issues.
Summary
The 80–90% saturated fat content of coconut oil can raise both HDL (“good”) and LDL (“bad”) cholesterol. Because of its high calorie content (117 per tablespoon), it should be used sparingly even if it includes medium-chain triglycerides (MCTs), which may provide instant energy and help with weight management. It has antibacterial qualities.
.
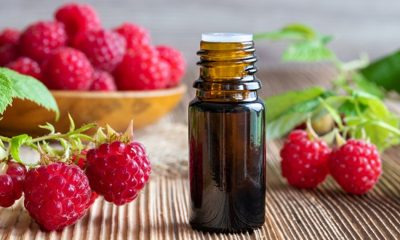
Castor oil as natural remedy. It is a potent natural medicine that has several advantages, including hydrating dry skin and encouraging hair development. It is a mainstay in many cosmetic regimens due to its rich composition and therapeutic qualities. Like any product, though, it’s crucial to use it correctly and be aware of any possible responses. The oil is a flexible and useful choice that is worth trying, regardless of whether you want to improve your skin, hair, or lashes.
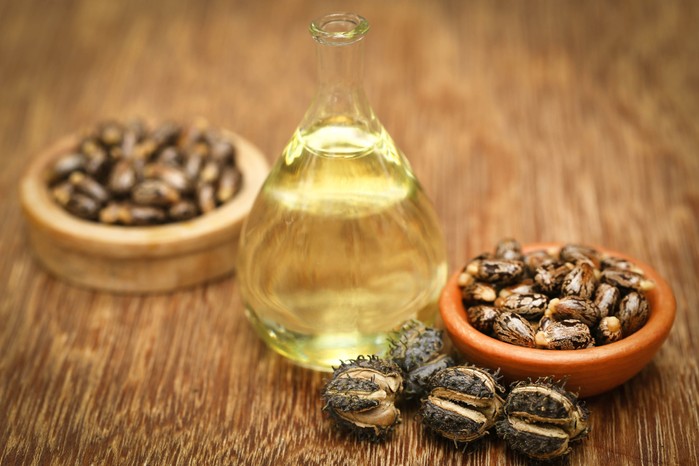
CASTOR OIL AS NATURAL REMEDY
For many years, castor oil has been promoted as a flexible, all-natural treatment with numerous advantages for skin, hair, and general health. For generations, traditional medicine and cosmetic procedures have utilized this thick, rich oil that is extracted from the seeds of the castor plant (Ricinus communis). Does it, however, live up to the hype? This is an overview of castor oil’s several applications.
Benefits;
1. Hair Growth and Strengthening;

One of the most popular uses for castor oil is promoting hair growth. Rich in ricinoleic acid, a type of fatty acid, castor oil is believed to increase circulation to the scalp, nourish hair follicles, and stimulate hair growth. Many users apply it to their scalp and eyebrows or lashes to encourage thicker, fuller hair.
2. Moisturizing Dry Skin;
Castor oil is an excellent moisturizer, especially for those with dry or flaky skin. Its thick consistency forms a protective barrier on the skin, locking in moisture and providing relief from dryness. It’s often used to treat rough areas like elbows, knees, and heels.
3. Healing Properties;

The anti-inflammatory and antimicrobial properties of castor oil make it a popular choice for treating minor wounds, cuts, and skin irritations. It can help reduce inflammation and protect the skin from infection while promoting faster healing.
4. Acne Treatment;
While it might seem counterintuitive to apply oil to acne-prone skin, castor oil’s anti-inflammatory properties can help reduce redness and swelling associated with acne. It also contains fatty acids that help restore the skin’s natural moisture balance, potentially reducing breakouts.
5. Eyelash and Eyebrow Enhancer;

Many people swear by castor oil as a natural way to enhance eyelashes and eyebrows. By applying a small amount to lashes and brows nightly, users report stronger, longer, and more defined hairs over time.
How to Use Castor Oil;
• For Hair: Warm a small amount of the oil in your hands and massage it into your scalp. You can also apply it to the ends of your hair to prevent split ends. Leave it on for at least 30 minutes, or overnight for deeper conditioning, before washing it out with shampoo.

• For Skin: Apply a small amount of the oil to dry areas of your skin and massage it in until absorbed. For best results, use it as part of your nighttime routine, allowing it to work overnight.
• For Eyelashes and Eyebrows: Use a clean mascara wand or cotton swab to apply a thin layer of the oil to your lashes and brows before bed.
Potential Drawbacks;

While the oil is generally safe for most people, it can cause allergic reactions in some individuals, leading to redness, itching, or irritation. Always perform a patch test on a small area of skin before using it more broadly. Additionally, its thick consistency can make it difficult to wash out of hair, and overuse on oily skin may clog pores.
Summary
For generations, people have used castor oil, a vegetable oil made from the Ricinus communis plant, as a natural treatment. Ricinoleic acid, its active component, is well-known for its anti-inflammatory, antibacterial, and moisturizing qualities.
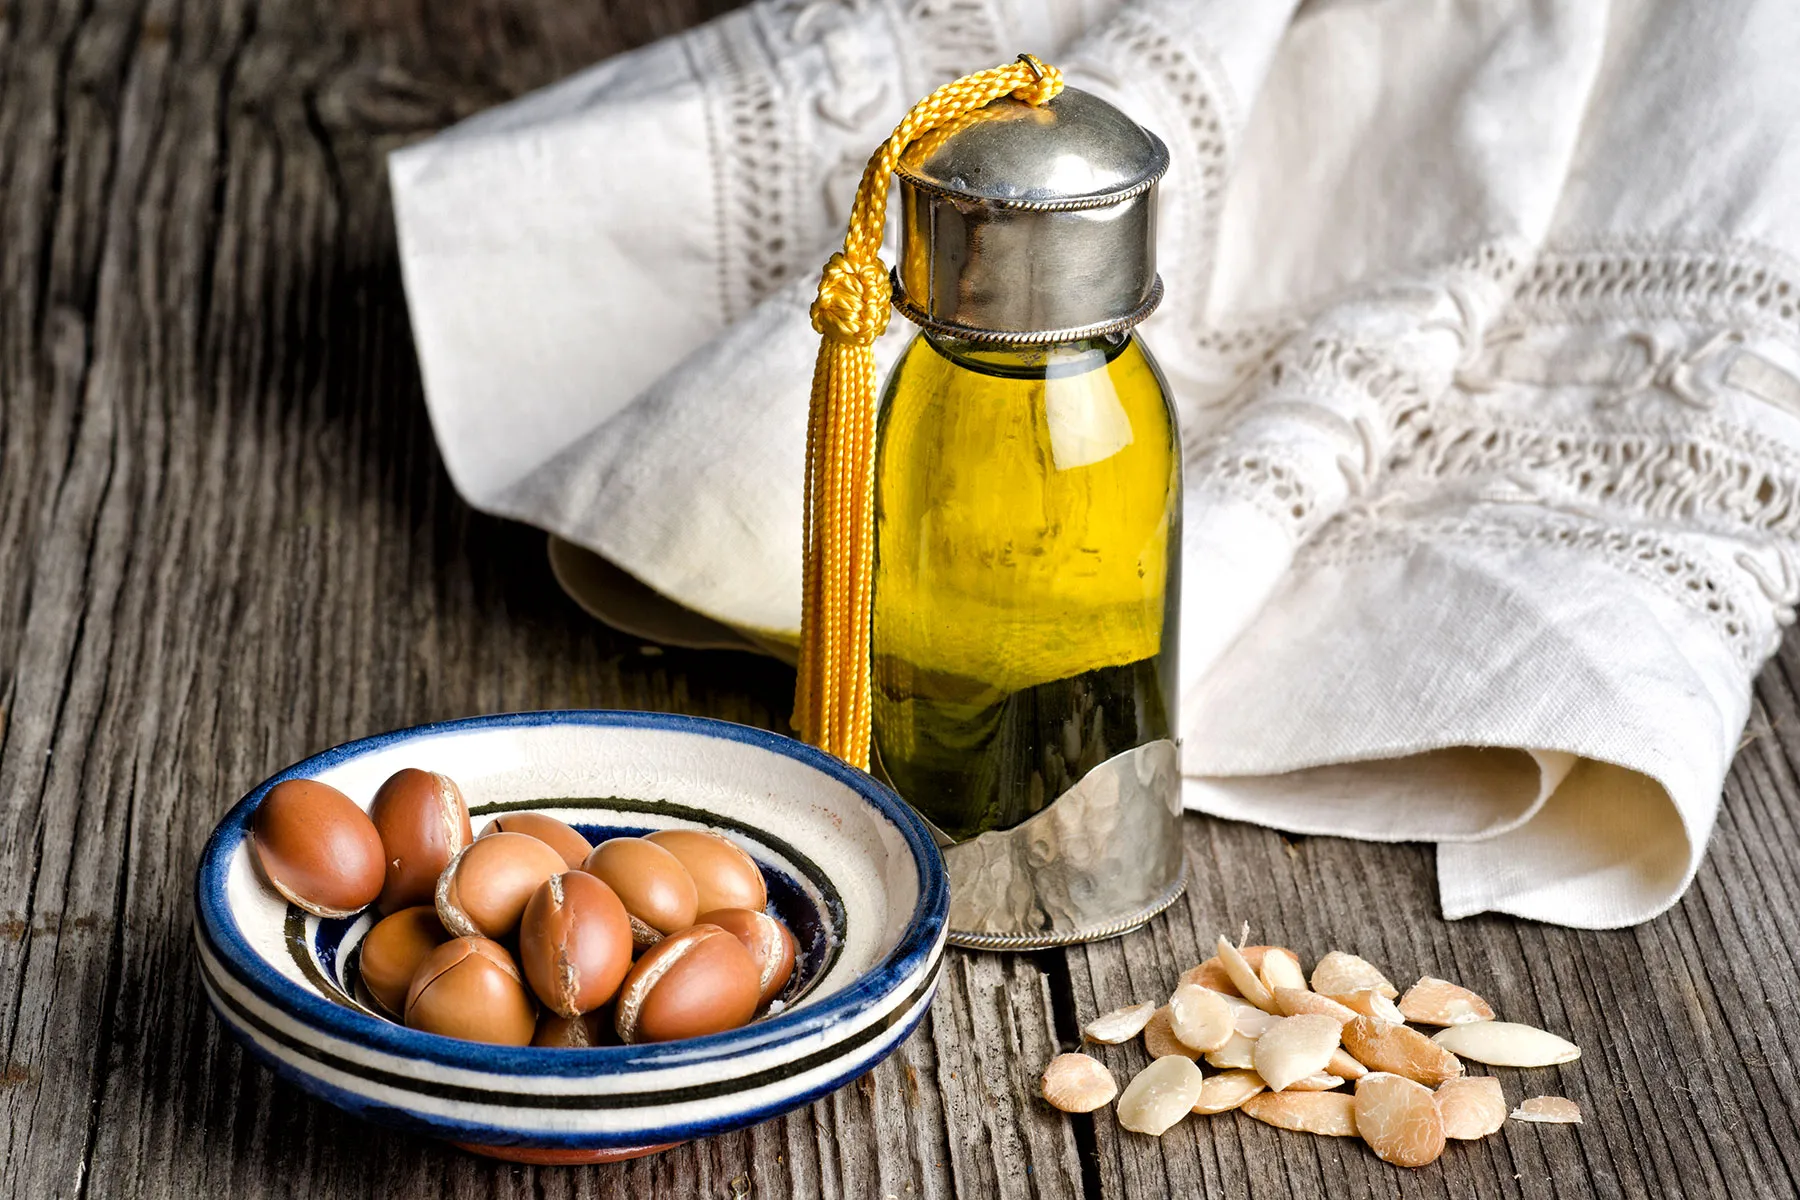
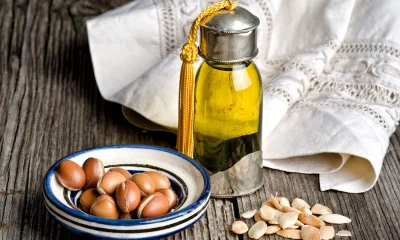
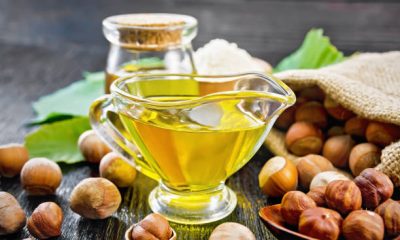
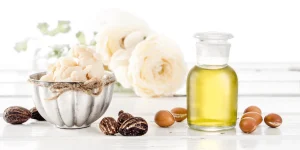
Nutritional value of argan oil. The environment and local populations in Morocco benefit from the production of argan oil in addition to its users. The Argan tree woods provide biodiversity and aid in the prevention of desertification. Women’s cooperatives that produce argan oil are vital to the local economy because they offer chances for empowerment, education, and decent wages.
NUTRITIONAL VALUE OF ARGAN OIL
The environment and local populations in Morocco benefit from the production of argan oil in addition to its users. The Argan tree woods provide biodiversity and aid in the prevention of desertification. Women’s cooperatives that produce argan oil are vital to the local economy because they offer chances for empowerment, education, and decent wages.
1. Harvesting:

The fruit is harvested and dried in the open air.
2. Kernal Extraction:
The outer flesh of the fruit is removed, and the hard nut is cracked open to extract the oil-rich kernels.
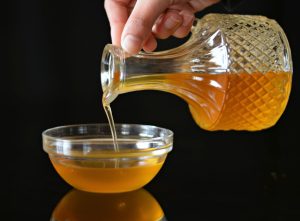
3. Cold Pressing:
The kernels are cold-pressed to produce pure argan oil, ensuring that the oil retains its nutritional and cosmetic properties.
The traditional methods of extraction, often performed by women’s cooperatives in Morocco, ensure high-quality oil while supporting the local economy and providing social benefits to the communities involved.
Nutritional Profile;
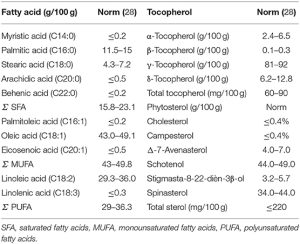
Argan oil is loaded with beneficial compounds, including:
– Vitamin E: A powerful antioxidant that protects the skin and hair from damage.
– Essential Fatty Acids: Primarily oleic and linoleic acids, crucial for maintaining healthy skin and hair.
– Polyphenols: Compounds that have anti-inflammatory and antioxidant properties.
– Sterols: Compounds that can help reduce inflammation and improve skin barrier function.
Health and Beauty Benefits;

NUTRITIONAL VALUE OF ARGAN OIL
1. Skin Care:
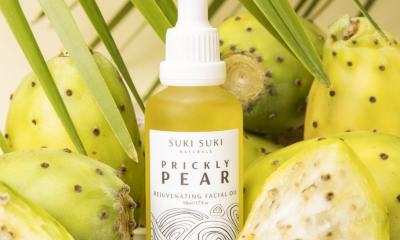
Argan oil is a superior natural moisturizer that is suitable for all skin types. Its high content of vitamin E and essential fatty acids makes it effective in hydrating and softening the skin. The oil helps to improve skin elasticity, reduce the appearance of fine lines and wrinkles, and enhance overall skin tone. Its anti-inflammatory properties can soothe conditions such as eczema, psoriasis, and acne.
2. Hair Care:
Argan oil is widely used in hair care products for its conditioning and strengthening properties. It helps to repair damaged hair, reduce frizz, and add shine. Regular use can prevent split ends and promote healthier, faster hair growth. A few drops massaged into the scalp can also alleviate dandruff and dryness.
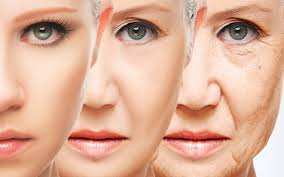
NUTRITIONAL VALUE OF ARGAN OIL
The antioxidants in argan oil help combat the signs of aging by neutralizing free radicals that can damage skin cells. Regular use of argan oil can lead to a more youthful, radiant complexion, reducing the appearance of wrinkles and age spots.
Argan oil can strengthen nails and moisturize cuticles, preventing them from becoming dry and brittle. Regular application can lead to healthier, stronger nails and smoother cuticles.
Culinary Uses;
NUTRITIONAL VALUE OF ARGAN OIL
In addition to its beauty benefits, argan’s oil is also used in cooking, particularly in Moroccan cuisine. It has a mild, nutty flavor that makes it a delightful addition to salads, dips, and even as a drizzle over grilled vegetables or fish. Culinary-grade argan oil is packed with antioxidants and essential fatty acids that contribute to heart health and overall wellness.
Summary
Often referred to as “liquid gold,” argan oil is a valuable and adaptable oil made from the kernels of the Moroccan Argan tree (Argania spinosa). For generations, this oil has been utilized in medicine, cosmetics, and cooking. Rich in vital nutrients, vitamins, and antioxidants, argan’s oil is well known for its numerous health and cosmetic advantages.

Cold Weather Coping Mechanisms

How to Quit Smoking

Life Stages

A Step-by-Step Guide to Deleting Reels on Instagram

How to Create a WhatsApp Group