Tech
How to Export Videos from Your Camera to Your Computer

In the digital age, cameras have become powerful tools for capturing life’s moments in vivid detail. Whether you’re a professional filmmaker or an amateur enthusiast. To export videos from your camera to your computer is a fundamental skill that opens the door to editing, sharing, and preserving your precious footage. In this guide. We’ll walk you through the process of exporting videos from your camera to your computer, step by step.
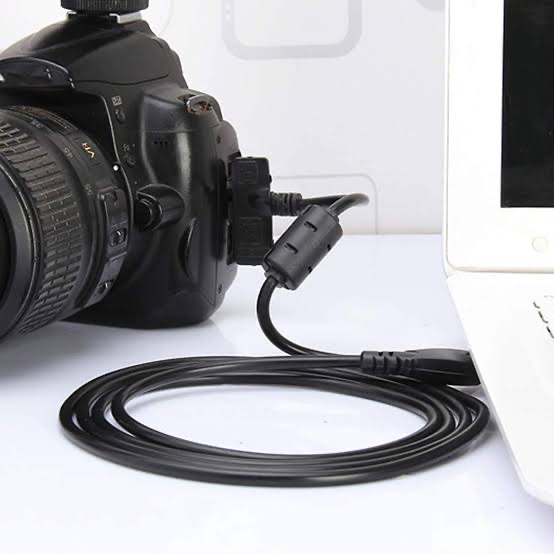
Step 1: Connect Your Camera to Your Computer
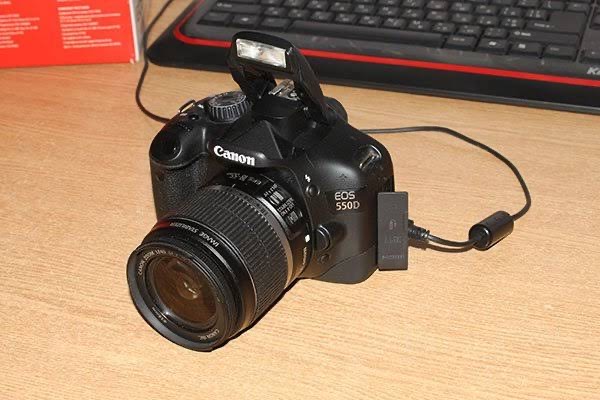

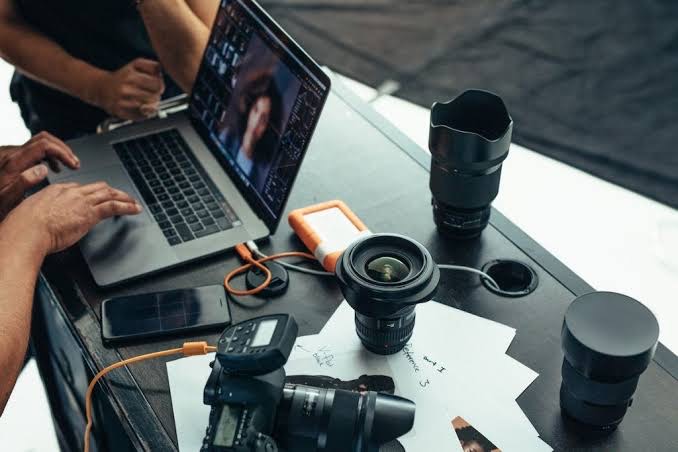
The first step in transferring videos from your camera to your computer is establishing a physical connection between the two devices. Depending on your camera and computer, you may use a USB cable, memory card reader, or wireless transfer method. Ensure that your camera is powered on and in the appropriate mode for data transfer.

Step 2: Locate Your Videos
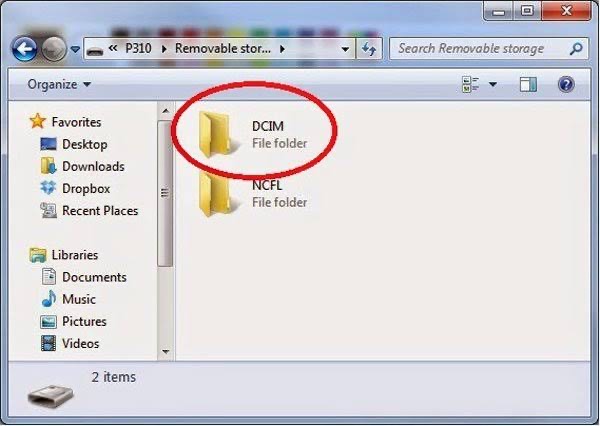

Once your camera is connected to your computer, navigate to the folder or storage location where your videos are stored on the camera’s memory card or internal storage. This may vary depending on your camera model and settings. Look for a folder labeled “DCIM” (Digital Camera Images) or “Videos” to find your video files.
Step 3: Select and Copy Your Videos

With your videos located, you can now select and copy the files you wish to transfer to your computer. You can typically do this by clicking and dragging the video files from the camera’s storage folder to a folder on your computer’s hard drive. Alternatively, you can use the copy and paste commands or the import function in your computer’s file management software.
Step 4: Monitor the Transfer Process
While your camera copies the video files to your PC. Keep an eye on the transfer process to make sure that every file is moved correctly and without any problems. Depending on the size and number of files, this process may take some time. Be patient and allow the transfer to complete before disconnecting your camera from your computer.
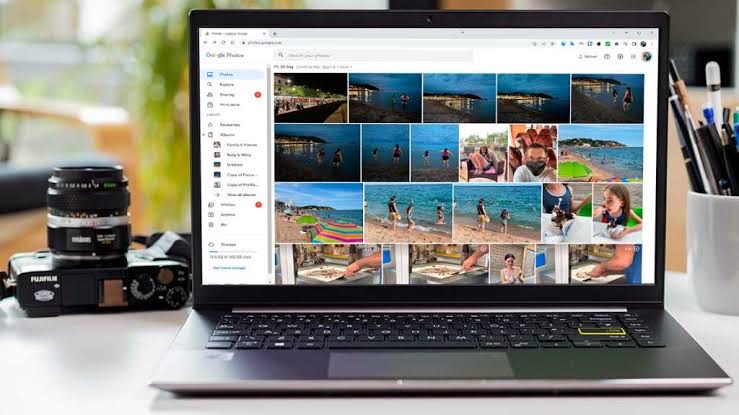
Step 5: Verify and Organize Your Videos
After the file process, pause to make sure all of the video files were successfully moved to your computer. Check the folder where you copied the files to make sure nothing was overlooked. This is also a good time to organize your videos into folders or directories based on date, event, or other criteria for easier access and management.
Step 6: Safely Eject Your Camera
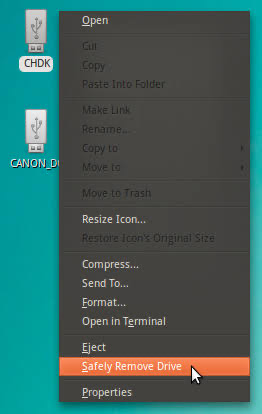


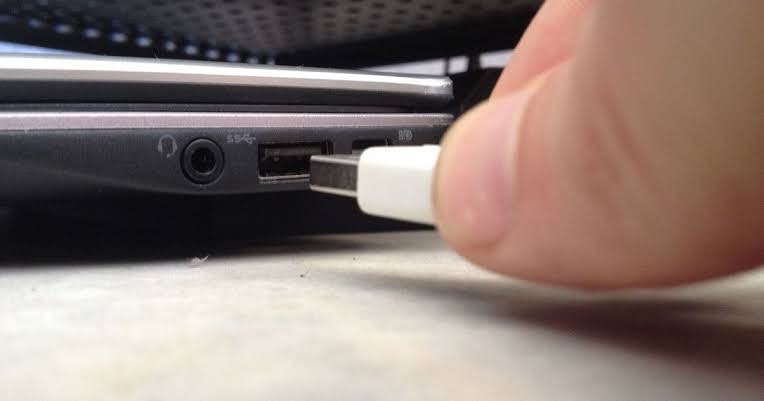

Before disconnecting your camera from your computer. It’s important to safely eject the device to avoid data corruption or loss. Depending on your operating system, you can typically do this by clicking on the eject. Or safely remove hardware icon in the taskbar or file explorer window. Once your camera is safely ejected, you can disconnect it from your computer.
To export videos from your camera to your computer is a straightforward process. That allows you to access, edit, and share your footage with ease. By following these steps and best practices, you can ensure a smooth and hassle-free transfer experience. Allowing you to focus on unleashing your creativity and bringing your video projects to life.