BEAUTY
Peptides: The Building Blocks of Skincare
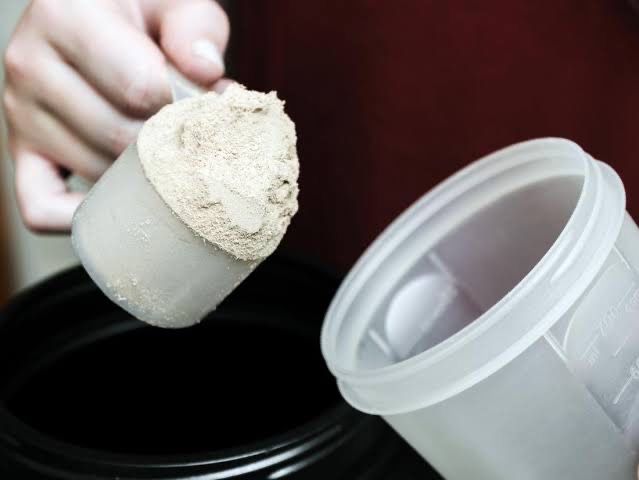
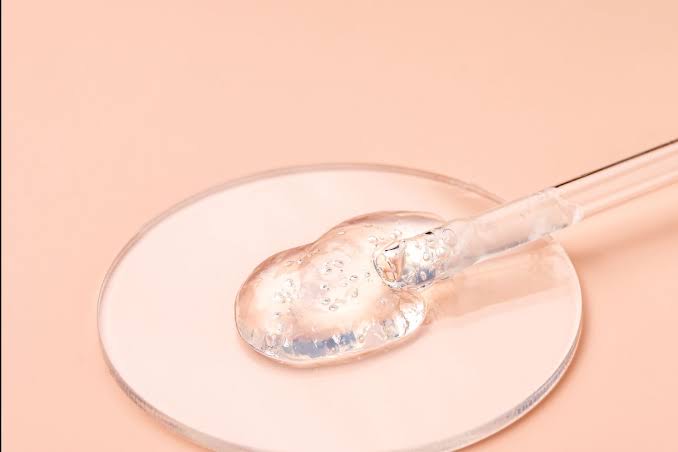
Peptides have become a buzzword in the skincare industry, and for good reason. These tiny proteins play a crucial role in maintaining healthy skin, offering a range of benefits that can help with everything from anti-aging to hydration. Understanding what peptides are and how they work can help you make informed decisions about incorporating them into your skincare routine.
What Are Peptides?
Peptides are short chains of amino acids, which are the building blocks of proteins. In the context of skincare, peptides are essential because they signal the skin to perform various functions, such as producing collagen, which is vital for maintaining the skin’s structure and elasticity. Collagen production naturally decreases as we age, leading to wrinkles, sagging, and loss of firmness. Peptides help combat these signs of aging by encouraging the skin to produce more collagen and elastin.
Benefits of it in Skincare
– Anti-Aging: There are best known for their anti-aging properties. By boosting collagen production, they help reduce the appearance of fine lines and wrinkles, giving the skin a firmer, smoother look.
– Improved Skin Barrier: there support the skin’s barrier function, which protects against environmental damage, moisture loss, and irritation. A strong skin barrier is essential for healthy, resilient skin.
– Hydration: Some of it can improve the skin’s ability to retain moisture, leading to plumper, more hydrated skin. This is particularly beneficial for dry or dehydrated skin types.
– Anti-Inflammatory Effects: Certain peptides have anti-inflammatory properties, which can help calm the skin and reduce redness, making them a good choice for those with sensitive or acne-prone skin.
– Enhanced Skin Repair: It can aid in the skin’s natural repair process, helping to heal damaged or compromised skin. This can be especially useful after procedures like chemical peels or laser treatments.
Types of Peptides in Skincare
– Signal Peptide: These peptides send signals to the skin to produce more collagen, elastin, and other proteins that help maintain the skin’s youthful appearance.
– Carrier Peptide: this deliver essential trace elements, like copper, to the skin, boosting its healing and regeneration processes.
– Enzyme-Inhibitor Peptide: These type inhibit the enzymes that break down collagen in the skin. Helping to preserve the skin’s firmness and elasticity over time.
– Neurotransmitter Peptide: Sometimes referred to as “botox in a bottle,” these type work by temporarily relaxing facial muscles, reducing the appearance of wrinkles and fine lines.
How to Incorporate Peptides into Your Skincare Routine
There are are typically found in serums, moisturizers, and eye creams. To get the most out of your peptide-containing products:
– Apply Consistently: Use peptide-rich products daily, both in the morning and at night, for the best results. Consistency is key to seeing improvements over time.
– Pair with Other Active Ingredients: Peptides work well with other skincare ingredients like hyaluronic acid, niacinamide, and antioxidants. However, be cautious when layering peptides with strong acids, as this may reduce their effectiveness.
– Store Properly: Peptides can be sensitive to light and air. So it’s essential to store your products in a cool, dark place and use them within the recommended time frame to ensure potency.
Peptides are a powerful addition to any skincare routine, offering a range of benefits from anti-aging to hydration and skin repair. By encouraging the skin to produce more collagen. And supporting the skin’s natural barrier, peptides help maintain a youthful, healthy complexion. Whether you’re new to skincare or looking to enhance your routine. Incorporating peptides can make a significant difference in the look and feel of your skin.


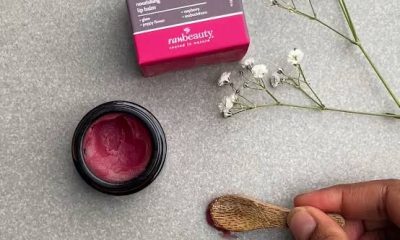

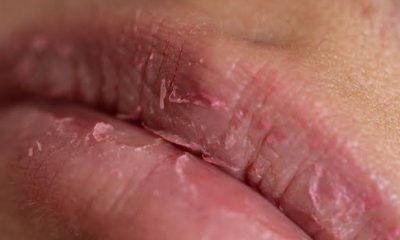


Pimples removal tips. It cannot be physically removed, nor can they be eliminated overnight. However, pimples can be less apparent and discomfort and swelling can be reduced with the use of home care methods. Acne and pimple treatments take time to take effect. It could take several days or weeks for a single pimple to fully cure.
PIMPLES REMOVAL TIPS
A blemish’s size, intensity, and treatment over time can all affect how long it takes to go away. Picking or popping the pimple, for instance, may cause further scarring. This post will go over various long-term acne treatment alternatives as well as how people can treat pimples at home to fast lessen their appearance.
Ways to Get Rid of Pimples Fast:
1. Apply Ice to the Pimple;
PIMPLES REMOVAL TIPS
Applying ice is the first step in soothing an irate, painful pimple. For three to four minutes at a time, place some ice against the irritated area by wrapping it in a cloth. Before wrapping in cloth, place a few ice cubes in a plastic sandwich bag if the ice melts too soon. Repeat multiple times a day to help calm the skin and minimize swelling.
2. Apply a Paste of Crushed Aspirin to the Pimple;
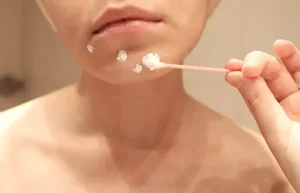
Salicylic acid, which is found in aspirin, is very good in getting rid of dead skin cells and excess oil. One or two aspirin tablets should be crushed and combined with a few drops of water to creat a paste.
Next, apply the paste directly on the zit. This should lessen the pain associated with the zit as well as swelling and redness. After letting the paste sit for ten to fifteen minutes, thoroughly rinse with warm water.
3. Use Makeup with Salicylic Acid to Conceal Pimples;

PIMPLES REMOVAL TIPS
Because we have pimples, we can’t just stay indoors. Thankfully, there are a number of makeup products that we may use to both safely conceal and treat imperfections. Similar to the previously discussed acne spot treatments, there are few essential terms to search for on the labels of items like concealers, face powder, and foundation.
5. Apply a Face Mask for Acne;

PIMPLES REMOVAL TIPS
These days, there are a ton of face masks available, and a lot of them are pimple targeting . Once more, salicylic acid and benzoyl peroxide are present. These chemicals immediately cure acne by clearing clogged pores and lowering inflammation. Sulfur is another chemic that functions similarly
Summary
Face masks frequently contain sulfur, which helps treat pimples, particularly lesser ones.It might also bring back memories of hot springs, match heads, and the strong smell of eggs. Because it is friendlier than benzoyl, sulfur may be a better choice if you have sensitive skin.
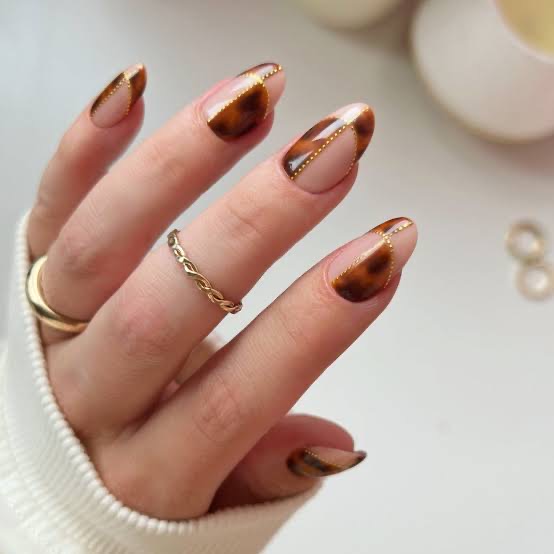
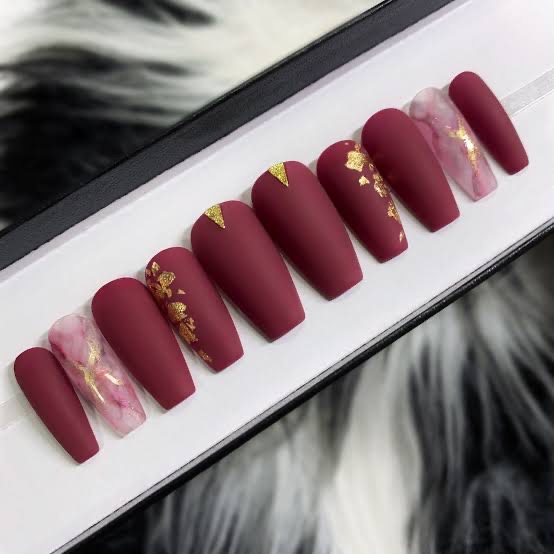
Press-on nails are a convenient and budget-friendly way to achieve salon-quality nails at home. Available in a variety of shapes, lengths, and designs, they are perfect for those who want stylish nails without the time commitment of acrylics or gel.
Benefits of Press-On Nails
1. Quick Application: They can be applied in minutes, making them ideal for last-minute occasions.
2. Affordable: Press-on nails are much cheaper than salon treatments.
3. Variety of Designs: From minimalistic styles to intricate art, there’s a press-on design for everyone.
4. Damage-Free: When applied and removed properly, they are gentler on nails compared to acrylics or gels.
5. Reusable: High-quality press-on nails can be reused multiple times with proper care.
How to Apply Press-On Nails
1. Prep Your Nails:
– Clean your nails with soap and water.
– Push back your cuticles and gently buff the nail surface to remove oils.
– Wipe your nails with alcohol or nail prep wipes for better adhesion.
2. Choose the Right Size:
•Select press-ons that fit your natural nails perfectly. If needed, file the sides for a better fit.
3. Apply Adhesive:
•Use nail glue for longer wear or adhesive tabs for a temporary application.
•Apply a small amount of glue to your natural nail and the back of the nail.
4. Press and Hold:
•Align the press-on with your cuticle and press down firmly for 20-30 seconds to secure it.
How to Remove Press-On Nails
@glowie.co Reply to @kowahw how to remove residue nail glue from the press on nail itself! We get asked this question frequently, so here is a visual tutorial!! #pressonnails #nails #diybeauty #diynails #nailspo
1. Soak your nails in warm, soapy water or acetone for 10-15 minutes.
2. Gently lift the press-on nail starting from the edges. Avoid forcing them off to prevent damage.
3. Clean off any adhesive residue and moisturize your nails with a cuticle oil or cream.
Tips for Long-Lasting Press-On Nails
– Avoid soaking your hands in water for several hours after application.
– Reapply glue if you notice any lifting.
– Store your press-ons in their original packaging to maintain their shape and quality.
With proper application and care, press-on nail can be a fantastic way to keep your nail looking chic and polished for any occasion!

Key Relevance of Avocado Oil

Key Relevance of Almond Oil

Key Relevance Argan Oil

A Step-by-Step Guide to Deleting Reels on Instagram

A Comprehensive Guide to Setting Up a YouTube Premiere