BEAUTY
Press-On Nails: A Quick Guide to Flawless Nails

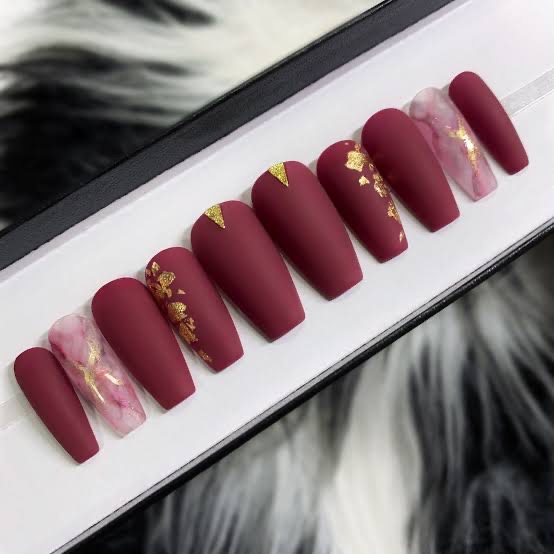
Press-on nails are a convenient and budget-friendly way to achieve salon-quality nails at home. Available in a variety of shapes, lengths, and designs, they are perfect for those who want stylish nails without the time commitment of acrylics or gel.
Benefits of Press-On Nails
1. Quick Application: They can be applied in minutes, making them ideal for last-minute occasions.
2. Affordable: Press-on nails are much cheaper than salon treatments.
3. Variety of Designs: From minimalistic styles to intricate art, there’s a press-on design for everyone.
4. Damage-Free: When applied and removed properly, they are gentler on nails compared to acrylics or gels.
5. Reusable: High-quality press-on nails can be reused multiple times with proper care.
How to Apply Press-On Nails

1. Prep Your Nails:
– Clean your nails with soap and water.
– Push back your cuticles and gently buff the nail surface to remove oils.
– Wipe your nails with alcohol or nail prep wipes for better adhesion.
2. Choose the Right Size:
•Select press-ons that fit your natural nails perfectly. If needed, file the sides for a better fit.
3. Apply Adhesive:
•Use nail glue for longer wear or adhesive tabs for a temporary application.
•Apply a small amount of glue to your natural nail and the back of the nail.
4. Press and Hold:
•Align the press-on with your cuticle and press down firmly for 20-30 seconds to secure it.
How to Remove Press-On Nails
@glowie.co Reply to @kowahw how to remove residue nail glue from the press on nail itself! We get asked this question frequently, so here is a visual tutorial!! #pressonnails #nails #diybeauty #diynails #nailspo
1. Soak your nails in warm, soapy water or acetone for 10-15 minutes.
2. Gently lift the press-on nail starting from the edges. Avoid forcing them off to prevent damage.
3. Clean off any adhesive residue and moisturize your nails with a cuticle oil or cream.
Tips for Long-Lasting Press-On Nails
– Avoid soaking your hands in water for several hours after application.
– Reapply glue if you notice any lifting.
– Store your press-ons in their original packaging to maintain their shape and quality.
With proper application and care, press-on nail can be a fantastic way to keep your nail looking chic and polished for any occasion!