TECHNOLOGY
Video export from camera to computer
Video export from camera to computer. It’s simple to export videos from your camera to your computer. This makes it simple for you to access, modify, and distribute your video. You can guarantee a seamless and trouble-free transfer experience by adhering to these guidelines and best practices. enabling you to concentrate on expressing your imagination and making your video projects a reality.
VIDEO EXPORT FROM CAMERA TO COMPUTER
Use H.264 for 100% compatibility or HEVC (H.265) for better compression and smaller file sizes for high-quality video exports. Align the frame rate () and export resolution (1080p or 4K) with the source video. To guarantee clear, excellent results, aim for a higher bitrate (1080p). In the digital age, cameras have become powerful tools for capturing life’s moments in vivid detail. Whether you’re a professional filmmaker or an amateur enthusiast. To export videos from your camera to your computer is a fundamental skill that opens the door to editing, sharing, and preserving your precious footage. In this guide. We’ll walk you through the process of exporting videos from your camera to your computer, step by step.
Step 1: Connect Your Camera to Your Computer
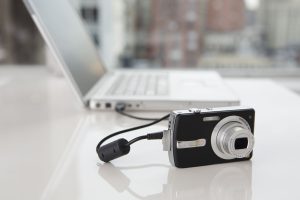
The first step in transferring videos from your camera to your computer is establishing a physical connection between the two devices. Depending on your camera and computer, you may use a USB cable, memory card reader, or wireless transfer method. Ensure that your camera is powered on and in the appropriate mode for data transfer.
Step 2: Locate Your Videos;
Once your camera is connected to your computer, navigate to the folder or storage location where your videos are stored on the camera’s memory card or internal storage. This may vary depending on your camera model and settings. Look for a folder labeled “DCIM” (Digital Camera Images) or “Videos” to find your video files.
Step 3: Select and Copy Your Videos;

VIDEO EXPORT FROM CAMERA TO COMPUTER
With your videos located, you can now select and copy the files you wish to transfer to your computer. You can typically do this by clicking and dragging the video files from the camera’s storage folder to a folder on your computer’s hard drive. Alternatively, you can use the copy and paste commands or the import function in your computer’s file management software.
Step 4: Monitor the Transfer Process;
While your camera copies the video files to your PC. Keep an eye on the transfer process to make sure that every file is moved correctly and without any problems. Depending on the size and number of files, this process may take some time. Be patient and allow the transfer to complete before disconnecting your camera from your computer.
Step 5: Verify and Organize Your Videos;

VIDEO EXPORT FROM CAMERA TO COMPUTER
After the file process, pause to make sure all of the video files were successfully moved to your computer. Check the folder where you copied the files to make sure nothing was overlooked. This is also a good time to organize your videos into folders or directories based on date, event, or other criteria for easier access and management.
Step 6: Safely Eject Your Camera;

Before disconnecting your camera from your computer. It’s important to safely eject the device to avoid data corruption or loss. Depending on your operating system, you can typically do this by clicking on the eject. Or safely remove hardware icon in the taskbar or file explorer window. Once your camera is safely ejected, you can disconnect it from your computer.
Summary
Videos can be sent from a camera to a computer using Wi-Fi, a direct USB cable connection, or an SD card reader, which is the fastest method. Drag files from the DCIM or MP4_ROOT folder onto your computer after removing the memory card and inserting it into a card reader that is linked to the computer.
How to turn off iphone. It’s crucial to know how to correctly shut down your iPhone for a number of reasons, such as extending battery life, resolving problems, or just taking a break. You may confidently turn off your iPhone anytime needed by following the instructions in this article. Gaining proficiency with this fundamental feature will guarantee a more seamless interaction with your iPhone, regardless of your level of experience.
HOW TO TURN OFF IPHONE
Shutting down your iphone might seem like a straightforward task, but with the absence of a physical button dedicated solely to this function, it can sometimes be confusing. Whether you need to conserve battery life, troubleshoot a problem, or simply power down your device for a while, knowing the correct method to shut down your iPhone is essential. In this article, we’ll guide you through the steps to properly power off your iPhone.
Step 1: Locate the Side Button;
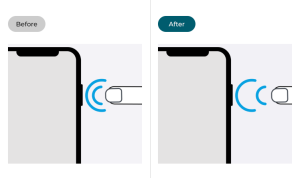
The side button, located on the right side of your phone, serves multiple functions, including powering on/off your device, activating Siri, and taking screenshots. It’s important to differentiate between a quick press and a long press for shutting down the device.
Step 2: Simultaneously Press Side Button and Volume Button;
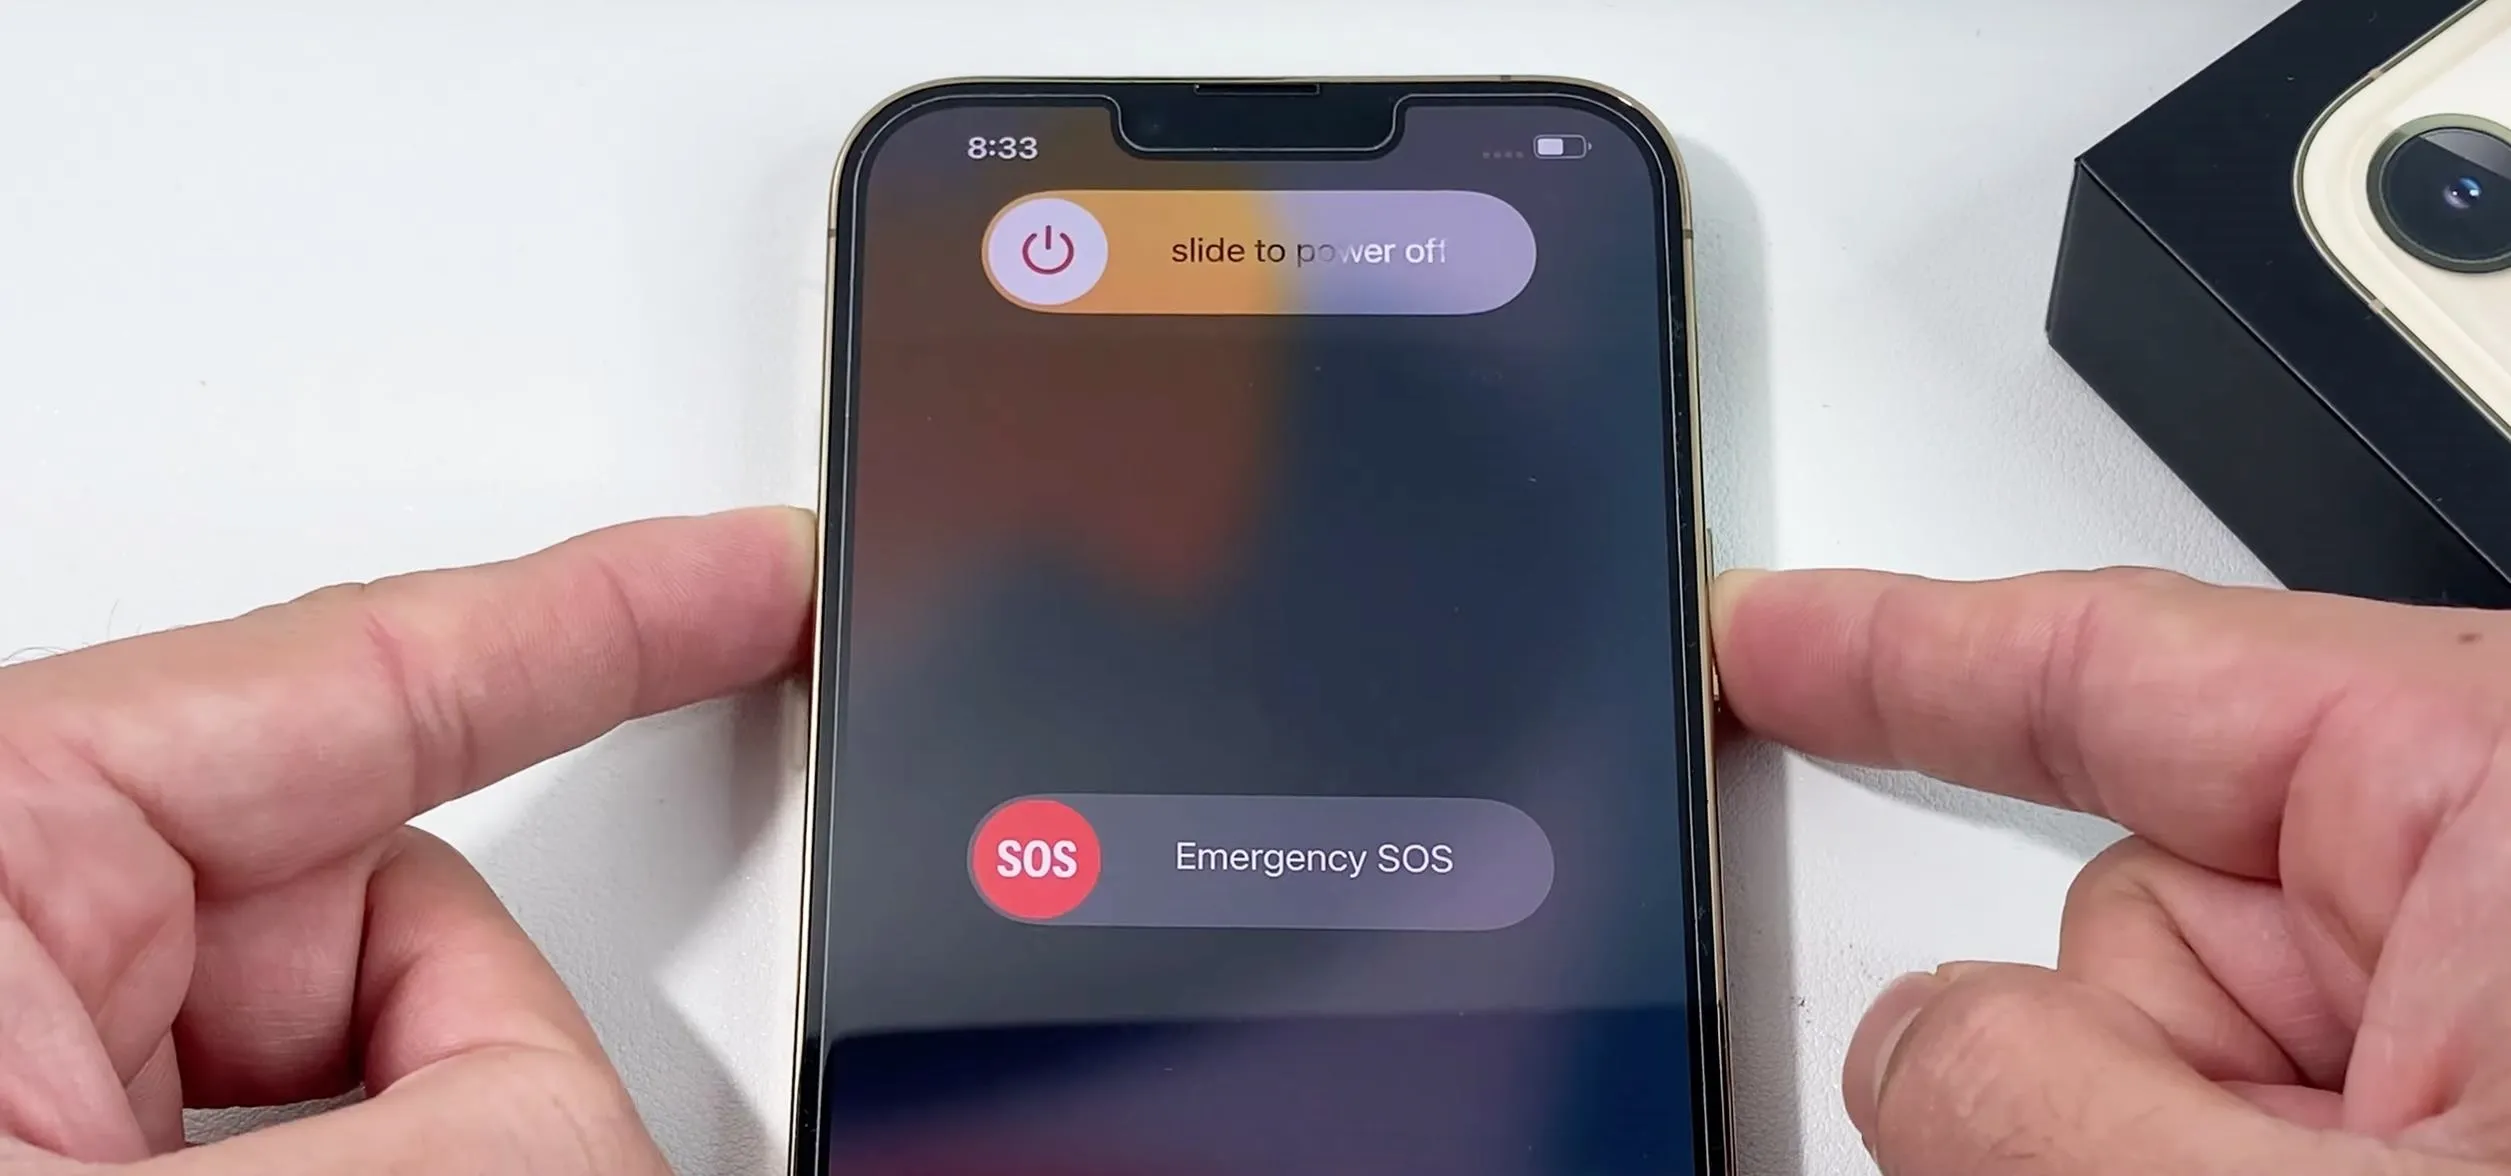
To initiate the power off process, simultaneously press and hold the side button and one of the volume buttons (either the volume up or volume down button) on it. Hold both buttons down at the same time until the “slide to power off” slider appears on the screen.
Step 3: Slide to Power Off;

How to turn off iphone
Once the “slide to power off” slider appears, release the side button and volume button. You can then use your finger to slide the slider from left to right to power off.
After sliding the power off slider, your phone will begin the shutdown process. Depending on your device model and any ongoing tasks, this process may take a few moments. Once shut down, your iPhone’s screen will go completely black, indicating that it is powered off.
Power On Your iPhone;

How to turn off iphone
To power on again, simply press and hold the side button until the Apple logo appears on the screen. Your device will then boot up, and you can use it as usual.
Summary
utilize the physical buttons, go through Settings, or utilize Siri to quickly shut off your phone.
Tips for resettting refrigerator compressor. Resetting your refrigerator compressor is a fairly easy procedure that can assist fix a lot of typical problems with your equipment. You may securely reset your compressor and get your refrigerator operating again by following the instructions in this guide. Always put safety first, and seek professional advice if you run into any challenges or ongoing issues with your refrigerator.
TIPS FOR RESETTING REFRIGERATOR COMPRESSOR
A malfunctioning refrigerator compressor can be a real headache, causing your food to spoil and your energy bills to soar. Fortunately, many compressor issues can be resolved by simply resetting the unit. Unplug the refrigerator (or switch the circuit breaker) for ten minutes to clear electrical faults and recalibrate the sensors in order to reset a refrigerator compressor. Make sure the internal temperature controls are correctly adjusted when the power is restored, and listen for the compressor to hum and vibrate smoothly.
In this guide, we’ll walk you through the steps to reset your refrigerator compressor safely and effectively.
Step 1: Unplug the Refrigerator

Before attempting any repairs or resets, always unplug the refrigerator from the power source. This step is crucial for your safety and prevents any electrical mishaps.
Step 2: Locate the Compressor
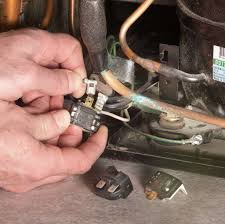
The compressor is typically located at the back of the refrigerator, near the bottom. It’s a large, cylindrical component with metal tubes and wires attached to it. Once you’ve located the compressor, take a moment to inspect it for any visible signs of damage or wear.
Step 3: Access the Reset Button

Some refrigerators come equipped with a reset button on the compressor itself. Look for a small button or switch near the base of the compressor. If your compressor has a reset button, proceed to step 4. If not, skip to step 5.
Step 4: Press the Reset Button;
Using a small tool such as a pen or pencil, press and hold down the reset button for approximately 10-15 seconds. You may hear a clicking sound as the compressor resets. Once you’ve held the button down for the specified time, release it and proceed to step 6.
Step 5: Power Cycle the Refrigerator

Tips for resettting refrigerator compressor
If your refrigerator does not have a reset button on the compressor, you can perform a manual reset by power cycling the unit. To do this, leave the refrigerator unplugged for at least 10-15 minutes. This allows the compressor to fully discharge any built-up electrical charge. After the waiting period, plug the refrigerator back in and proceed to step 6.
Step 6: Test the Refrigerator
Once the compressor has been reset, plug the refrigerator back in and wait for it to power up. Listen for any unusual noises or vibrations coming from the compressor. Additionally, monitor the temperature inside the refrigerator to ensure that it begins to cool properly.
Step 7: Monitor for Continued Issues

Tips for resettting refrigerator compressor
After resetting the compressor, keep an eye on your refrigerator for any signs of recurring problems. If the compressor continues to malfunction or if you notice any other issues with your refrigerator, it may be time to consult a professional technician for further diagnosis and repair.
Summary
The “heart” of your refrigerator is the compressor. It serves as a pump that moves refrigerant throughout the system, compressing it from a cool, low-pressure state to a hot, high-pressure state. Through this process, heat from the refrigerator is absorbed and released outside.
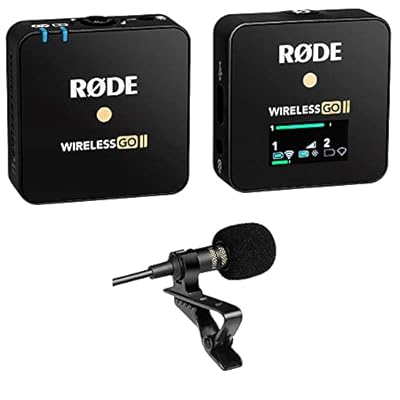
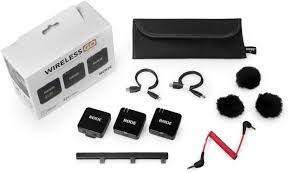
Best podcast microphone. Because of its portability, the Rode Wireless Go has made a name for itself in the podcasting industry. dependable performance, flexible connectivity, sound quality, and ease of use. It is the perfect option for podcasters who want to improve their audio production because of these capabilities. without the limitations and complications of conventional wired systems. Tools like the Rode Wireless Go will probably continue to be crucial for producers looking to create excellent content as podcasting grows as a medium.
BEST PODCAST MICROPHONE
Your setup and money will determine which podcast microphone is ideal for you. The Fifine K688 and Samson Q2U are excellent choices for novices. The Rode PodMic USB is a great all-in-one option, but the Shure SM7B is the industry standard for high-quality, broadcast-style audio. In the rapidly evolving world of podcasting, audio quality remains paramount. Among the myriad of microphone options available, the Rode Wireless Go has emerged as a favorite for many podcasters. Here are five compelling reasons why this wireless microphone system is a top choice.
1. Portability and Convenience;
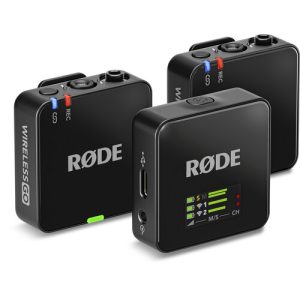
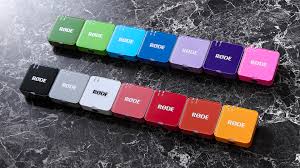
The Rode Wireless Go is renowned for its compact and lightweight design, making it incredibly easy to transport and set up. Each unit is roughly the size of a matchbox, which means podcasters can carry it anywhere without the bulk typically associated with high-quality audio equipment. This portability is particularly beneficial for podcasters who frequently record on the go or in various locations, ensuring they can maintain professional sound quality without being tethered to a studio.
2. Exceptional Sound Quality;
Despite its small size, the Rode Wireless Go delivers impressive sound quality. It features a built-in omnidirectional condenser microphone, which captures clear and natural audio. Additionally, it offers a high signal-to-noise ratio, reducing background noise and ensuring that voices come through crisply and cleanly. This level of audio fidelity is crucial for podcasters aiming to provide their audience with a professional listening experience.
3. User-Friendly Operation;
Best podcast microphone
One of the standout features of the Rode Wireless Go is its ease of use. The system includes a transmitter and receiver that pair instantly upon activation. There’s no need for complicated setups or technical know-how, making it accessible for beginners and experienced podcasters alike. The intuitive LCD screen on the receiver displays all essential information, such as battery life and signal strength, allowing users to monitor their setup effortlessly.
4. Versatile Connectivity;
However, the Rode Wireless Go offers versatile connectivity options, which is a significant advantage for podcasters. It can be used with a variety of devices, including DSLR cameras, smartphones, tablets, and computers. This flexibility is facilitated by the 3.5mm TRS output on the receiver, which can be connected to a wide range of recording devices with the appropriate cables.
5. Reliable Performance;
Best podcast microphone
Also, for podcasters, reliability is key. The Rode Wireless Go boasts a stable and robust wireless connection with a range of up to 70 meters (about 230 feet) in optimal conditions. This ensures that the audio remains consistent and uninterrupted, even when the podcaster moves around. The built-in rechargeable batteries provide up to 7 hours of operation on a single charge.
Summary
A transducer that transforms sound waves into electrical impulses is called a microphone. Telecommunications, broadcasting, content creation, live sound, and consumer electronics like laptops and smartphones are just a few of the applications that use it to record, transmit, and collect audio.

Compact cameras disadvantages

Mirrorless cameras disadvantages

Top bridge cameras

A Step-by-Step Guide to Deleting Reels on Instagram

A Comprehensive Guide to Setting Up a YouTube Premiere