
oil
Raspberry Seed Oil on Skin

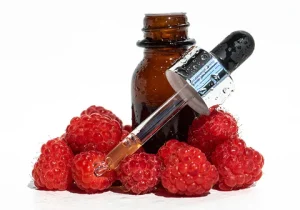
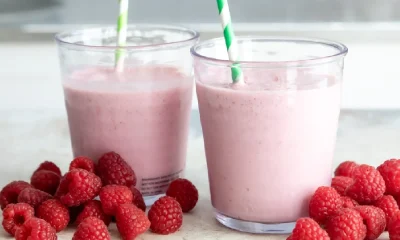
Raspberry seed oil on skin. Red raspberry seed oil, which is cold pressed from red raspberry seeds and packed with essential fatty acids and vitamins, has many health benefits, including the potential to provide sun protection, which is important in preventing skin cancer.
RASPBERRY SEED OIL ON SKIN
However, while red raspberry seed oil does provide some UV protection, it is insufficient to protect your skin from sun damage. Read on to find out more about red raspberry seed oil, its many health benefits, and why it isn’t a good sunscreen.
1. Anti-inflammatory
The oil from red raspberry seeds is rich in antioxidants. alpha-linoleic acid and other important fatty acids are from a reliable source. These lessen inflammation and combat oxidative stress. Ellagic acid, a naturally occurring antioxidant present in a variety of fruits such as cherries, blackberries, and strawberries, is also present in red raspberry seed oil. It supports skin health in addition to preventing tissue damage and inflammation.
2. Vitamin A and E sources
vitamin A and vitamin E can also be found in red raspberry seed oil. Smoother, tighter skin is the outcome of vitamin A’s promotion of healthy skin cell growth and renewal. Vitamin E has comparable advantages. The vitamin is an antioxidant that lowers scarring, fights inflammation, and increases collagen.
3. Elevated phytosterosis levels

Transepidermal water loss can also be decreased by the phytosterosis in raspberry seed oil. This keeps the moisture and hydration in your skin. Skin that is hydrated looks healthier and more radiant.
4. Noncomedogenic
Red raspberry seed oil won’t clog your pores because it is noncomedogenic. Apply it to your face to moisturize it without clogging your pores.
5. Preventing aging

Red raspberry seed oil is an excellent source of antioxidants, vitamins A and E, and other nutrients that can slow down the aging process, promote the formation of collagen, and make your skin look younger and more radiant.
6. Acne
The first line of defense against acne is a good skin care regimen. Blemishes can be successfully treated with conventional acne treatments that comprise salicylic acid or benzoyl peroxide. However, the skin may become dry as a result of these and other ingredients that cause acne. Because red raspberry seed oil contains linoleic acid, which helps to balance the skin’s natural oils, it works as a natural acne remedy. Acne can be reduced by using less oil. The fact that red raspberry seed oil doesn’t clog pores also helps to less outbreaks.
7. Dry skin
Applying a few drops of red raspberry seed oil can help increase the hydration level of your skin and soften dry areas, regardless of whether your skin is chronically dry or momentarily dehydrated.
8. The gingivitis

The benefits of red raspberry seed oil extend beyond your skin. Your oral health may also benefit from it. Inflamed gums brought on by a buildup of plaque and bacteria in the mouth are the hallmark of gingivitis, a moderate form of gum disease. Redness, swelling, and gum pain can be lessened by the oil’s ability to lower oral bacteria and soothe inflammation around gum tissue. You can purchase toothpaste that has red raspberry seeds as an ingredient or use red raspberry seed oil as a mouthwash.
Summary
Red raspberry seed oil can slow down the aging process and reduce inflammation, among other advantages. However, it shouldn’t be your exclusive form of sun protection, even with all of its advantages. Not everyone should use red raspberry seed oil. If you have a raspberry allergy, you may also have a red raspberry seed oil allergy. Reaction symptoms include itching, rash, swelling, and redness.
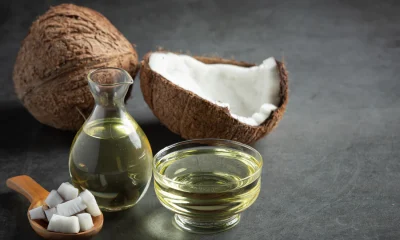


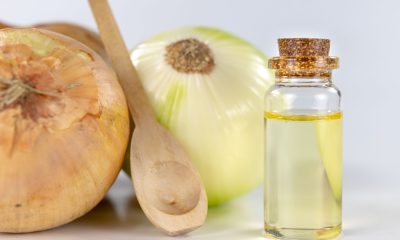


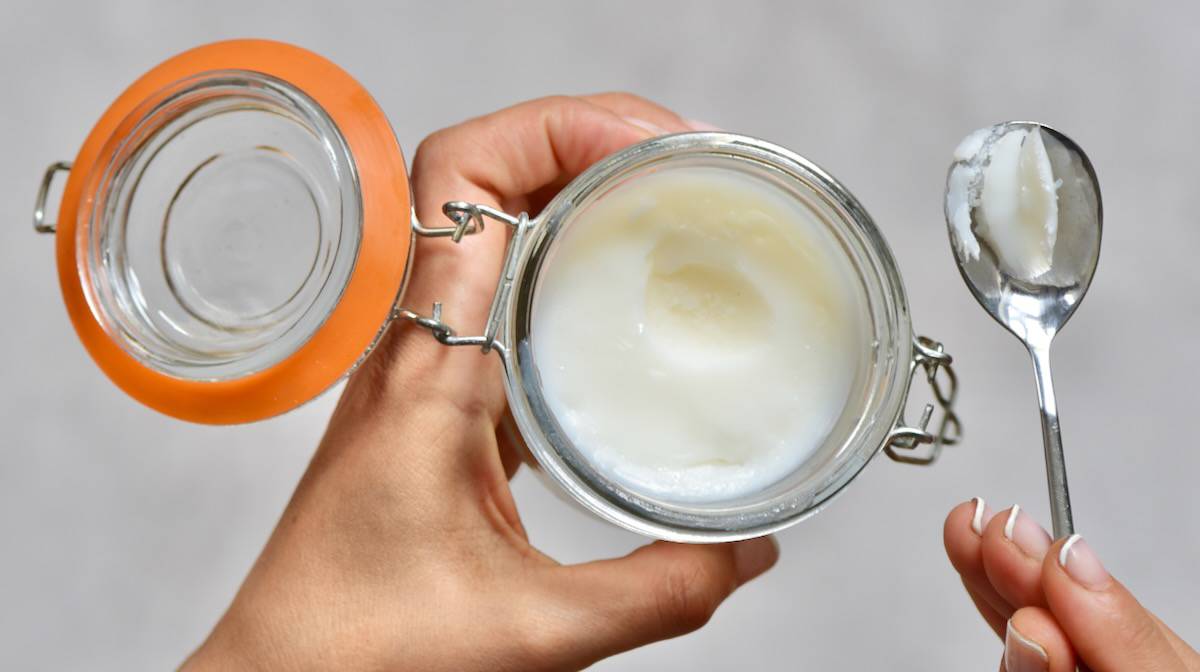
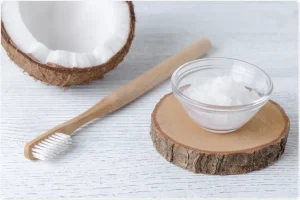
Tips for homemade coconut oil. The best way to make homemade coconut oil is to mix water and mature coconut meat, strain to remove thick milk, then boil over low heat until the oil separates. Use ripe (brown) coconuts for larger yields, let the milk ferment in a cold area for 10 to 24 hours, then use a powerful blender to extract as much cream as possible. Medium-chain fatty acids are abundant in the oil.Many health organizations advise restricting its usage as a food because of its high levels of saturated fat. Because of its unique flavor and high smoke point, coconut oil is frequently used in baking and cooking.
TIPS FOR HOMEMADE COCONUT OIL
The meat of the coconut palm fruit is used to make coconut oil, also known as coconut fat. At temperatures below 25 °C (77 °F), coconut oil is a white solid fat; at higher temperatures, it is a transparent, thin liquid. Unrefined types smell strongly of coconut. In addition to being utilized in food applications, coconut oil is employed in the manufacturing of detergents and cosmetics. Coconut oil, known for its versatile uses and health benefits, can be easily crafted at home. In this guide, we’ll take you through a step-by-step process to make your own pure and natural, homemade coconut oil.
Ingredients:
– Fresh coconuts
– Water
Procedure:
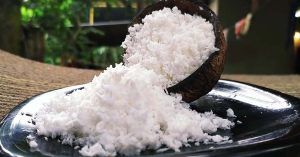
1. Grate the Coconut:
Start by grating the flesh of fresh coconuts. This can be done using a coconut grater or a food processor
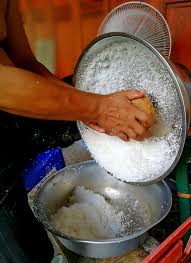
2. Extract Coconut Milk:
Once grated, extract coconut milk by adding a bit of water to the grated coconut and squeezing it. Strain the mixture to obtain the coconut milk.
3. Let it Sit:
Allow the coconut milk to sit undisturbed for a few hours. During this time, the oil will naturally separate from the water.
4. Separate the Oil:
Carefully separate the coconut oil from the water. This can be done using a spoon or by gently pouring the mixture, allowing the oil to float to the top.
5. Heat the Oil:

TIPS FOR HOMEMADE COCONUT OIL
To remove any remaining water content, heat the separated coconut oil in a pan on low heat. Stir occasionally until you see the oil becoming clear.
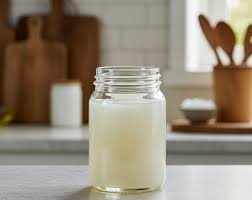
6. Strain and Store:
TIPS FOR HOMEMADE COCONUT OIL
Once heated, strain the oil to remove any impurities. Transfer the clear coconut oil into a clean, dry container for storage.
Summary
Congratulations! You’ve successfully created your homemade coconut oil. Enjoy the satisfaction of using a product crafted with care and free from additives. Experiment with this natural elixir in your cooking, skincare, or haircare routines. Read more health benefits of coconut oil here

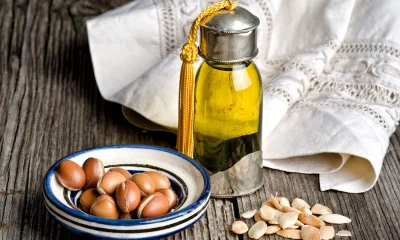
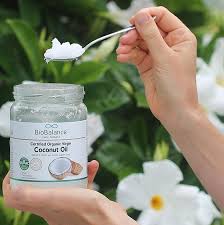
Coconut oil and wellness. It is a monument to nature’s capacity to offer adaptable solutions for our well-being in both the kitchen and the bathroom. To get the most out of the oil as you incorporate it into your routine, make sure to use premium, organic, and unrefined varieties. Accept the coconut craze and discover for yourself how this natural remedy can improve your whole wellness journey, skincare routines, and culinary pleasures.
COCONUT OIL AND WELLNESS
Because of its high concentration of lauric acid and medium-chain triglycerides (MCTs), coconut oil promotes general wellbeing by providing advantages like better skin hydration, hair repair, enhanced energy, and possible weight management. Its high saturated fat content indicates that moderation is required to prevent rising LDL cholesterol, despite its antibacterial qualities and potential to increase metabolism.
1. Culinary Marvel;

Coconut oil is a flavorful and nutritious alternative in the kitchen. Its high smoke point makes it suitable for various cooking methods, from sautéing and roasting to baking. Embrace the rich taste and aroma it imparts to dishes while enjoying the potential health benefits associated with its unique fatty acid composition.
2. Skin and Hair Savior:
The oil is a beloved ingredient in skincare and hair care routines. Its natural moisturizing properties make it an excellent hydrator for skin, helping to combat dryness and promote a healthy glow. When used on hair, coconut oil can nourish and condition, offering a natural remedy for split ends and frizz.
3. Oil Pulling for Oral Health:
Embrace ancient wellness practices by incorporating it into your oral care routine through oil pulling. Swishing coconut oil in your mouth for 15-20 minutes daily is believed to help promote oral hygiene by reducing bacteria and improving gum health.
4. A Natural Makeup Remover:
Bid farewell to harsh chemicals and embrace coconut oil as a gentle makeup remover. Its oily consistency effectively lifts away makeup while providing hydration to the delicate skin around your eyes.
5. Energy Boost:

COCONUT OIL AND WELLNESS
Coconut oil contains Medium-Chain Triglycerides (MCTs), a type of healthy fat that is easily absorbed and converted into energy. Add a spoonful to your morning coffee or smoothie for a natural energy boost to kickstart your day.
6. DIY Beauty Treatments:
COCONUT OIL AND WELLNESS
Unlock the DIY beauty potential of coconut oil by creating your own face masks, body scrubs, or hair masks. Combined with other natural ingredients, coconut oil can enhance the effectiveness of your at-home beauty rituals.
The antimicrobial and anti-inflammatory properties it contains makes it a valuable ally for minor wound healing. Apply a thin layer to cuts, scrapes, or insect bites to potentially accelerate the healing process. Read more on https://simplexplainer.com/
Summary
As a multipurpose and nutritious powerhouse, coconut oil has swept the wellness industry in recent years. This natural elixir offers a variety of advantages that go well beyond the kitchen, from culinary uses to beauty regimens. Let’s examine the benefits of the oil and how incorporating it into your everyday routine can change your life in this blog post.
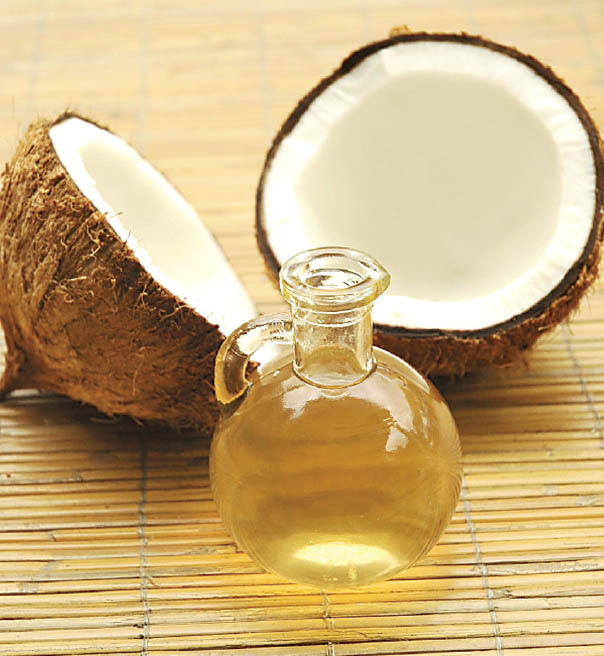
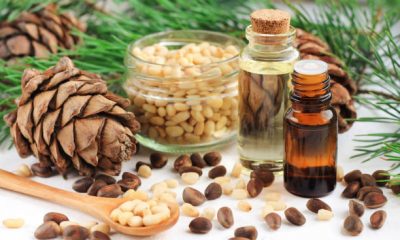
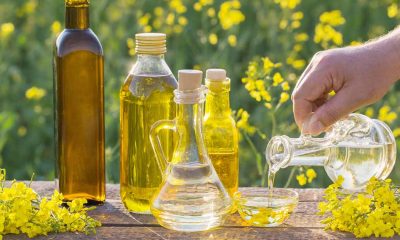
Coconut oil health merits. The notion that coconut oil is a superfood appears to be unsupported by research, yet it can add flavor and variety to the diet.Consumers should be aware that although changing oils may be beneficial to their health, adding more oil to their diet is unlikely to result in weight loss or general health improvements. As part of a balanced diet, oils and fats should always be ingested in moderation. They should also ensure that they are active enough to burn off the calories they consume.
COCONUT OIL HEALTH MERITS
The notion that coconut oil is a superfood appears to be unsupported by research, yet it can add flavor and variety to the diet.Consumers should be aware that although changing oils may be beneficial to their health, adding more oil to their diet is unlikely to result in weight loss or general health improvements. As part of a balanced diet, oils and fats should always be ingested in moderation. They should also ensure that they are active enough to burn off the calories they consume.

Many manufacturers now utilize coconut oil in packaged items, and many people cook with it. Coconut oil is used in a variety of items, including fried dishes, chocolates, coffee, and smoothies. Cooking oil made from coconut is becoming more and more popular. Its antibacterial and antioxidant qualities, enhanced skin and oral health, and potential for weight loss are just a few of its many health advantages.
1. Decreases tension;

Virgin coconut oil could have antioxidant qualities. In rodents, it appeared to alleviate stress caused by exercise and chronic cold. Researchers believe that virgin coconut oil may be effective in treating certain types of depression. Many plant-based foods provide antioxidants.
2. Shiny hair;
Some people use coconut oil to add luster and preserve their hair from damage. It may penetrate the scalp more effectively than mineral oils. According to study, people with identical hair types have no change in hair quality between those who use coconut oil and those who don’t.
3. Healthier skin;

COCONUT OIL HEALTH MERITS
Applying coconut extract to human skin may improve its protective barrier functions and anti-inflammatory properties. These discoveries may have ramifications for medicine. Some meals may promote skin health.
4. Prevents liver diseases;
According to one study, rats with liver dysfunction ate a high glucose diet with or without coconut oil. After 4 weeks, individuals who drank coconut oil had superior liver health scores than those who did not.
5. Weight Loss;

COCONUT OIL HEALTH MERITS
A study of two products discovered that coconut oil was less likely to cause diabetes and weight gain in mice. Some have interpreted this to suggest that coconut oil can assist people lose weight. Weight gain can occur when people consume more calories than they use for energy. All high-fat meals and oils have a high calorie count.
6. Dental Health;

COCONUT OIL HEALTH MERITS
Oil pulling is a classic oral therapy. It consists of swishing an oil about the oral cavity in a manner similar to current mouthwash. Coconut oil pulling has been shown in studies to help prevent cavities, improve gingivitis, and alter the mouth bacterial balance.
Summary
Medium-chain triglycerides (MCTs) and lauric acid are abundant in coconut oil, which may have advantages like better skin hydration, hair protection, weight-loss satiety, and antibacterial qualities. It may increase HDL (“good”) cholesterol and is frequently used in cooking as a rapid energy source, but limited consumption is advised due to its high saturated fat content.

Tips for Emotional stress

Anxiety and stress reduction

Face cleansing tips

A Step-by-Step Guide to Deleting Reels on Instagram

A Comprehensive Guide to Setting Up a YouTube Premiere

How to Create a WhatsApp Group
-

 Social media4 weeks ago
How to Delete Reels on IG
-

 Photography3 weeks ago
Photography and Outdoors
-

 Music3 weeks ago
Lyrics for Iké Nilé
-

 Social media4 weeks ago
Guidelines for Uploading Videos on Youtube
-

 Social media3 weeks ago
Tips for likes and Followers on Facebook
-

 Social media3 weeks ago
Guidelines for Creating a Facebook Page