
Social media
A Guide to Adding Location Tags On Facebook
Facebook, a cornerstone of social media, offers a myriad of features to enrich your posts and engage with your audience. Among these features, adding location tags stands out as a way to provide context and relevance to your posts. Whether you’re sharing travel adventures, local discoveries, or community events, incorporating location information can enhance the storytelling aspect of your Facebook posts. In this article, we’ll explore how to seamlessly add location tags to your Facebook posts.
The Importance of Adding Location
Integrating location tags into your Facebook posts serves several purposes:
1. Contextual Significance: Location tags provide context to your posts, allowing your audience to understand where the photo, video, or status update was shared.
2. Discoverability: Posts with location tags become discoverable to users exploring content from specific locations. This can expand the reach of your posts to a wider audience interested in that location.
3. Community Connection: Sharing your location enables you to connect with others who have visited or are familiar with the same places, fostering engagement and conversations within your community.
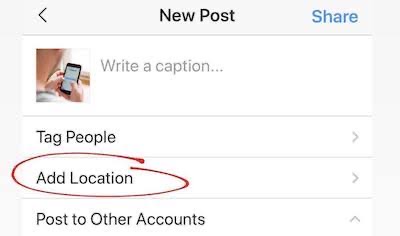
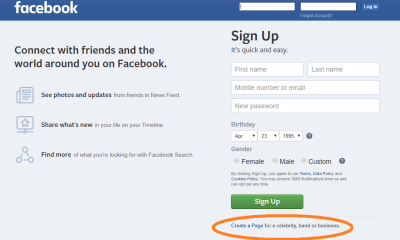
How to Add Location to Your Facebook Post
1. Create Your Post: Start by composing your post on Facebook. You can share a photo, video, status update, or any other type of content.
2. Add Location: Below the text box where you’ve composed your post, you’ll see an option labeled “Check In” or “Add Location.” Click on this option.
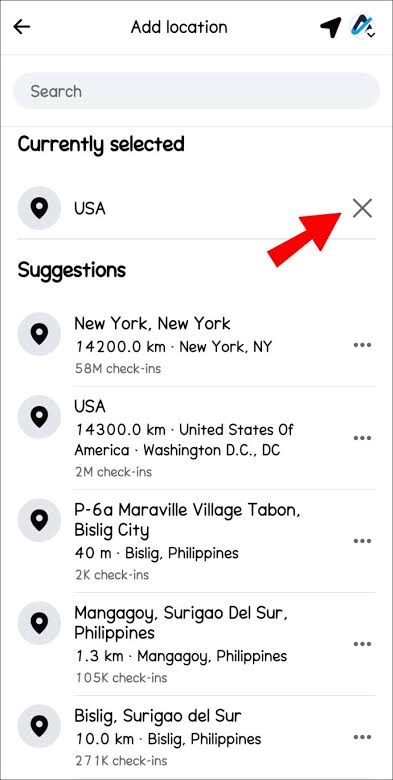
3. Search for Location: A search bar will appear where you can type the name of the location you want to tag. Facebook will suggest locations based on your input. Select the correct location from the suggestions.
4. Confirm Location: Once you’ve selected the location, it will be added to your post. You can further customize the location tag by clicking on it to adjust the name or remove it entirely.
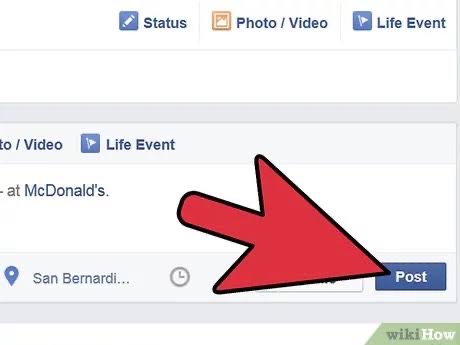
5. Complete Your Post: After adding the location, you can finalize your post by adding any additional text, tagging friends, or including other media elements.
6. Share Your Post: Once you’re satisfied with your post, click on the “Post” button to share it with your Facebook audience.
Adding location tags to your Facebook posts enhances the storytelling aspect of your content and increases its discoverability within your community and beyond. Whether you’re sharing personal experiences, promoting local businesses. Or documenting community events, incorporating location information adds depth and relevance to your posts. By following the simple steps outlined in this guide and implementing the tips provided. You can effectively utilize location tags to engage your audience and share your experiences on Facebook.


Promoting social media pages. Effective social media page promotion combines paid advertising, clever hashtag and keyword use, active involvement, high-quality content, and partnerships. You may expand your audience and improve your social media presence by regularly implementing these tactics and keeping an eye on their efficacy.
PROMOTING SOCIAL MEDIA PAGES
Effective social network page promotion calls for a combination of thoughtful preparation, interesting content, and persistent work. Here are five strategies to increase your online visibility on social media:
1. Create High-Quality Content;

Quality content is the foundation of any successful social media page. Focus on the following:
– Visual Appeal: Use high-quality images, graphics, and videos. Invest in good photography or design tools.
– Relevance: Share content that is relevant to your audience’s interests and needs. This could be educational, entertaining, or inspirational.
– Consistency: Post regularly to keep your audience engaged. Create a content calendar to plan and schedule your posts.
– Originality: Develop unique content that stands out. Share your own insights, experiences, and ideas rather than just reposting others’ content.
2. Engage with Your Audience;

Engagement is crucial for building a loyal following. Make sure to:
– Respond to Comments and Messages: Show your followers that you value their input by responding promptly and thoughtfully.
– Ask Questions: Encourage interaction by asking questions in your posts or stories.
-Host Giveaways and Contests: These can drive engagement and attract new followers. Ensure the prizes are relevant to your audience.
– Use Polls and Surveys: Use features like Instagram Stories polls or Facebook surveys to get feedback and boost interaction.
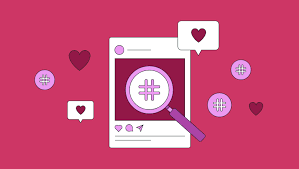
3. Leverage Hashtags and Keywords;
Promoting social media pages
Using the right hashtags and keywords can increase your content’s visibility.
– Relevant Hashtags: Use hashtags that are relevant to your content and popular within your niche. Avoid overly broad or irrelevant hashtags.
– Branded Hashtags: Create a unique hashtag for your brand to encourage user-generated content.
– Keyword Optimization: Use keywords in your bio, captions, and post descriptions that potential followers might search for.
– Trending Hashtags: Participate in trending topics or challenges that are relevant to your brand to gain visibility.
4. Collaborate with Influencers and Brands;

Promoting social media pages
Partnerships can expand your reach and attract new followers.
– Influencer Collaborations: Partner with influencers who have a following that overlaps with your target audience. They can promote your page to their followers through shoutouts, guest posts, or collaborations.
– Brand Partnerships: Collaborate with brands that complement your own. This could involve co-hosting events, creating joint content, or cross-promoting each other’s pages.
– Guest Takeovers: Allow influencers or other respected figures in your niche to take over your social media for a day. This can draw their followers to your page.
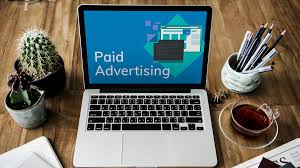
5. Utilize Paid Advertising;
Promoting social media pages
Investing in paid ads can significantly boost your visibility and reach.
– Social Media Ads: Platforms like Facebook, Instagram, Twitter, and LinkedIn offer targeted advertising options. You can create ads that target specific demographics, interests, and behaviors.
– Boosted Posts: Boosting a well-performing post can increase its reach. This is a simple way to get more eyes on your content.
Summary
Social media pages are customized digital profiles or hubs on networking sites that let people and companies communicate with audiences, create communities, and exchange content. Facebook, Instagram, and LinkedIn are some of the top platforms.
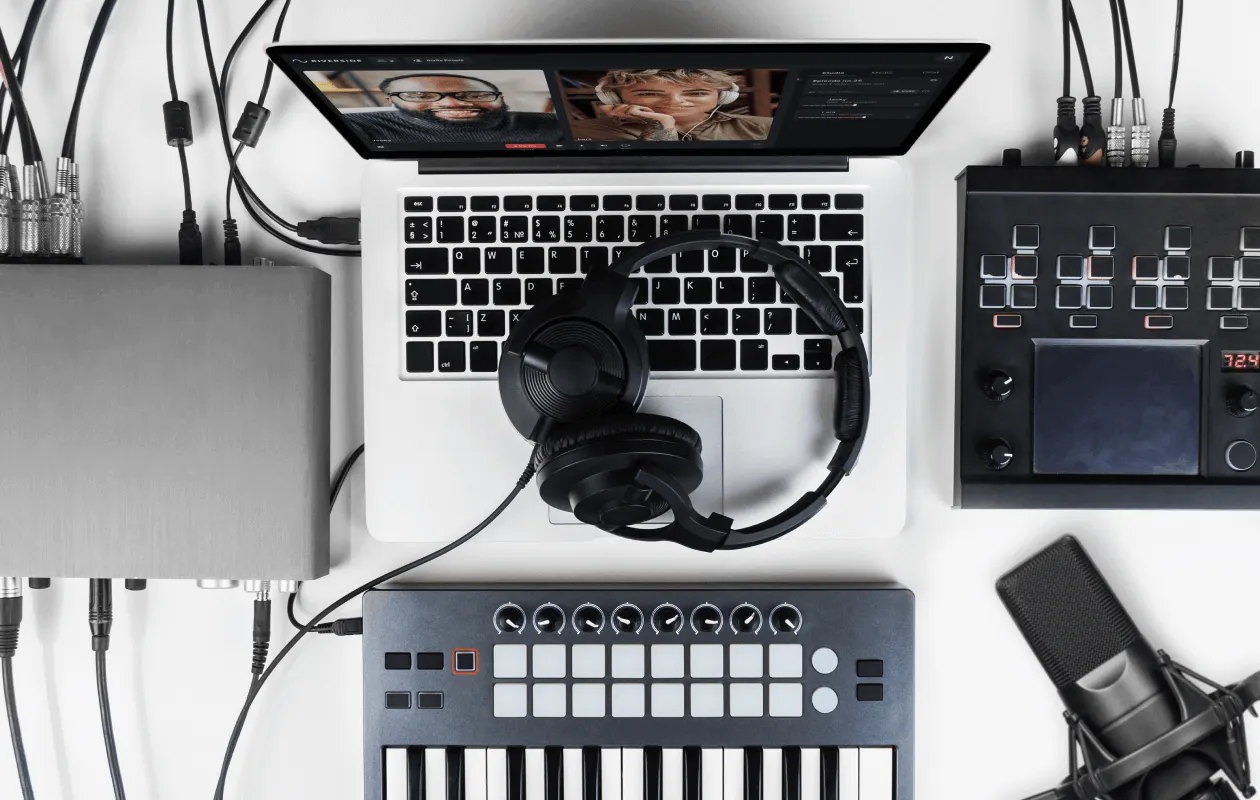
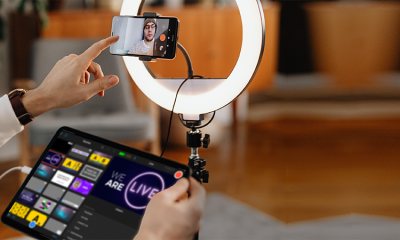
Youtube live streaming tools. Influencers, companies, and content producers who want to interact with their audience in real time now rely heavily on YouTube live streaming. Having the appropriate equipment may significantly improve the quality of your broadcast, whether you’re doing product demonstrations, live Q&A sessions, or streaming gaming sessions. We’ll go over the necessary equipment in this post, including cameras, microphones, lighting, and accessories, to help you elevate your YouTube live streaming.
YOUTUBE LIVE STREAMING TOOLS
You can improve the quality of your YouTube live streams and produce interesting, polished material that appeals to your viewers by investing in the appropriate equipment. Having the necessary equipment listed in this article will enable you to create high-quality live streams that stand out from the competition and entice viewers to return, regardless of your level of experience as a content creator.
1. Camera:
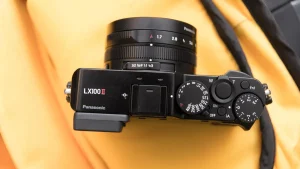
A high-quality camera is the foundation of any successful YouTube live streaming. While many content creators opt for webcams or smartphone cameras for their broadcasts, investing in a dedicated camera can significantly improve the quality of your video. Look for a camera with features such as 4K resolution, clean HDMI output, and autofocus capabilities for crisp, clear footage. Popular options include the Sony A7 III, Canon EOS M50, and Panasonic Lumix GH5.
2. Microphone:

Good audio quality is just as important as video quality when it comes to live streaming. Investing in a high-quality microphone can make your voice sound clear and professional, enhancing the overall viewer experience. Consider using a lavalier microphone for hands-free operation, a shotgun microphone for directional audio capture, or a USB microphone for simplicity and ease of use. Popular choices include the Rode Wireless Go, Blue Yeti, and Audio-Technica AT2020.
3. Lighting:

Youtube live streaming tools
Proper lighting can dramatically improve the look of your live stream, making your video appear more polished and professional. Invest in a set of LED lights or softbox lights to illuminate your set evenly and reduce harsh shadows. You can also use accessories like reflectors and diffusers to control the intensity and direction of light for a flattering effect. Popular lighting kits include the Neewer 660 LED Video Light, Godox SL-60W, and Elgato Key Light.
4. Tripod:
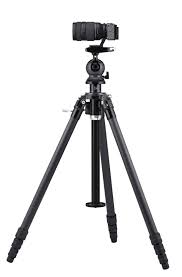
A stable camera mount is essential for keeping your camera steady and secure during your live streams. Invest in a sturdy tripod or camera mount that can support the weight of your camera and accessories while allowing for flexible positioning and angle adjustments. Look for features such as height adjustment, pan and tilt functionality, and compatibility with your camera model. Popular options include the Manfrotto PIXI Mini Tripod, Joby GorillaPod, and Neewer Heavy Duty Video Tripod.
5. Internet Connection:

Youtube live streaming tools
A reliable internet connection is crucial for streaming high-quality video without buffering or interruptions. Make sure you have access to a fast and stable internet connection with sufficient bandwidth for your live stream. Consider using a wired Ethernet connection for the most reliable performance, or invest in a high-quality Wi-Fi router with advanced features like MU-MIMO and beamforming for improved coverage and speed.
Summary
YouTube live streaming technologies range from sophisticated software for multi-cam production and round-the-clock automation to browser-based systems for rapid setup. Your technical proficiency and content objectives will determine which tool is best for you.
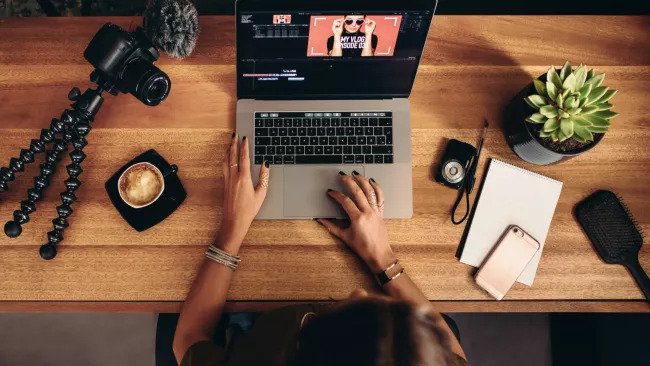
Tips for gadget content creators. It takes commitment, knowledge, and a sincere love for the subject to succeed as a technology and gadget content developer. By remaining informed, selecting your area of interest, offering insight and value, and interacting with your audience. You can develop a lucrative profession as a technology and gadget content maker by working together, networking, trying with various forms, and being genuine and enthusiastic. Accept the possibilities, difficulties, and advancements of the tech industry, and allow your originality and knowledge to come through in your writing.
TIPS FOR GADGET CONTENT CREATORS
In the fast-paced world of technology and gadgets, content creators play a vital role in informing, entertaining, and engaging audiences eager to stay abreast of the latest innovations and trends. Whether you’re a seasoned tech enthusiast or a budding creator looking to carve your niche in the digital realm, this article offers valuable insights and strategies for thriving as a technology and gadgets content creator.
1. Stay Informed and Up-to-Date:

To thrive as a technology and gadgets content creator, it’s essential to stay informed about the latest developments, products, and trends in the tech industry. Regularly read tech news websites, follow industry influencers and thought leaders on social media, and attend tech events and conferences to stay ahead of the curve. By staying informed, you can provide timely and relevant content that resonates with your audience.
2. Choose Your Focus:
With technology and gadgets covering a vast array of topics, it’s crucial to choose a specific focus or niche within the broader category. Whether you’re passionate about smartphones, gaming, wearables, smart home devices, or emerging technologies like artificial intelligence and virtual reality, selecting a niche allows you to establish yourself as an authority and attract a dedicated audience with similar interests.
3. Provide Value and Insight:

Tips for gadget content creators
As a technology and gadgets content creator, your audience looks to you for valuable insights, analysis, and recommendations. Provide in-depth reviews. Hands-on demonstrations, tutorials, and how-to guides that offer practical information and help viewers make informed purchasing decisions. Share your expertise, opinions, and experiences to differentiate your content and provide added value to your audience.
4. Engage with Your Audience:
Cultivate a strong relationship with your audience by actively engaging with them on social media, YouTube, forums, and other platforms. Respond to comments, questions, and feedback. And foster a sense of community by encouraging discussions and interactions among your followers. By listening to your audience’s needs and preferences. You can tailor your content to better serve their interests and deepen their engagement.
5. Collaborate and Network:
Collaboration with other tech influencers, creators, and brands can amplify your reach and exposure within the tech community. Partner with brands for sponsored content, collaborations, and product reviews, but ensure that partnerships align with your values and resonate with your audience. Networking with fellow creators and industry professionals can also open doors to new opportunities and collaborations.
6. Experiment with Different Formats:

Tips for gadget content creators
Keep your content fresh and engaging by experimenting with different formats. Such as video reviews, written articles, podcasts, live streams, and social media posts. Adapt your content to suit the preferences of your audience and explore new ways to present information creatively. Don’t be afraid to step out of your comfort zone and try new approaches to keep your audience entertained and intrigued.
Summary
It takes a combination of technical expertise, captivating narrative, and artistic flare to begin as a device content maker. Whether you are evaluating wearables, smartphones, or smart home appliances, it’s important to focus on crisp audio and captivating images while remaining true to your own voice.
Foods Rich in Zinc

Appetite Enhancement Tips

Nutritional Value of Rolled Oats

A Step-by-Step Guide to Deleting Reels on Instagram

A Comprehensive Guide to Setting Up a YouTube Premiere

How to Create a WhatsApp Group
-

 Health4 weeks ago
Harmful side effects of earphones
-
 Self esteem4 weeks ago
Tips for self esteem improvement
-

 Exercise4 weeks ago
Regular physical activities importance
-

 Health4 weeks ago
Headphones safety tips
-

 Business3 weeks ago
Local business promotion
-

 Entertainment3 weeks ago
Women and British dance music
Pingback: How to Set Your Post Privacy to Only Friends - SimplExplainer
Pingback: Privacy Setting for Friends - SimplExplainer
Pingback: How to set Privacy Facebook - SimplExplainer