
Uncategorized
How to archive post on instagram

Instagram is not just a platform for sharing fleeting moments but also a digital scrapbook of memories. However, not every post needs to be permanently displayed on your profile. Whether it’s to declutter your feed, maintain a cohesive aesthetic, or hide posts from public view temporarily, archiving offers a convenient solution. In this guide, we’ll walk you through the simple steps to archive posts on Instagram.
Step 1: Open Instagram and Navigate to Your Profile
Launch the Instagram app on your mobile device and log in to your account. Once logged in, tap on your profile picture or username at the bottom right corner of the screen to access your profile.
Step 2: Select the Post You Want to Archive
Scroll through your profile to find the post you wish to archive. Tap on the post to open it and view the full details.

Step 3: Archive the Post
In the top right corner of the post, you’ll see three dots arranged vertically. Tap on these dots to open a menu of options. From the menu, select “Archive” (iOS) or “Archive post” (Android). Instagram will then confirm that the post has been successfully archived.

Step 4: Access Your Archived Posts
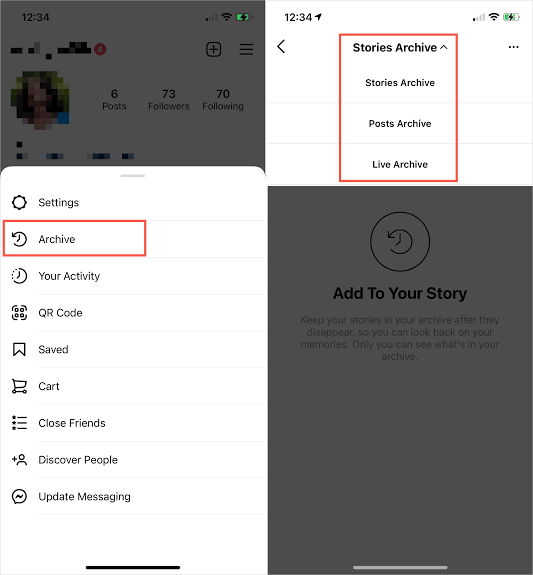
To access your archived posts, navigate back to your profile and tap on the menu icon (three horizontal lines) at the top right corner of the screen. From the menu, select “Archive.” Here, you’ll find two tabs: “Posts” and “Stories.” Tap on “Posts” to view all your archived posts.

Step 5: Restore or Permanently Delete Archived Posts
In the “Posts” tab of your archive, you’ll see a collection of all the posts you’ve archived. To restore a post to your profile, tap on it to open it, then tap on the three dots at the top right corner and select “Show on Profile” (iOS) or “Show on profile” (Android). The post will be restored to its original location on your profile.
If you wish to permanently delete an archived post, follow the same steps to open the post, but this time select “Delete” (iOS) or “Delete post” (Android) from the menu. Confirm the deletion, and the post will be removed from your archive permanently.
Archiving posts on Instagram is a valuable tool for managing your profile’s content and maintaining a curated aesthetic. Whether you’re tidying up your feed, hiding posts from public view temporarily, or simply organizing your digital memories, archiving offers flexibility and control over your Instagram content. By following these straightforward steps, you can effortlessly archive and manage your posts on Instagram, ensuring that your profile reflects the best of your digital self.









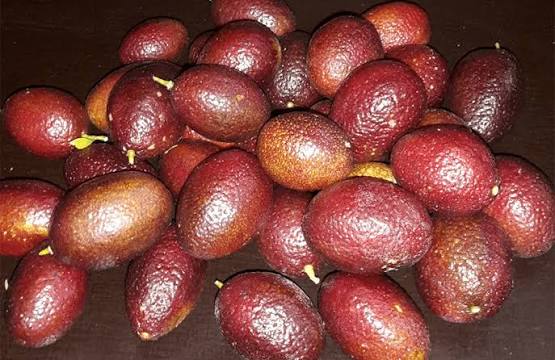
Blood limes importance. They are an intriguing addition to the culinary world because of their alluring blend of rich flavor and aesthetic appeal. This fruit is a monument to the variety and inventiveness within the citrus family, whether it is employed in culinary cuisine or savored for its health advantages.
BLOOD LIMES IMPORTANCE
The blood limes, a vibrant and distinctive citrus fruit, is a hybrid between the finger lime (Citrus australasica) and the ordinary lime (Citrus aurantiifolia). Native to Australia, this fruit stands out for its striking appearance and complex flavor profile.
Appearance and Flavor;
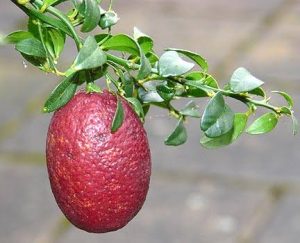
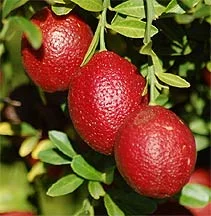
Blood limes are small, typically about the size of a grape, and feature a thin, reddish-brown skin that resembles a blood orange. When cut open, they reveal a juicy, deep crimson interior. This vivid coloration is a result of the fruit’s anthocyanin content, which is also found in other red-hued fruits like cherries and berries. The flavor of blood lime is a tangy blend of lemon and lime, with a slight sweetness and a hint of bitterness. This makes it an excellent addition to both sweet and savory dishes.
Culinary Uses;
In the kitchen, blood lime can be used in a variety of ways. Its tartness makes it ideal for enhancing cocktails, salads, and seafood dishes. The vibrant juice can add a splash of color and a burst of flavor to desserts and sauces. Additionally, the zest of the blood lime can be used to infuse dishes with a more subtle citrus note.
Health Benefits;

Blood limes importance
Like other citrus fruits, blood limes are rich in vitamin C and antioxidants. These nutrients are beneficial for immune health, skin vitality, and overall well-being. The antioxidants in blood limes help combat free radicals, potentially reducing the risk of chronic diseases and promoting healthier aging.
Cultivation and Availability;
Blood limes importance
Blood limes are primarily grown in Australia but have also been cultivated in other subtropical regions. They are typically available at specialty markets or through online retailers. Due to their unique characteristics and limited growing regions, blood limes can be more expensive than other citrus fruits.
Summary
Blood limes, a cross between the Ellendale mandarin and the Australian red finger lime, are prized for their special environmental resilience, culinary variety, and high nutritional content.
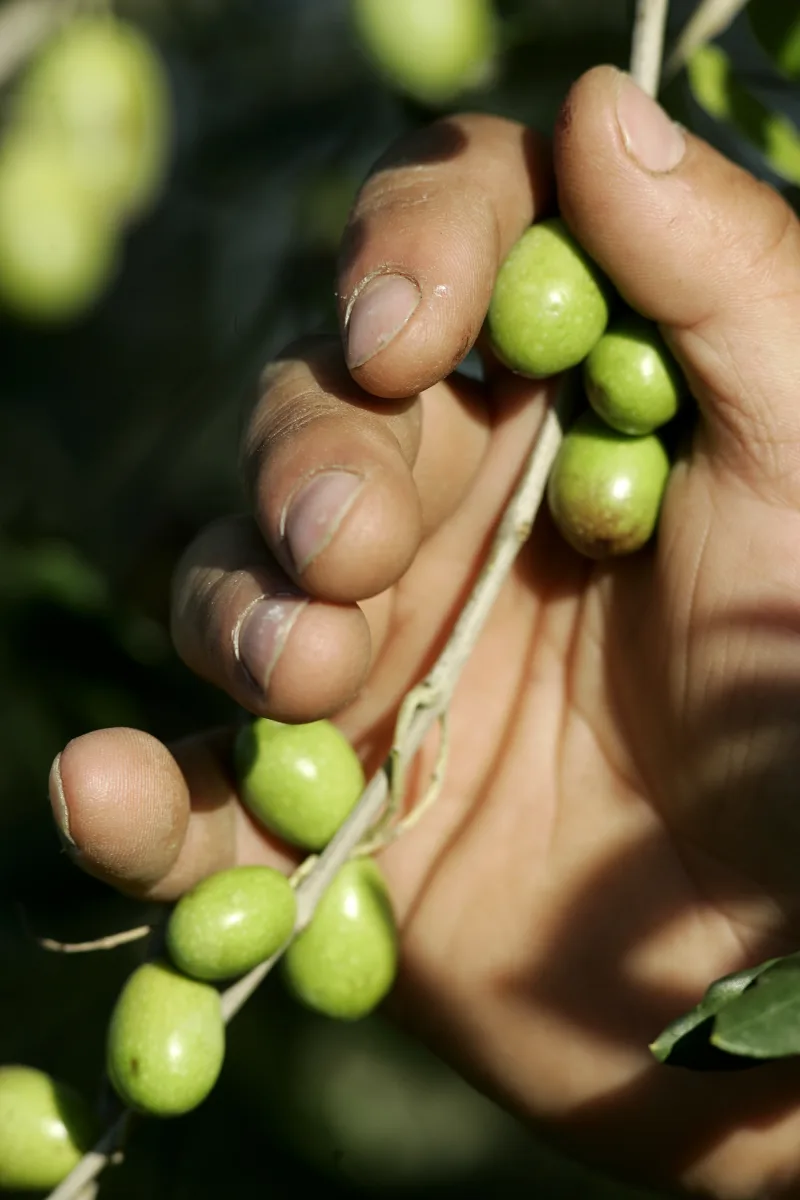
Historical Analysis of Olives. Olives are more than just a fruit; they are a symbol of culture and cuisine. They are a beloved ingredient all around the world because of their rich history, variety, and many health advantages. Olives remain a classic and cherished cuisine, whether they are eaten as a straightforward snack or as an essential part of a sophisticated meal.
HISTORICAL ANALYSIS OF OLIVES
The olive tree originated 20–40 million years ago during the Oligocene, in what is now Italy and the eastern Mediterranean Basin, according to fossil evidence. In Africa, on Morocco’s Atlantic coast, people utilized olives for fire and most likely for food about 100,000 years ago.
Historical Significance;
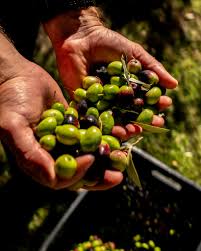
Olives have a rich history dating back to ancient civilizations. They were integral to the diets of the Greeks, Romans, and Egyptians and held symbolic meaning in their cultures. Olive branches were considered a symbol of peace and victory, and olive oil was used in religious rituals, medicine, and even as a form of currency.
Varieties and Cultivation;

There are hundreds of olive varieties, each with unique flavors and characteristics. The main categories are green olives, which are harvested before they ripen, and black olives, which are fully ripe. Notable varieties include Kalamata, known for their almond shape and rich flavor, and Arbequina, small and highly prized for their delicate taste.
Olives are grown on evergreen trees that thrive in warm climates with well-drained soil. These trees are hardy and can live for centuries, sometimes even producing fruit after hundreds of years.
Nutritional Profile;
Historical Analysis of Olives
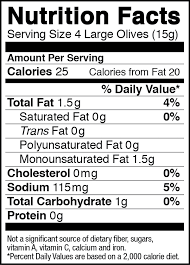
Olives are celebrated for their health benefits. They are rich in monounsaturated fats, particularly oleic acid, which is known to reduce inflammation and improve heart health. Olives also contain antioxidants, including vitamin E, which help protect cells from damage. Additionally, they are a good source of dietary fiber, iron, and copper.
Culinary Uses;
Historical Analysis of Olives
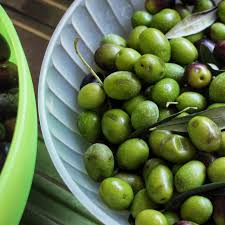
Olives are incredibly versatile in the kitchen. They can be used to salads, pizzas, pastas, or enjoyed as a snack on their own. They can also be used to make the savory spread known as tapenade. Olive oil, which is made from the fruit, is essential to Mediterranean food and is used in marinades, sauces, and cooking. Extra virgin oil is the least processed and tasty type of oil, whereas refined oils are better suited for cooking at high temperatures.
Summary
Olive trees, which are the little fruits of the Olea europaea tree, have been cultivated for thousands of years, mostly in the Mediterranean region. In addition to their distinctive flavor, these ancient fruits are prized for their numerous applications and health benefits.

Effects of Sodium Laureth Sulfate. An efficient and popular surfactant with great cleaning and lathering qualities is sodium laureth sulfate. However, careful thought must be given to its propensity to irritate skin, damage the skin barrier, and contribute to environmental issues. People can choose personal care products wisely and adopt behaviors that safeguard their skin and the environment by being aware of the advantages and disadvantages of SLES. Investigating sulfate-free substitutes might be a good option for people with sensitive skin or trying to reduce any irritation.
EFFECTS OF SODIUM LAURETH SULFATE
A common surfactant in many personal care products, including shampoos, cleansers, and toothpastes, is sodium laureth sulfate (SLES). SLES has become a standard ingredient in the beauty and hygiene sector due to its reputation for producing a rich lather and efficiently removing oils and grime. However, worries concerning its effects on the skin have been raised by its extensive use. The advantages, possible dangers, and factors related to sodium laureth sulfate are examined in this article.
Benefits of Sodium Laureth Sulfate
Effective Cleansing

SLES is highly effective at removing dirt, oil, and impurities from the skin and hair. Its ability to produce a rich lather makes it a popular choice in products like shampoos and body washes, ensuring thorough cleansing and leaving the skin and hair feeling clean and refreshed.
Lathering Properties
One of the main reasons SLES is favored in personal care products is its ability to create a thick, foamy lather. This characteristic not only enhances the sensory experience of using these products but also aids in distributing the product evenly across the skin and hair.
Cost-Effective

SLES is relatively inexpensive to produce, making it a cost-effective ingredient for manufacturers. This helps keep the price of consumer products lower while still delivering effective cleaning performance.
Potential Risks and Drawbacks
Skin Irritation
One of the primary concerns with SLES is its potential to cause skin irritation, particularly with prolonged or frequent use. While it is generally considered milder than SLS, SLES can still strip the skin of its natural oils, leading to dryness, redness, and irritation. Individuals with sensitive skin, eczema, or other dermatological conditions may be particularly susceptible to these effects.
Disruption of the Skin Barrier

Effects of Sodium Laureth Sulfate
The skin’s natural barrier is essential for retaining moisture and protecting against environmental aggressors. Frequent use of products containing SLES can disrupt this barrier, leading to increased transepidermal water loss (TEWL) and making the skin more prone to dryness and irritation.
Allergic Reactions
Some individuals may experience allergic reactions to SLES, characterized by symptoms such as itching, swelling, and hives. Although such reactions are relatively rare, it is important to be aware of this potential risk and discontinue use if symptoms occur.
How to Use Products Containing it Safely;
Patch Testing
Before using a new product containing SLES, perform a patch test. Apply a small amount of the product to a discreet area of skin and wait 24-48 hours to see if any adverse reactions occur. This can help identify any potential sensitivity to the ingredient.
Moderation

Effects of Sodium Laureth Sulfate
Limit the use of SLES-containing products, especially if you have sensitive or dry skin. Opt for milder, sulfate-free alternatives for everyday use, and reserve SLES products for occasional deep cleaning.
Summary
Ethoxylated lauryl alcohol is the source of sodium laureth sulfate, a detergent and surfactant. Because of its capacity to emulsify oils and create foam, it is utilized in a wide range of cleaning and personal care products. Although SLES and another popular surfactant, sodium lauryl sulfate (SLS), are similarly related, SLES is typically thought to be less irritating and milder.
.
Foods Rich in Zinc

Appetite Enhancement Tips

Nutritional Value of Rolled Oats

A Step-by-Step Guide to Deleting Reels on Instagram

A Comprehensive Guide to Setting Up a YouTube Premiere

How to Create a WhatsApp Group
-

 Health4 weeks ago
Harmful side effects of earphones
-

 Self esteem4 weeks ago
Tips for self esteem improvement
-

 Exercise4 weeks ago
Regular physical activities importance
-

 Business3 weeks ago
Local business promotion
-

 Health4 weeks ago
Headphones safety tips
-

 Entertainment3 weeks ago
Women and British dance music